8
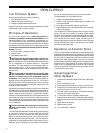
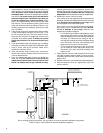
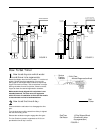
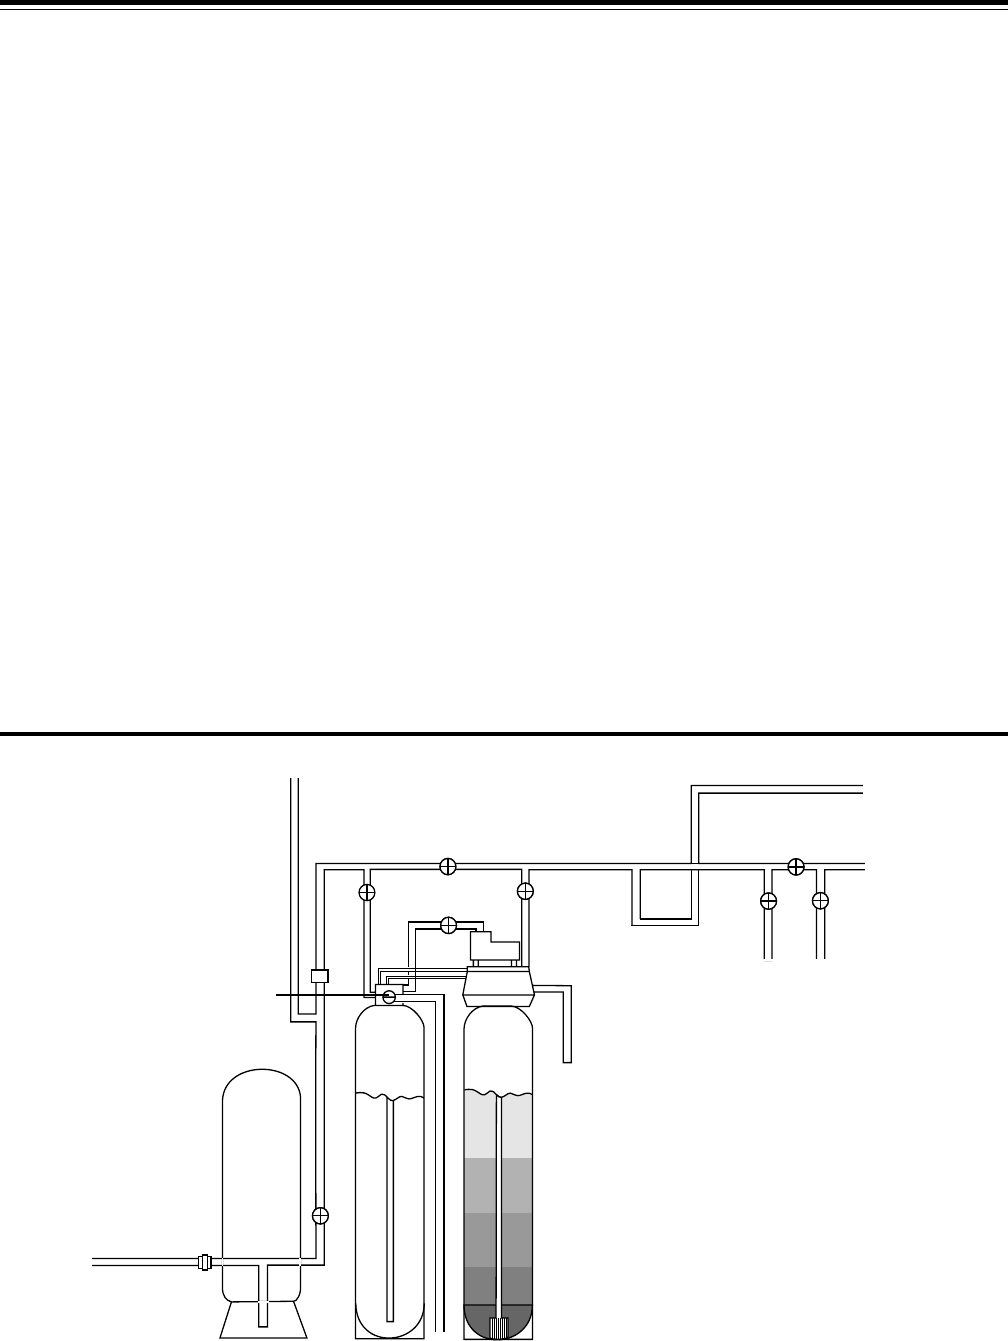
Due to existing plumbing conditions, you may want to choose an alternate installation configuration.
Refer to Figures 2 and 3 below for alternate installation diagrams.
FIGURE 1
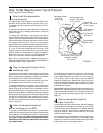
Carefully place a pry bar (long screwdriver, wrench, etc.)
between the screws and apply pressure clockwise until
tight. Be careful not to crease or tear the o-rings in the
adapter base. Remove the two screws from adapter base.
10. Reattach the control valve to the tank.
If the control valve was supported and connected to the
plumbing, slide the tank underneath the control valve and
align. Be careful not to dislodge or cut o-rings. Install
the two adapter base screws and tighten.
If the control valve was disconnected from plumbing,
place control valve on adapter base and align. Be care-
ful not to dislodge or cut o-rings. Install the two
adapter base screws and tighten.
• IC-10A: Reconnect the drain and tighten the screw
that holds the flow control housing. Reconnect the
bleed-off tubing to flow control housing and tighten
the fitting nut. Reconnect the tubing to the air
recharge and air bleed-off valves and tighten fitting
nuts. Reconnect inlet and outlet plumbing and
tighten the union nuts on inlet and outlet.
• IC-12A: Reconnect the tubing to the air recharge
and air bleed-off valves and tighten fitting nuts.
Reconnect inlet, outlet, and drain plumbing and
tighten unions.
11. Slowly open the inlet valve and allow filter to fill at a slow
rate. After a steady stream of water is running to drain,
completely open inlet valve. Open outlet valve and close
bypass valve.
12. Plug the control valve in and reset time of day (see page 9.)
13. Allow the system to finish the regeneration cycle and
return to service.
(long screwdriver, wrench, etc.) between the screws and
apply pressure counterclockwise to loosen the adapter
base. Be careful not to crease or tear the o-rings in
the adapter base. Unscrew the adapter base from tank
and remove. Be careful not to pull up the distributor
tube with adapter base. If distributor tube does pull
up with the adapter base, consult your dealer. At this
point, it is recommended to remove some of the water
from the tank. This can be done by placing a small hose
inside the distributor tube and creating a siphon; or by
carefully tipping the tank sideways, pouring out water
only, not media.
5. From the top of the tank, measure down approximately
1/3 the overall height of the tank (18" for IC-10A, 17" for
IC-12A) and mark the tank. This is the amount of free-
board and the maximum fill height that should not be
exceeded when adding media. If media is at correct
height and pH is below 7.0, do not add. Consult your
dealer.
6. Cover the distributor tube (use a plastic cap, or masking/
duct tape) so media will not get into the distributor tube.
7. Using a funnel, add IC pH correction media until it
reaches the maximum fill line.
8. Rinse the powdery fines from the funnel, covered dis-
tributor tube, and tank threads. Remove the funnel and
uncover distributor tube.
9. Place the adapter base back on tank and thread into
place until snug. Be careful not to cross thread the
adapter base in tank threads. You may need to "back
thread" the adapter base to get it started correctly.
PRESSURE
TANK
TO OUTSIDE
HOSEBIBBS
OUTLET
SHUT-OFF
THREE-VALVE
BY-PASS
INLET
SHUT-OFF
OPTIONAL
FILTER
INLET
SHUT-OFF
CHECK
VALVE
AIR-IN
AIR-OUT
PRESSURE
RELIEF VALVE
IRON
CURTAIN
AERATION
ASSEMBLY
IRON
CURTAIN
FILTER
DRAIN
LINE
FILTERED UNSOFTENED
WATER TO KITCHEN SINK
FILTERED WATER
TO WATER SOFTENER


