


Model 590/592
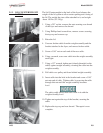
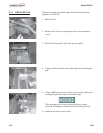
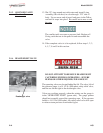
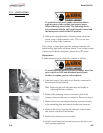
13. Wet “O” ring around seat with water and insert O-ring
assembly (fl at side fi rst) in valve through “IN” side of
body. Use an eraser end of pencil and press in the Tefl on
seal until it snaps into place. Be careful not to mar or nick
the seat.
The smallest nick can cause a pressure leak. Replace all
O-ring seals that are in the parts kit and reassemble the
valve.
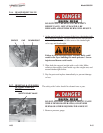
14. If the complete valve is to be replaced, follow steps 1, 2, 3,
4, 5, 7, 8 and 9 in this section.
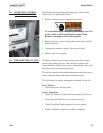
DO NOT ATTEMPT TO REMOVE DEADWEIGHT
CAP WHIILE FRYER IS OPERATING. SEVERE
BURNS OR OTHER INJURIES WILL RESULT.
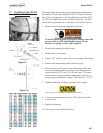
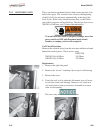
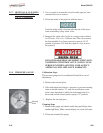
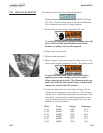
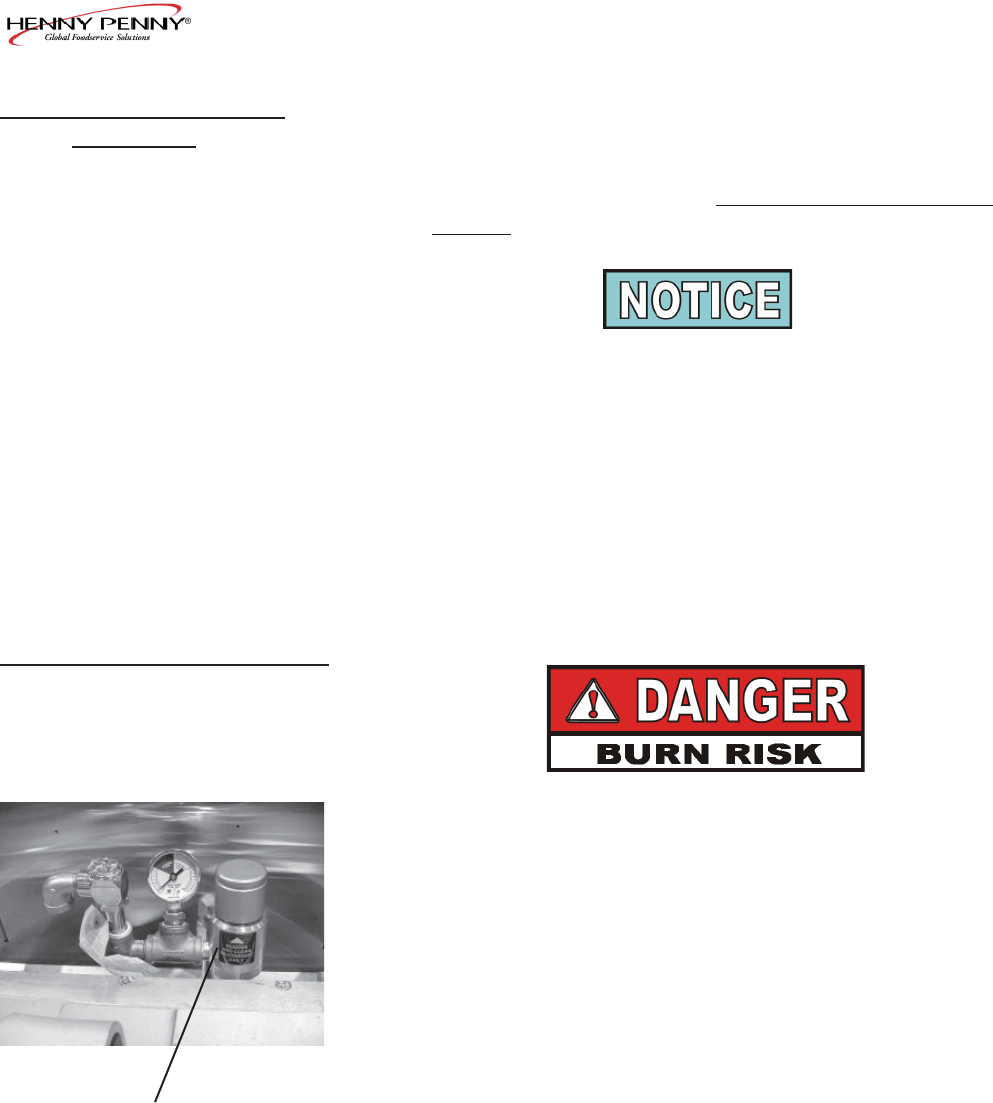
The operating valves are located behind the lid. The valve, left of
the pressure gauge, is a 14 1/2 lb. (999 mbar) safety relief valve,
and the one on the right is the deadweight valve.
Valves are working properly, when the pointer on the gauge is
in the “OPERATING ZONE” (green area). The gauge pointer
should not normally exceed the operating zone. If the pressure
builds to 14 1/2 lbs.(999 mbar), the safety relief valve will open
to release steam pressure from inside frypot.
2-14 1103
2-15. SOLENOID VALVE
(Continued)
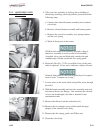
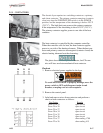
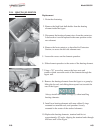
2-16. DEADWEIGHT VALVE
Deadweight valve