


– 7 –
Fig. 6
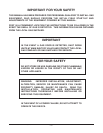
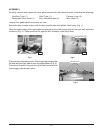
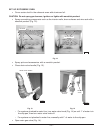
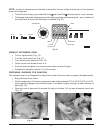
Remove the wire rack and install the overflow and skim tubes, wide side down, in the drains at the
bottom of the rotisserie (Fig. 4); placement is interchangeable. Replace the wire rack.
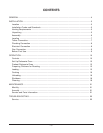
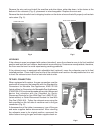
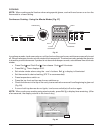
Remove the drain handle from its shipping location on the drain valve and install it properly on the drain
valve stem (Fig. 5).
PL-41658-1
OVERFLOW TUBE
SKIM TUBE
PL-41659-1
DRAIN VALVE STEM
DRAIN VALVE HANDLE
Fig. 4 Fig. 5
LEVELING
If the rotisserie oven is equipped with casters (standard), move the rotisserie oven to its final installed
position and lock the front casters; back casters are nonlocking. Casters are nonadjustable; therefore,
the floor must be level to avoid experiencing cooking problems.
If the rotisserie oven is equipped with adjustable feet (optional), move the rotisserie oven to its final
installed position. Place a spirit level on top of the rotisserie oven and turn the adjustable feet in or out
to level the rotisserie oven front to back and side to side.
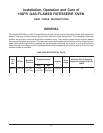
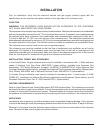
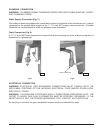
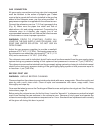
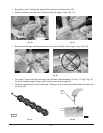
TETHER CONNECTION
When equipped with casters, the gas connection must be
made with a connector that complies with the Standard for
Connectors for Movable Gas Appliances, ANSI Z21.69
(latest edition) or Connectors for Moveable Gas Appliances,
(CAN/CGA-6.16) and must be made with a quick-disconnect
device that complies with the Standard for Quick-
Disconnect Devices for Use With Gas Fuel, ANSI Z21.41
(latest edition) or Quick-Disconnect Devices for Use With
Gas Fuel (CANI-6.9). Tether the rotisserie oven using the
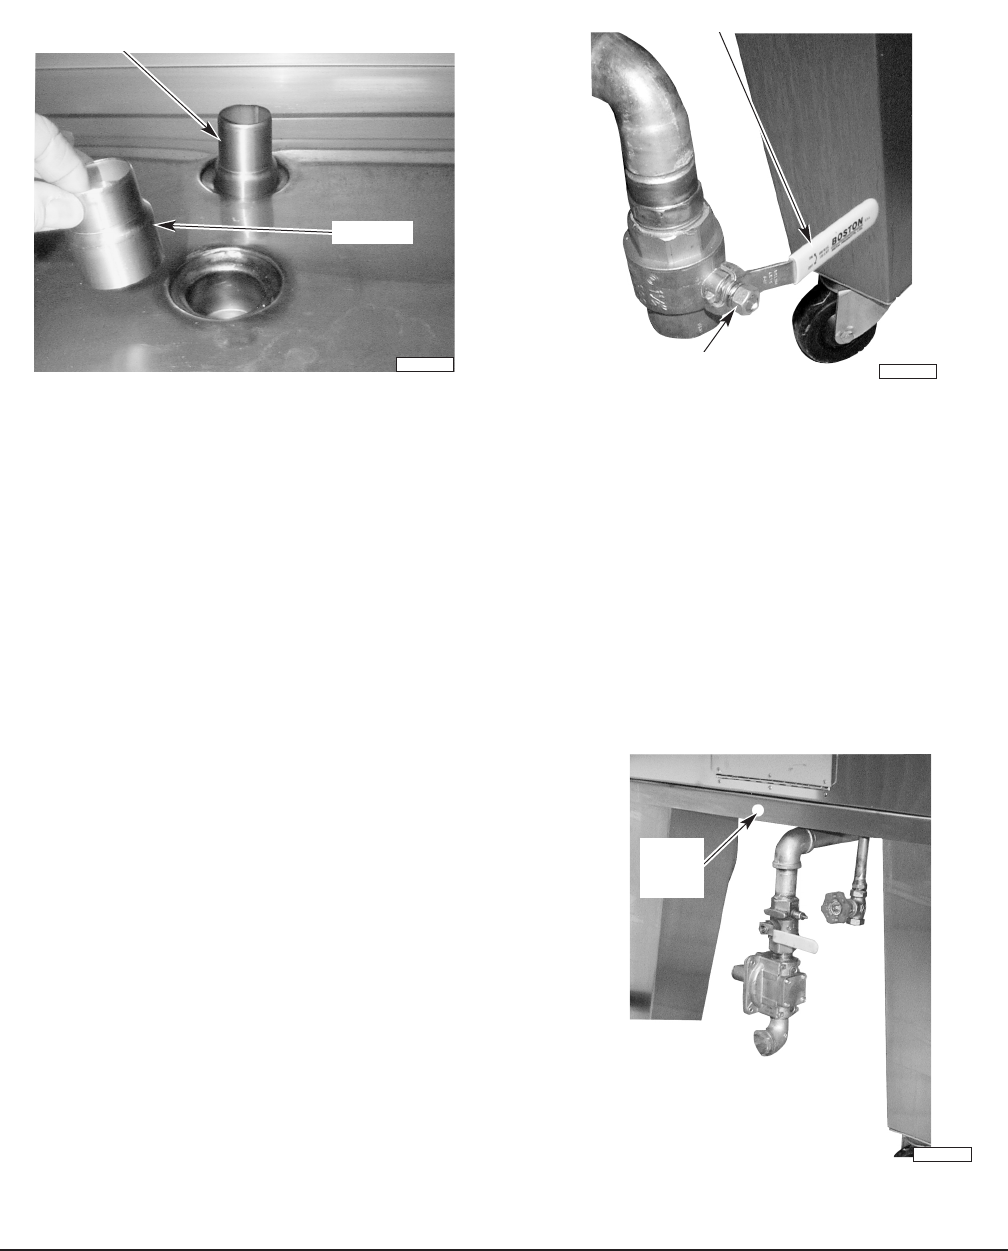
hole provided on the left side of machine next to the gas
connection (Fig. 6).
If disconnection of the tether is necessary, turn off the gas
and water supplies before disconnection. After returning
the rotisserie oven to its original position, reconnect the
tether before turning the gas and water supplies back on.
PL-41656-1
HOLE
FOR
TETHER