


Ice & Chilled Water
Dkpemer
(continued)
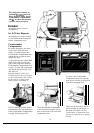
Once Your Icemaker and
Dispenser Are in Operation
Throw away the first few batches
of ice cubes (16 or 24 cubes). This
will flush away any impurities in
the water line. Do the same thing
after vacations or extended periods
when ice isn’t used.
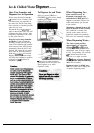
Discard the first six
glassfuls of
water in the kitchen sink. This will
eliminate the slight “plastic” taste
temporarily imparted to the water
by the water reservoir.
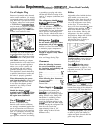
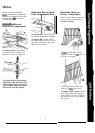
Keep ice level to keep icemaker
productive.
Cubes ejected into
an empty storage bin will pile up
close to the icemaker and push the
feeler arm up to the OFF position
prematurely when the bin is only
partially full. Open the ice access
door, reach in, level the cubes by
hand and
icemaking will resume.
Keeping cubes distributed evenly
will allow the icemaker to produce
enough ice to
fill
the bin to its
maximum capacity.
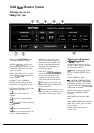
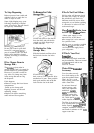
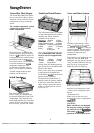
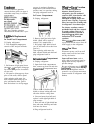
To Dispense Ice and Water
● For ice, touch CUBED or
CRUSHED
p~d.
For water, simply
position glass beneath words
CHILLED WATER.
\
-+
II II
c
Grip glass or other container
gently near the rim and press rim
firmly against ice or water
dispenser cradle.
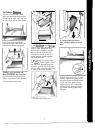
When Dispensing Ice...
Some crushed ice may be
dispensed even though you
touched the CUBED pad. This
happens occasionally when a few
cubes inadvertently get diverted
to the crusher.
Sometimes a mound of snow will
form on the door in the ice chute.
This condition is normal, and
usually occurs when you have
dispensed crushed ice repeatedly.
The snow will eventually evaporate.
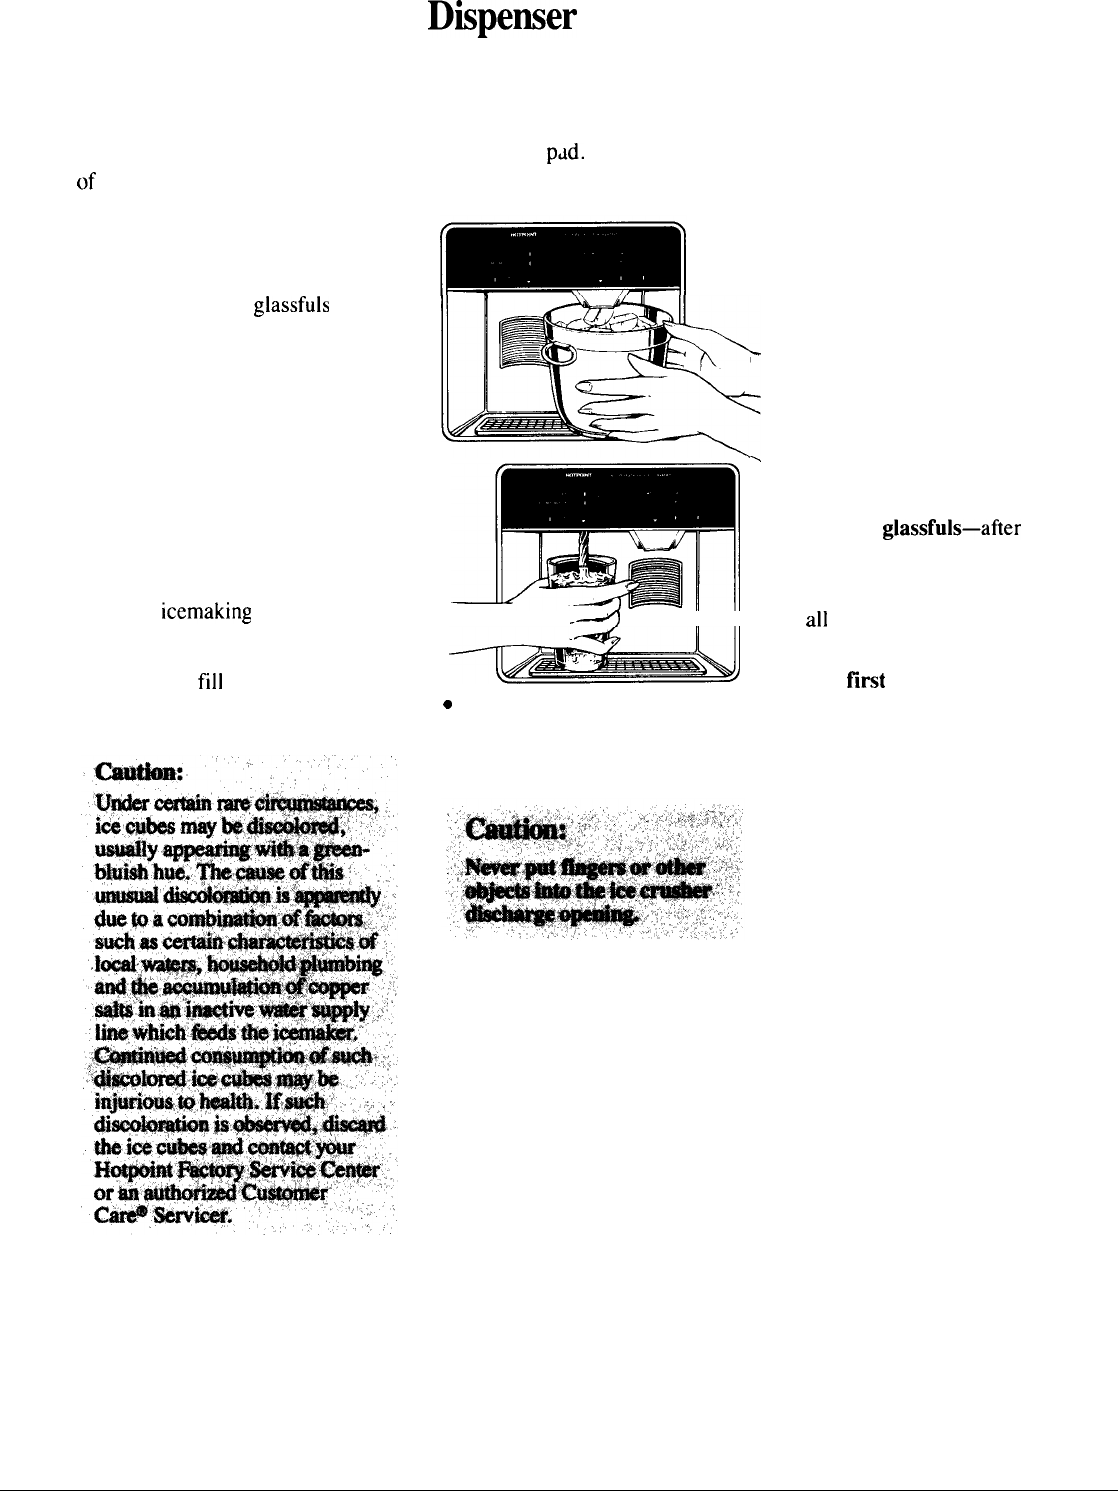
When Dispensing Water...
The water system provides
approximately six successive
6-ounce
glassfuls—after which
several hours must be allowed for
replenished water reservoir supply
to cool. You probably will not drain
all
the chilled water from the
reservoir on a single occasion.
The
first
glass of water dispensed
may be warmer than the following
ones. This is normal.
Dispensed water is chilled, not
iced.
For colder water, simply add
ice before dispensing water.
12