


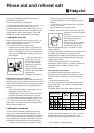
6
EN
• to stand next to furniture units or other electric
household appliances (
See Electrical
Connection
)
• to insert or built-in under the one worktop.
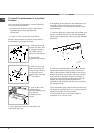
Should it be necessary to remove the top shelf of
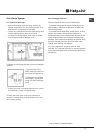
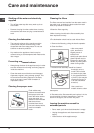
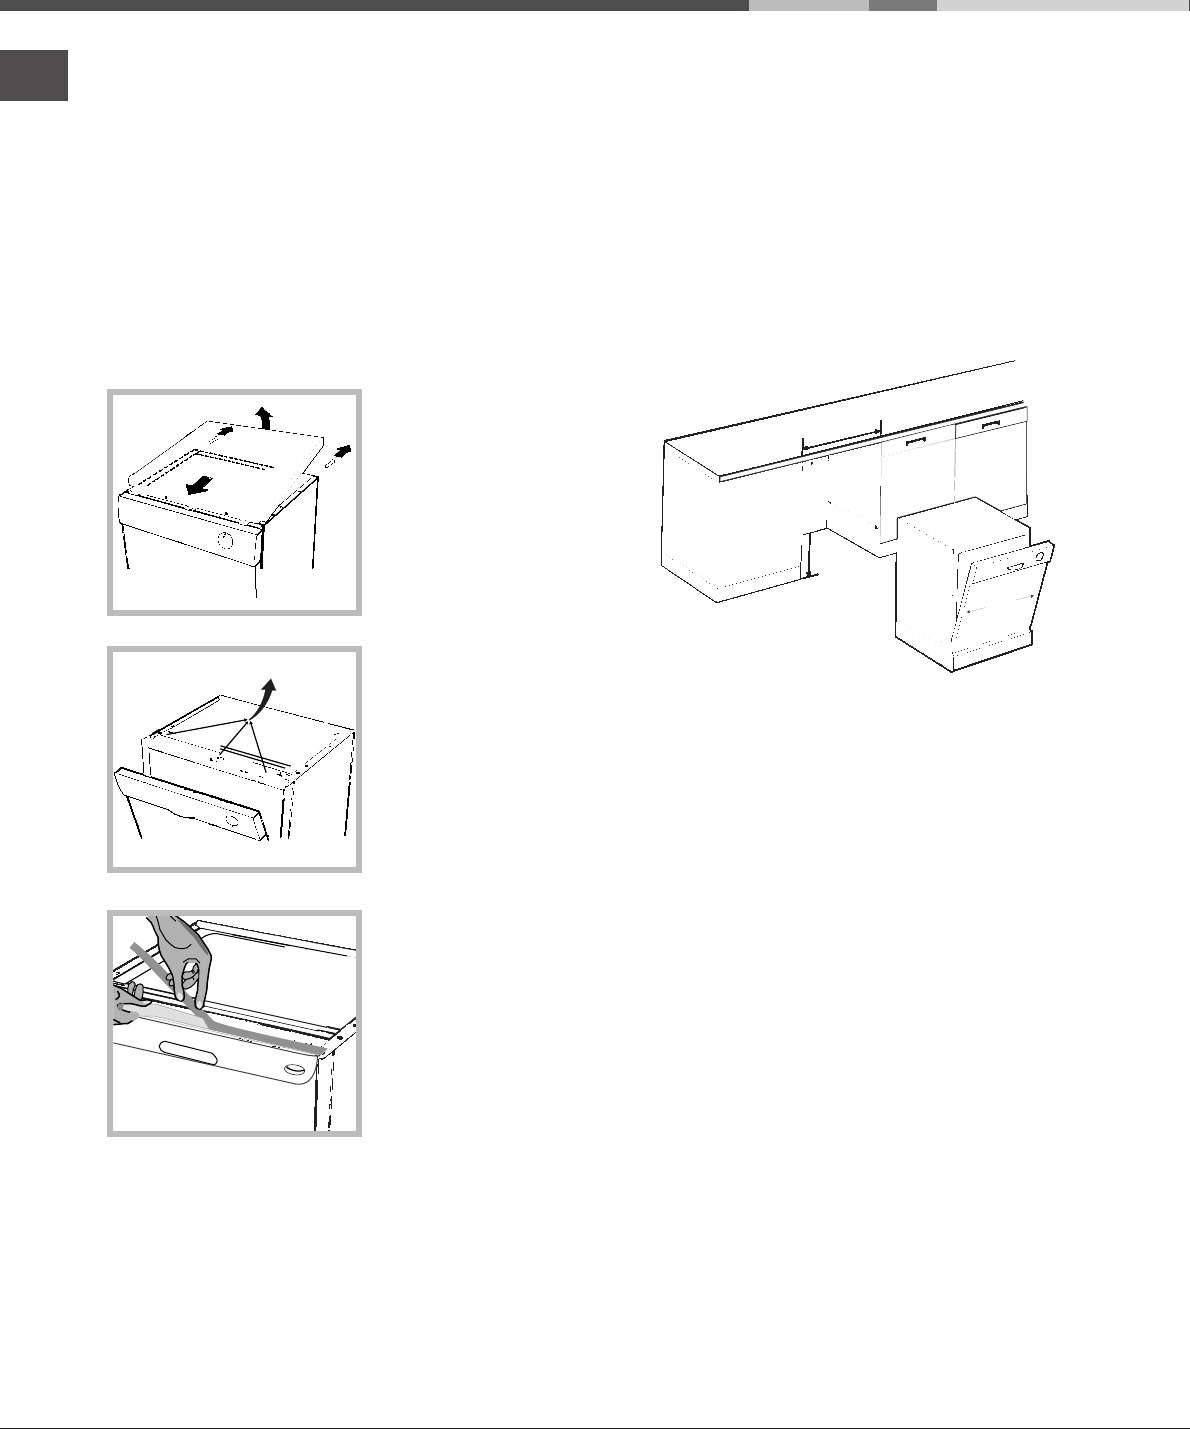
the dishwasher, proceed as follows:
1. unscrew the 2 rear
screws and then, with
a light push forward,
let it slide out and
remove it (
see figure
);
2. discard the
polystyrene rectangle;
3. open the door and,
after unscrewing the
fixing screws, remove
the 3 plastic plugs
used to hook the shelf
on (
see figure);
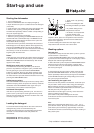
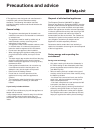
To install the dishwasher in fully-fitted
kitchens.
Your free standing dishwasher can be installed in
modern kitchens as follows:
4. glue on the small
soundproofing
adhesive spongy strip
onto the top
crosspiece (
see
figure
);
5. tilt the appliance and glue on another one
underneath the base.
6. Straighten up the appliance and adjust the front
and back feet by unscrewing them in an anti-
clockwise direction to raise the dishwasher to the
required height.
7. Insert the appliance underneath the worktop (
see
figure
), checking that the inlet and outlet pipes do
not get bent or squashed (
See Connecting the water
inlet hose
).
8. Open the dishwasher door and glue on the two
equal-sized adhesive spongy strips on the front
edge of the appliance cabinet. Begin from the top
without leaving out any spaces and make sure the
strips adhere all along the length of the edge. A
small part of the spongy strip protruding onto the
outside will block any light left between the
dishwasher and adjacent cabinets, thus improving
the soundproofing.
! The dishwasher plug must be within access once
the appliance has been built in, in order to allow for
maintenance to be carried out safely.
! The structure of your dishwasher makes it
impossible to fit it under a hob.
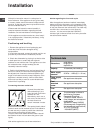
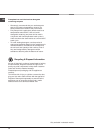
600
600
min.820
600