8
EN
stops (
see figure
).
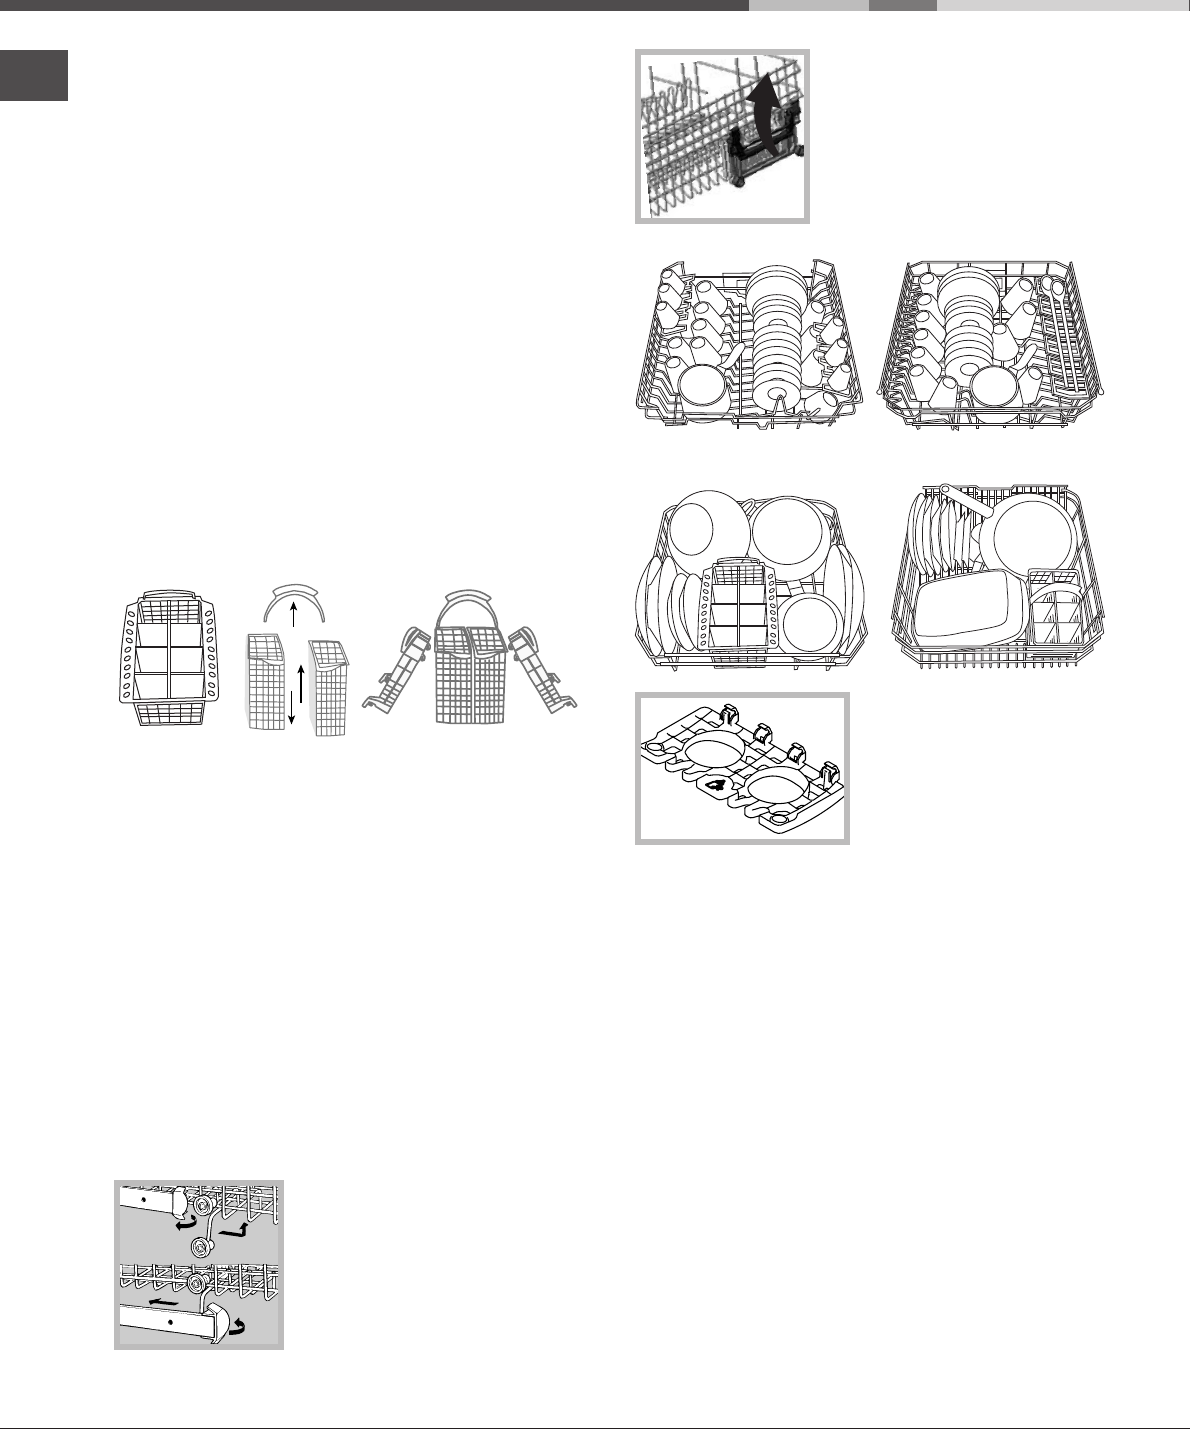
If the rack is equipped with the
click clack handles* (
see figure
),
pull them upwards or downwards
to adjust the height.
Loading examples for the upper rack
Loading examples for the lower rack
Baby Tip-up
compartments
**
For dishwasher models with a
Baby Cycle, tip-up
compartments suitable for
washing bottles, rings and
teats are provided.
Items that should not be washed in the dishwasher
• Wooden items, objects with wooden or horn
handles or glued-on parts.
• Items made from aluminium, copper, brass, pewter
or tin.
• Items made from plastic that is not heat-resistant.
• Antique or hand-painted porcelain.
• Antique silver. Silver that is not antique may,
however, be washed in the dishwasher using a
delicate wash cycle, provided that it does not
come into contact with other metals.
! When buying crockery and cutlery we recommend that you
check whether it can be washed using the dishwasher.
Washing the handles*
To wash the upper and lower rack handles: remove the two
fastening plugs, lift out the handles and rinse them under
running water, then fasten them to the rack using the same
plugs.
* Only available in selected models.
** The number and position may vary.
! Before loading the rack, remove all food residue from the
crockery, leave saucepans and frying pans with burnt-on
residue to soak and empty all remaining liquid from cups
and glasses. After loading the appliance, check that the
sprayer arms can rotate freely.
Lower rack
Arrange the more difficult items to wash using the
Loading
examples
as a guide and use the collapsible supports*
where needed.
• Serving dishes and lids: place these at the sides of
the rack.
• Saucepans and salad bowls: always turn these
upside down.
• Very deep dishes: position these at an angle.
In order to guarantee the best washing and drying
performance, the surface of the lower rack is more uneven
than that of the upper rack.
Cutlery basket
The type of cutlery basket may vary according to the
dishwasher model.
! Knives and other sharp utensils should be placed in the
cutlery basket with the point facing downwards.
To divide the central basket* into two separate pieces: pull
out the handle. The two detachable side compartments*
may be hooked onto the upper or lower rack.
The two grids* may be positioned in the basket to separate
the cutlery: place the pieces of cutlery into the appropriate
compartments with the handles at the bottom.
Upper rack
Load this rack with delicate and lightweight crockery:
glasses, tea and coffee cups, saucers, small salad bowls,
saucepans and small saucepans that are not too soiled,
using the
Loading examples
as a guide.
• Lightweight crockery: position these dishes so that
they will not be moved by the jets of water.
• Mugs and cups: place these on the tip-up
compartments**.
• Long sharp knives and serving utensils: place
these on the tip-up compartments**.
Adjusting the height of the
upper rack
In order to make it easier to
arrange the crockery, the upper
rack may be moved to a higher or
lower level.
Open the left and right guide rail
stops and pull out the rack;
position it higher or lower as required, slide it along the
guide rails until the front wheels are in place and close the
1
2
3
4
Loading the racks


