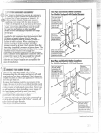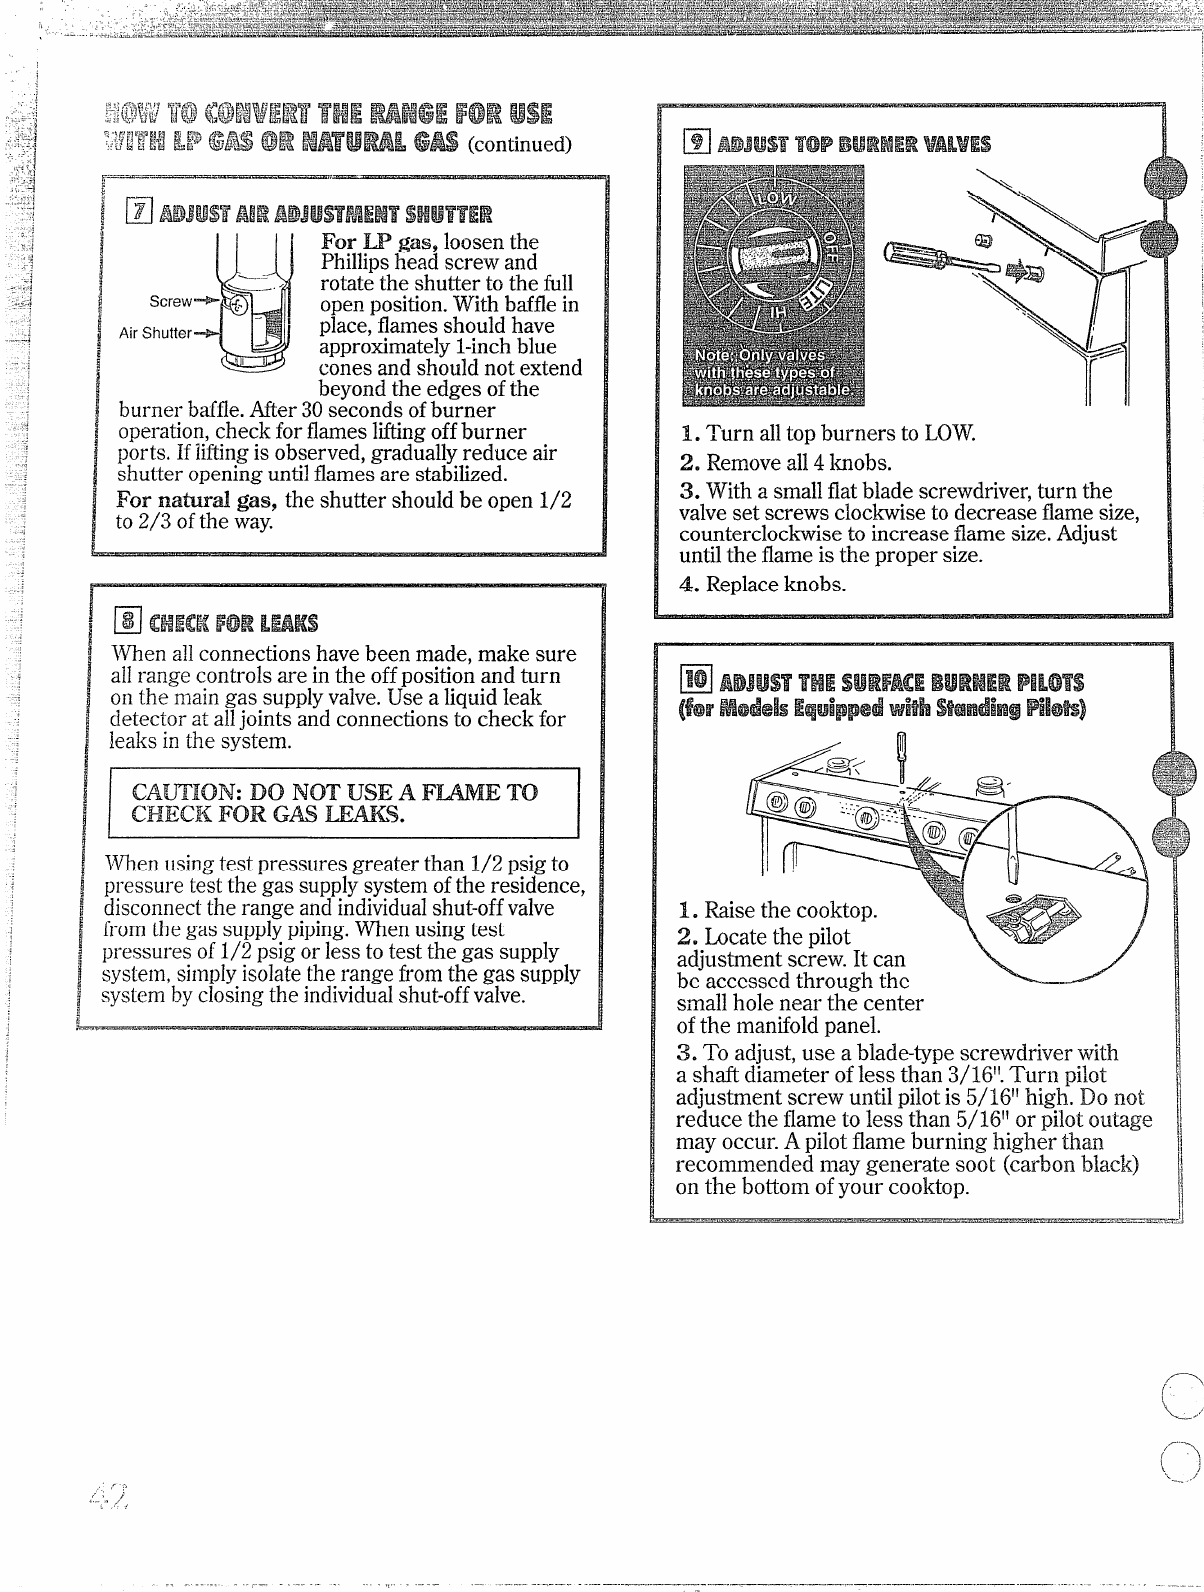
m~~~us~AI%AOJUSTFAEMTSMUTFER
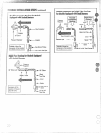
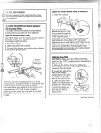
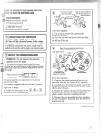
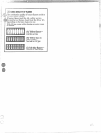
For W ~aS, loosen the
Phillipshead screw and
rotate the shutter to the full
Screw
openposition.With bafflein
Air Shutter
place,flames should have
approtirnately l-inch blue
cones and should not extend
beyondthe edges ofthe
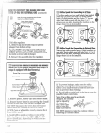
burner baffle.After30seconds ofburner
operation,check for flamesliftingoffburner
ports. Ifliftingis observed, graduallyreduce air
shutter openinguntilflames are stabilized.
For natird gas, the shutter should be open 1/2
to 2/3 ofthe way.
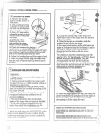
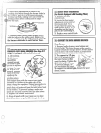
l~en all connections have been made, make sure
all range controls are in the off position and turn
on the main gas supply valve. Use a liquid leak
detector at alljoints and connections to check for
leaks in the system.
I
CA~ION:DO NOTUSEA FWE TO
CHECKFORGm mm$.
I
l~en using test pressures greater than 1/2 psig to
pressure test the gas supply system of the residence,
disconnect the range and individual shut-off valve
from the gas supply piping. When using test
pressures of 1/2 psig or less to test the gas supply
system, simply isolate the range from the gas supply
system by closing the individual shut-off valve.
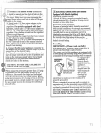
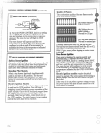
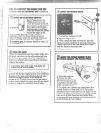
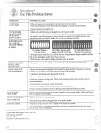
1. Turn alltop burners to LOW.
2. Removeall4 knobs.
3. With a smallflatblade screwdriver,turn the
valveset screws cloctilse to decrease flame size,
counterclockwiseto increase flame size.Adjust
untilthe flameis the proper size.
4. Replaceknobs.
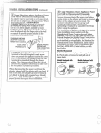
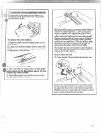
adjustment sc;ew. It can
be accessed through the
small hole near the center
ofthe manifoldpanel.
3. To adjust, use a blade-typescrewdriver with
a shaft diameter ofless than 3/16”.~ur~~pilot
adjustment screw until pilotis 5/1611high. Do not
reduce the flame to less than 5/16” or pilotoutage
may occur.A pilot flame burning higher than.
recommended may generate soot (carbon black)
on the bottom of your cooktop.


