


E
m
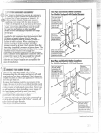
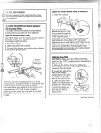
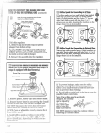
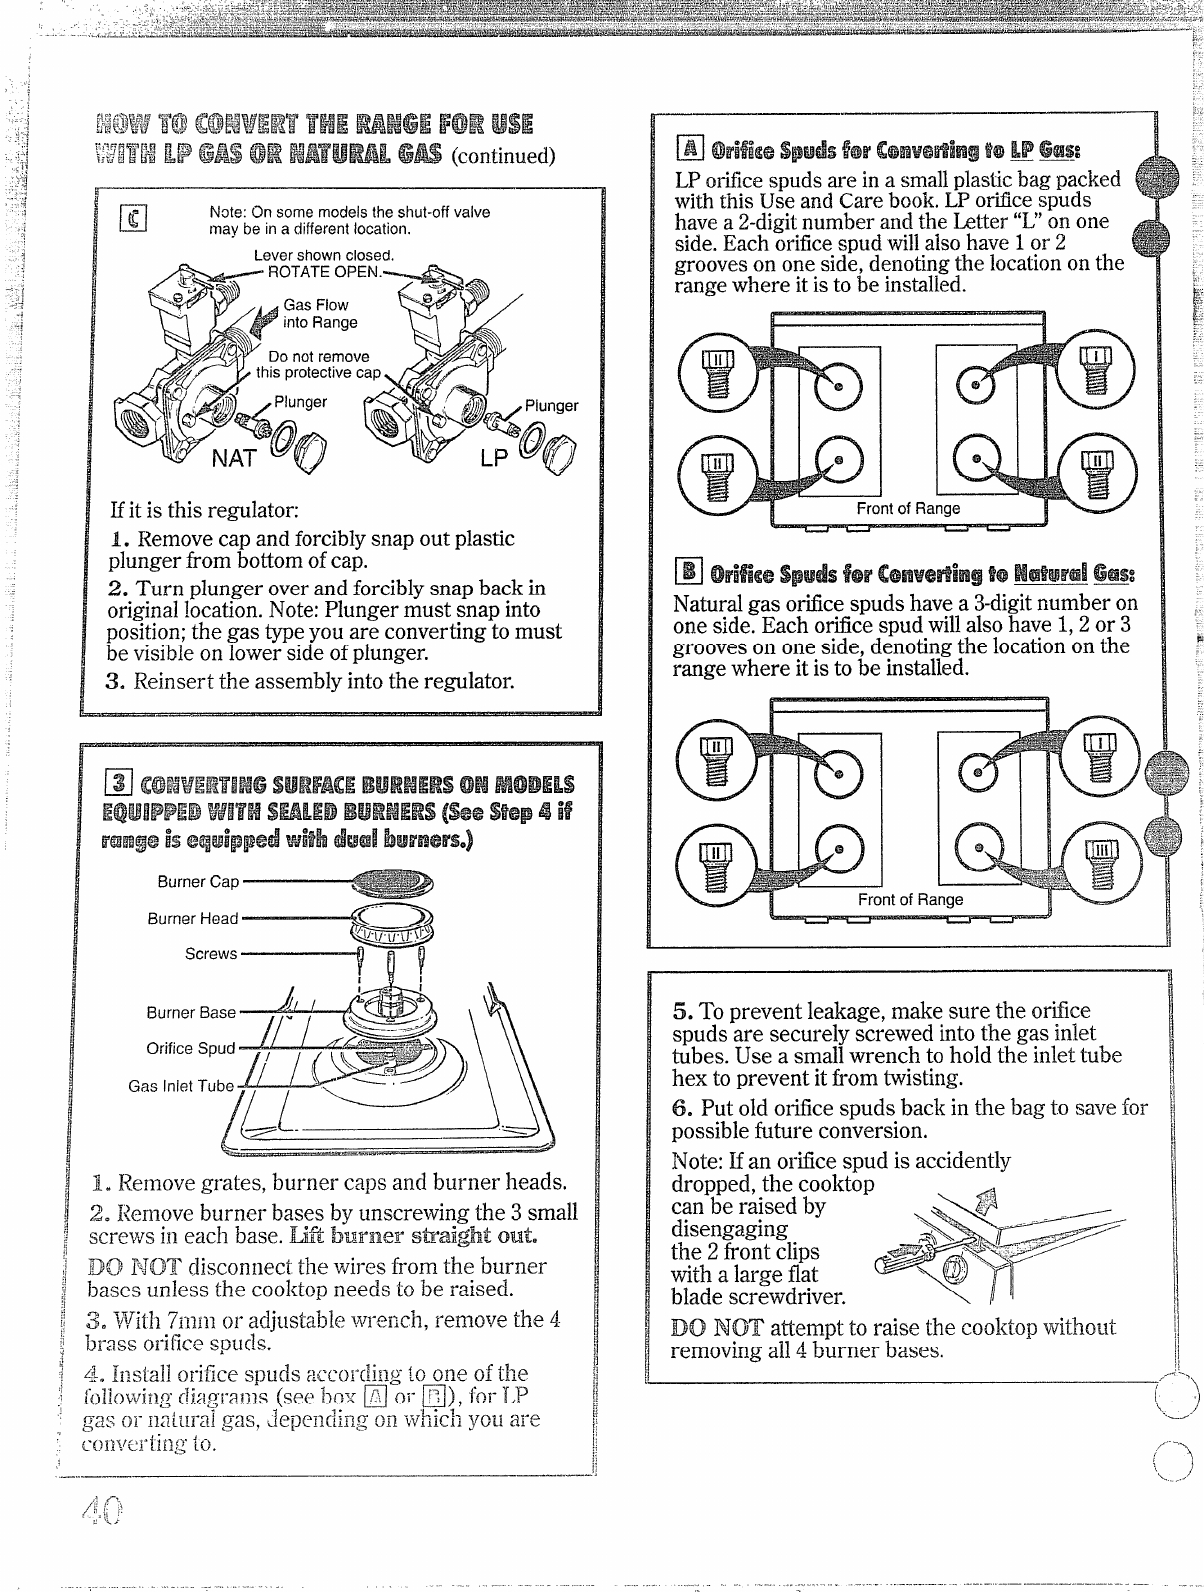
Note: Onsome modelsthe shut-off valve
may be in a different location.
1
Hit is this regulator:
1. Removecap and forciblysnap out plastic
plunger from bottom ofcap.
2. Turn plunger overand forciblysnap back in
originallocation.Note:Plunger must snap into
position;the gas typeyou are converting to must
be visibleon lower side ofplunger.
3. Reinsert the assembly into the regulator.
1
.,
—..
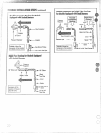
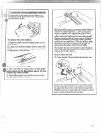
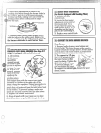
1. Remove grates, burner caps and burner heads.
LPorificespuds are in a smallplasticbag packed S
~
with this Use and Care book.LPorificespuds -
have a 2-digitnumber and the Letter “L”on one
side. Each orificespud willalso have 1or 2
4
grooves on one side, denotingthe locationon the
range where it is to be installed.
t of Ra
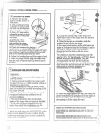
E arifi~es#wd*f@,c@mw@tiing~@H@Bw,al6as:
Natural gas orificespuds have a 3-digitnumber on
one side. Each orificespud willalso have 1,2 or 3
grooves on one side, denotingthe locationon the
range where it is to be installed.
(
?,
&
@
‘j
II
..
Front of Ra
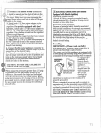
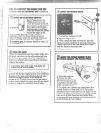
5. To prevent leakage, make sure the or~~ce
spuds are securely screwed into the gas inlet
tubes. Use a smallwrench to hold the inlet tube
hex to prevent it tiom twisting.
6. Put old orificespuds back in the bag to save for
possible future conversion.
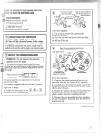
Note: Han orifice spud is aecidently
dropped, the cookbp
can be raised by
disengaging
$-...
the 2 front clips
q>fi~”
tith a large flat
blade screwdriver.
DO NOT attempt to raise the eooktop withot~t
removing all 4 bfirner bases.
.!-
i,
\
/
‘.-, “
~“--’)
‘L ...~