


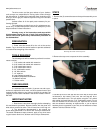
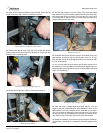
4. Remove the bottom and set to the side so that it does not
become a trip hazard.
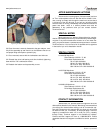
5. With the cover removed you may now remove the bolts used to
connect the drive motor to the gear reducer. Note: you need to
support the motor as you remove the bolts; failure to do so could
result in the motor falling to the ground and becoming damaged.
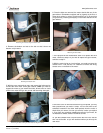
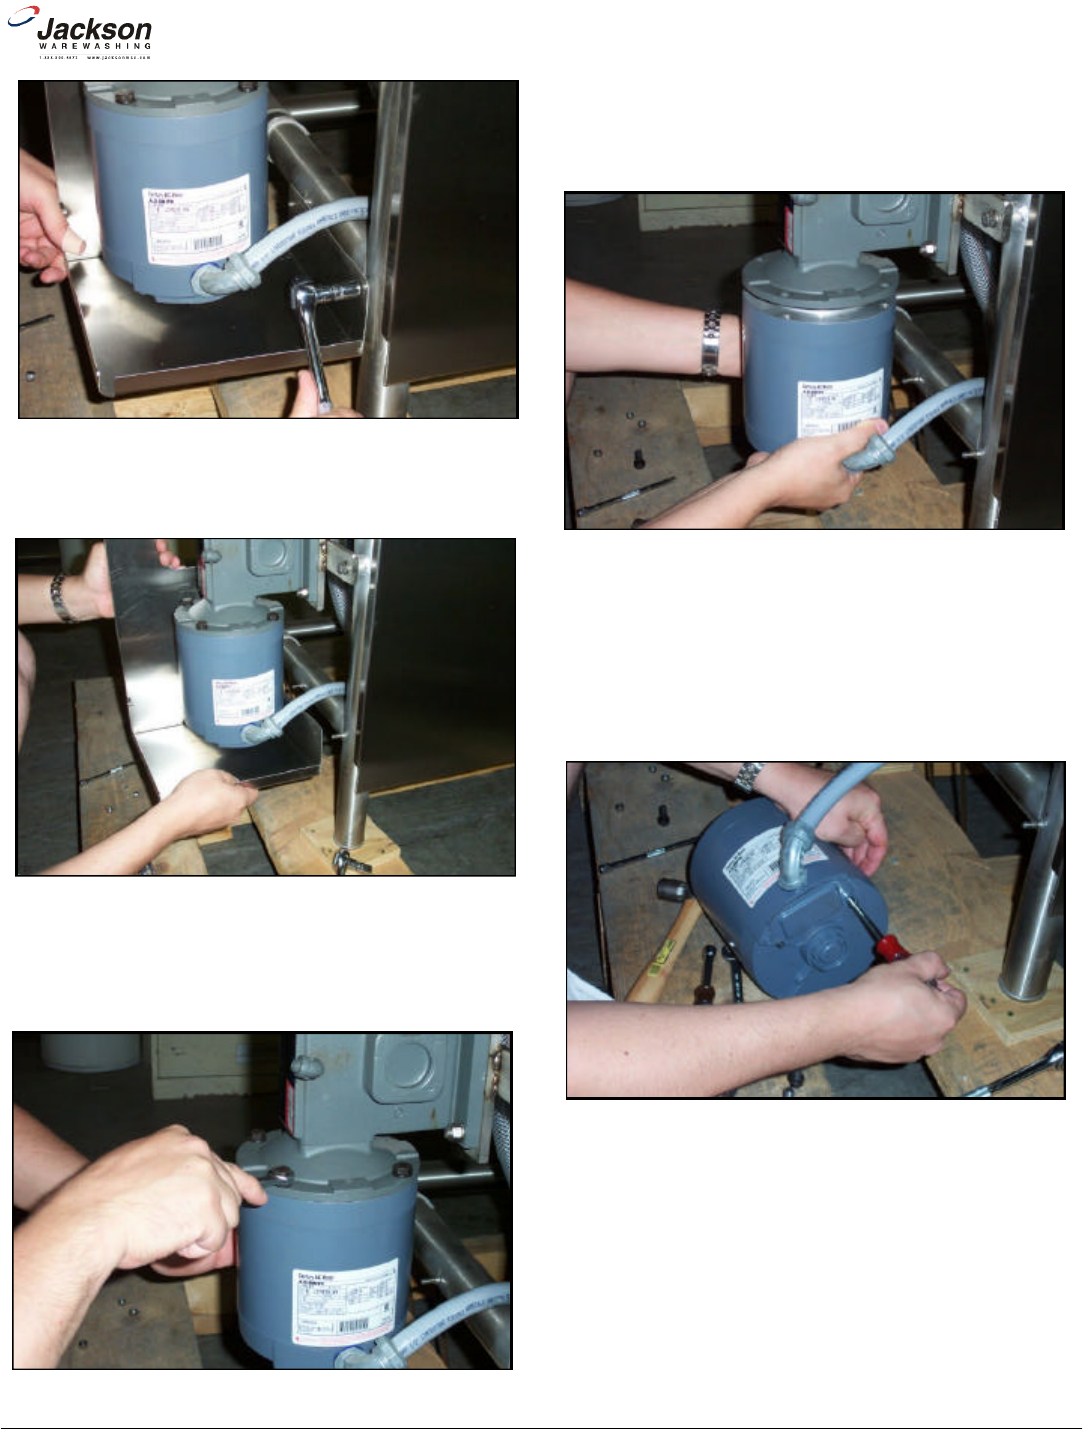
6. Once the bolts are removed, the motor should slide out of the
gear reducer. Remember to support and lay it gently on the floor or
some other surface in order to continue working on it. Be sure that
you get the key, checking the keyway on the motor shaft and in the
gear reducer.
7. If the purpose of this maintenance action is to replace the drive
motor, continue to step 8. If you wish to replace the gear reducer,
continue to step 21.
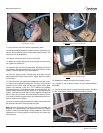
8. With the motor laying on a level surface, you need to remove the
conduit from it. First, use the 1/4” nutdriver to remove the wiring
access cover on the back of the motor.
9. Once the cover is removed and the wiring is exposed, you may
want jot down how your motor is wired. You can also refer to the
schematic located on the motor itself because how the motor is
wired when you remove it is how you will wire it when you replace
it. If you have any questions regarding the wiring of your motor, do
not hesitate to contact Jackson Technical Service.
10. pull the bundled wires out and remove the wire nuts. Set the
wire nuts to the side as you will need them when you wire up the
new motor.
www.jacksonmsc.com
Rack Conveyor Drive Motor and Gear Reducer Replacement Instructions
Revision A (07/05/2005)
3
Removing the nuts securing the bottom cover.
Removing the drive motor.
Removing the wiring access cover.
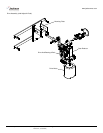
Removing the bottom cover.
Removing the bolts holding the drive motor to the gear reducer.