


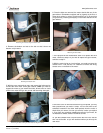
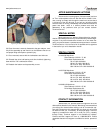
22. Once the drive hub bolt & bearing are removed, loosen the set
screw on the drive hub. There is no need to remove it.
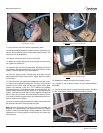
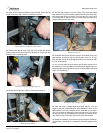
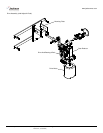
23. Remove the gear drive by using the 9/16” socket and ratchet,
as well as the combination wrench as required, to remove the nuts
holding it to the mounting plate.
24. Gently remove the gear reducer, careful not to drop it.
25. Set the gear reducer on a flat surface. The drive hub needs
tobe removed. You have already loosened the set screw, but it may
take some more effort to remove it. You may have pry it off, or give
it some taps with a mallet to coax it off of the shaft. The liberal use
of spray lubricants will also help.
26. Once the drive hub is removed, place it on the shaft of the new
gear reducer. Ensure the key is in the keyway. Once it is on and
flush with the end of the shaft, tighten down on the set screw with
the 1/8” allen wrench.
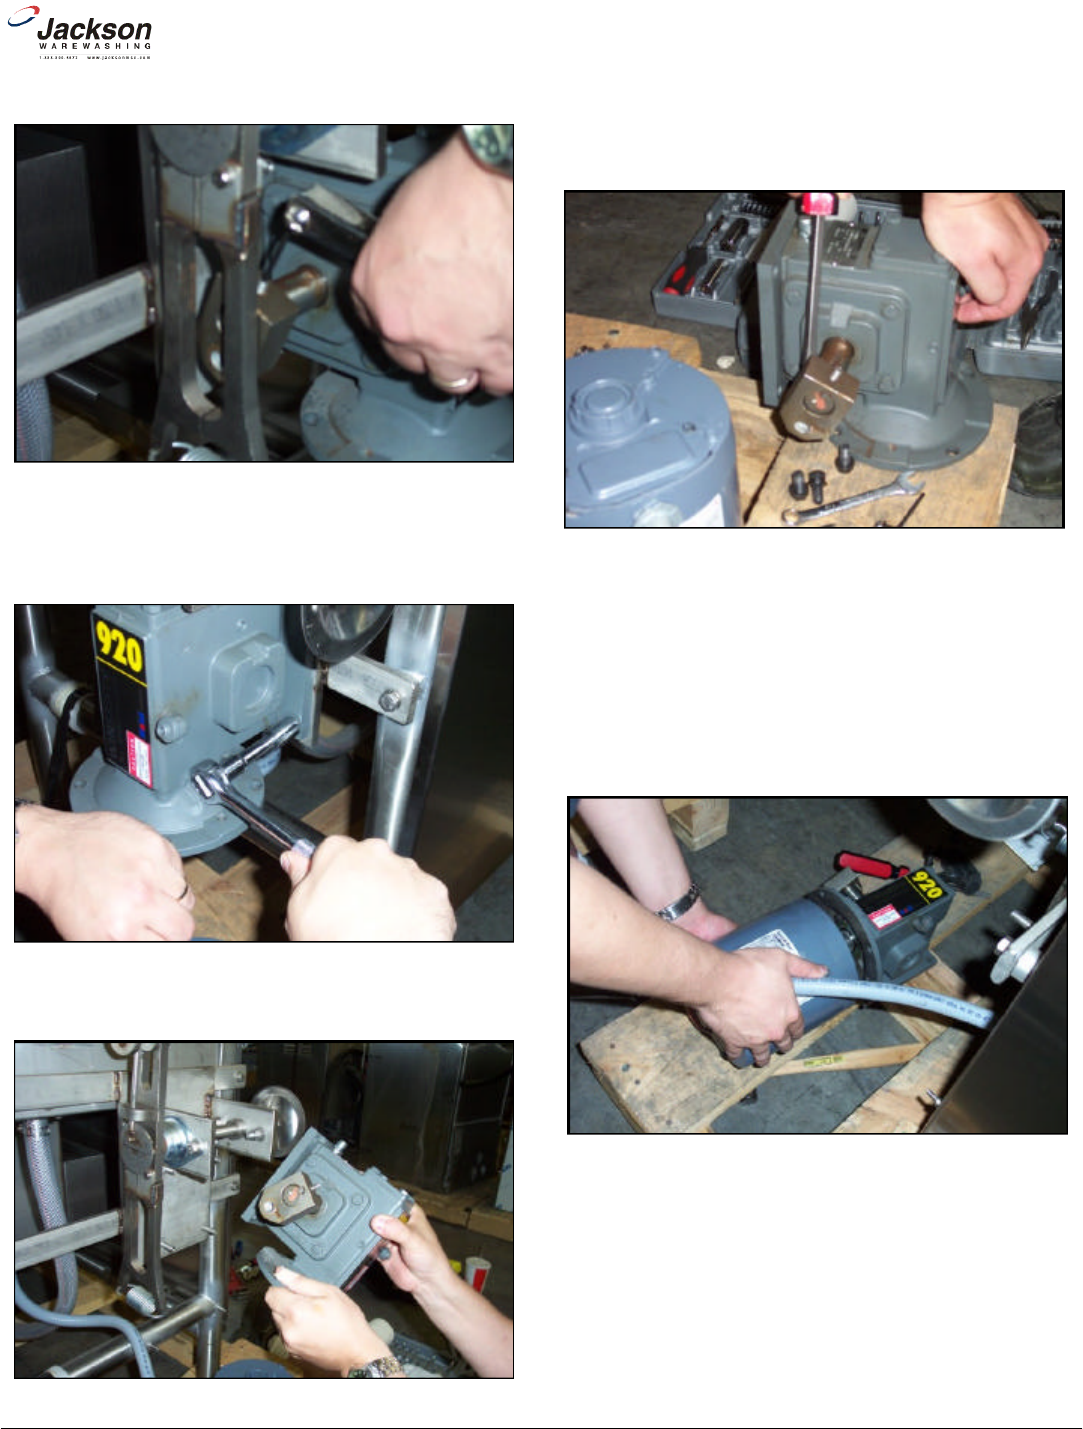
27. As you have both the drive motor and the gear reducer off of
the machine, it is much simpler to assemble them together prior to
mounting them. Ensuring that the key for the drive shaft of the drive
motor is in the keyway.
28. After the motor is mated against the gear reducer, turn the
motor so that the conduit fitting will face towards the front of the
dishmachine once both components are mounted to the frame.
This is to all the drive assembly covers to go back on. If you do not
do this, then there is a possibility the covers will not fit back on the
unit. Refer to step 18 and the note following for more details.
29. Stand the assembly up and secure them using the lockwash
-
ers and bolts. Use the 9/16” combination wrench to tighten them
down.
www.jacksonmsc.com
Rack Conveyor Drive Motor and Gear Reducer Replacement Instructions
Revision A (07/05/2005)
5
Loosening the set screw with the 1/8 allen wrench.
Removing the drive hub.
Mounting the motor to the gear reducer.
Removing the nuts holding the gear reducer on.
Removing the gear reducer.