


18
Activating and canceling the clock/day
of week display:
1. Press Setup pad.
2. Select CLOCK.
3. Press the arrow to scroll until DISABLE is displayed.
4. Select DISABLE.
5. Select TIME.
6. Select OFF to turn the clock display off, or select ON to turn
the clock display on.
7. Select OFF to turn the day of the week display off. Select
ON to turn the weekday display on.
8. To exit the Setup mode, press Setup pad.
Entering the day of the week:
1. Press Setup pad.
2. Select CLOCK.
3. Press the arrow to scroll until DAY is displayed.
4. Use Quickset arrow to scroll through the days.
5. Select day desired.
6. To exit the Setup mode, press Setup pad.
To set the clock for a 12 or 24 hour format:
The clock can be set to display time in either a 12 hour or 24
hour format.
1. Press the Setup pad.
2. Select CLOCK.
3. Use the arrow to scroll to the next screen.
4. Select 12/24 HOUR.
5. Select 12 HR or 24 HR.
6. To exit Setup mode, press Setup pad.
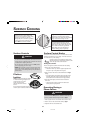
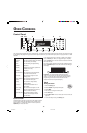
Timers
Setting the Timers (Timer 1 or Timer 2):
1. Press TIMER 1 or TIMER 2 pad.
2. Press one of the displayed times using the
Quickset pads, or press the number pads to
enter the desired time.
Important: Each press of the displayed time choices adds
additional time. For example, pressing “10 MIN” three
times provides 30 minutes on the timer (0:30).
3. Press Enter pad.
Changing the amount of time entered once the
Timer starts:
1. Press the TIMER 1 or TIMER 2 pad once.
2. Press the displayed times on the Quickset
pads repeatedly until the desired time is entered.
OR
3. Press the number pads to enter the new desired time.
4. Press Enter pad.
Canceling the Timer:
1. Press the TIMER 1 or TIMER 2 pad twice.
If both Timers are active:
If the desired Timer is already in the foreground, press once
for edit mode and twice to cancel the Timer. If the desired
Timer is not in the foreground, follow the steps below.
1. Press the desired TIMER pad once. The selected Timer will
come to the foreground.
2. Press the TIMER pad a second time to access the edit
mode in order to make changes.
3. Pressing the TIMER pad a third time will cancel the Timer.
Changing the Timer beeps:
The signal beeps for TIMER 1 and TIMER 2 can be changed.
The options available are two beeps every thirty seconds, two
beeps every sixty seconds or one beep only. The default
setting is one beep.
1. Press the Setup pad.
2. Select the arrow to scroll until TONES
is displayed.
3. Select TONES.
4. Select TIMERS TONES.
5. Select the desired timer beep format (2-30 SEC., 2-60 SEC.
or 1 BEEP).
6. Press Setup pad to exit Setup mode.
Locking the Control and Oven Door
The oven control and oven door can be locked to prevent
accidental programming. If an oven function is currently
being used, the control and door cannot be locked.
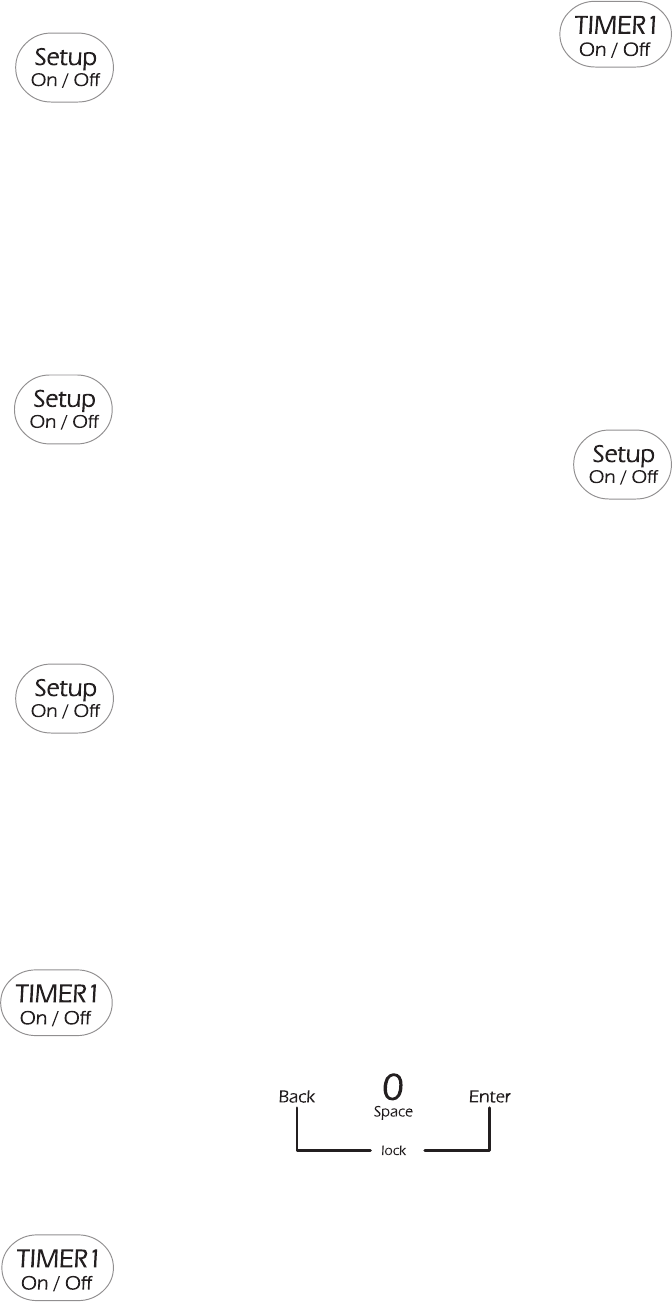
To lock the control and door:
Press the Back and Enter pads at the same time, holding for
three seconds or until CONTROL LOCKED appears in the
display.
To unlock the control and door:
Press the Back and Enter pads at the same time, holding for
three seconds. UNLOCKING DOOR will appear in the display
when the control and door are unlocking.
8113P633-60 5/3/06, 8:19 AM19