


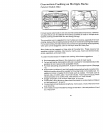
Other Hints on Caring for
Your Oven
Cleaning Other Surfaces of Your Oven
Door and control panel trim: The metal trim around the door and the control panel can be clean_
with any nonabrasive cleansers such as Bon-Ami or soapy water; rinse well. Becareful not to use
excessive amount of water.
Control panel and oven door front: To clean, use any suitable glass cleaner or soapy water.
prevent moisture from getting behind the control panel, spray a c[oth with glass cleaner then wipe t
panel
Con trol knobs: Theknobs onthe control panel can be removed with the controls inthe OFF positk
PUI)each knob straight from the shaft. Wash knobs in warm soapy water or dishwasher; do not t.
abrasive cleansers or materials. To replace each knob, match flat part of knob opening with the epri
on the shaft, returning in OFF position. .._
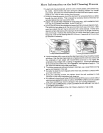
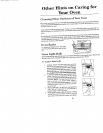
Oven Racks
To remove pull forward to the "stop" pesi- '_
finn; lift up on the front of the rack and pull
out.
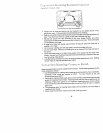
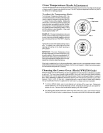
Oven Light Bulb "
Before replacing bulb, disconnect power to oven at the main fuse or circuit breaker panel. Be sure
the entire oven cavity including the light bulb is cool before attempting to remove,
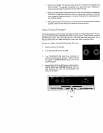
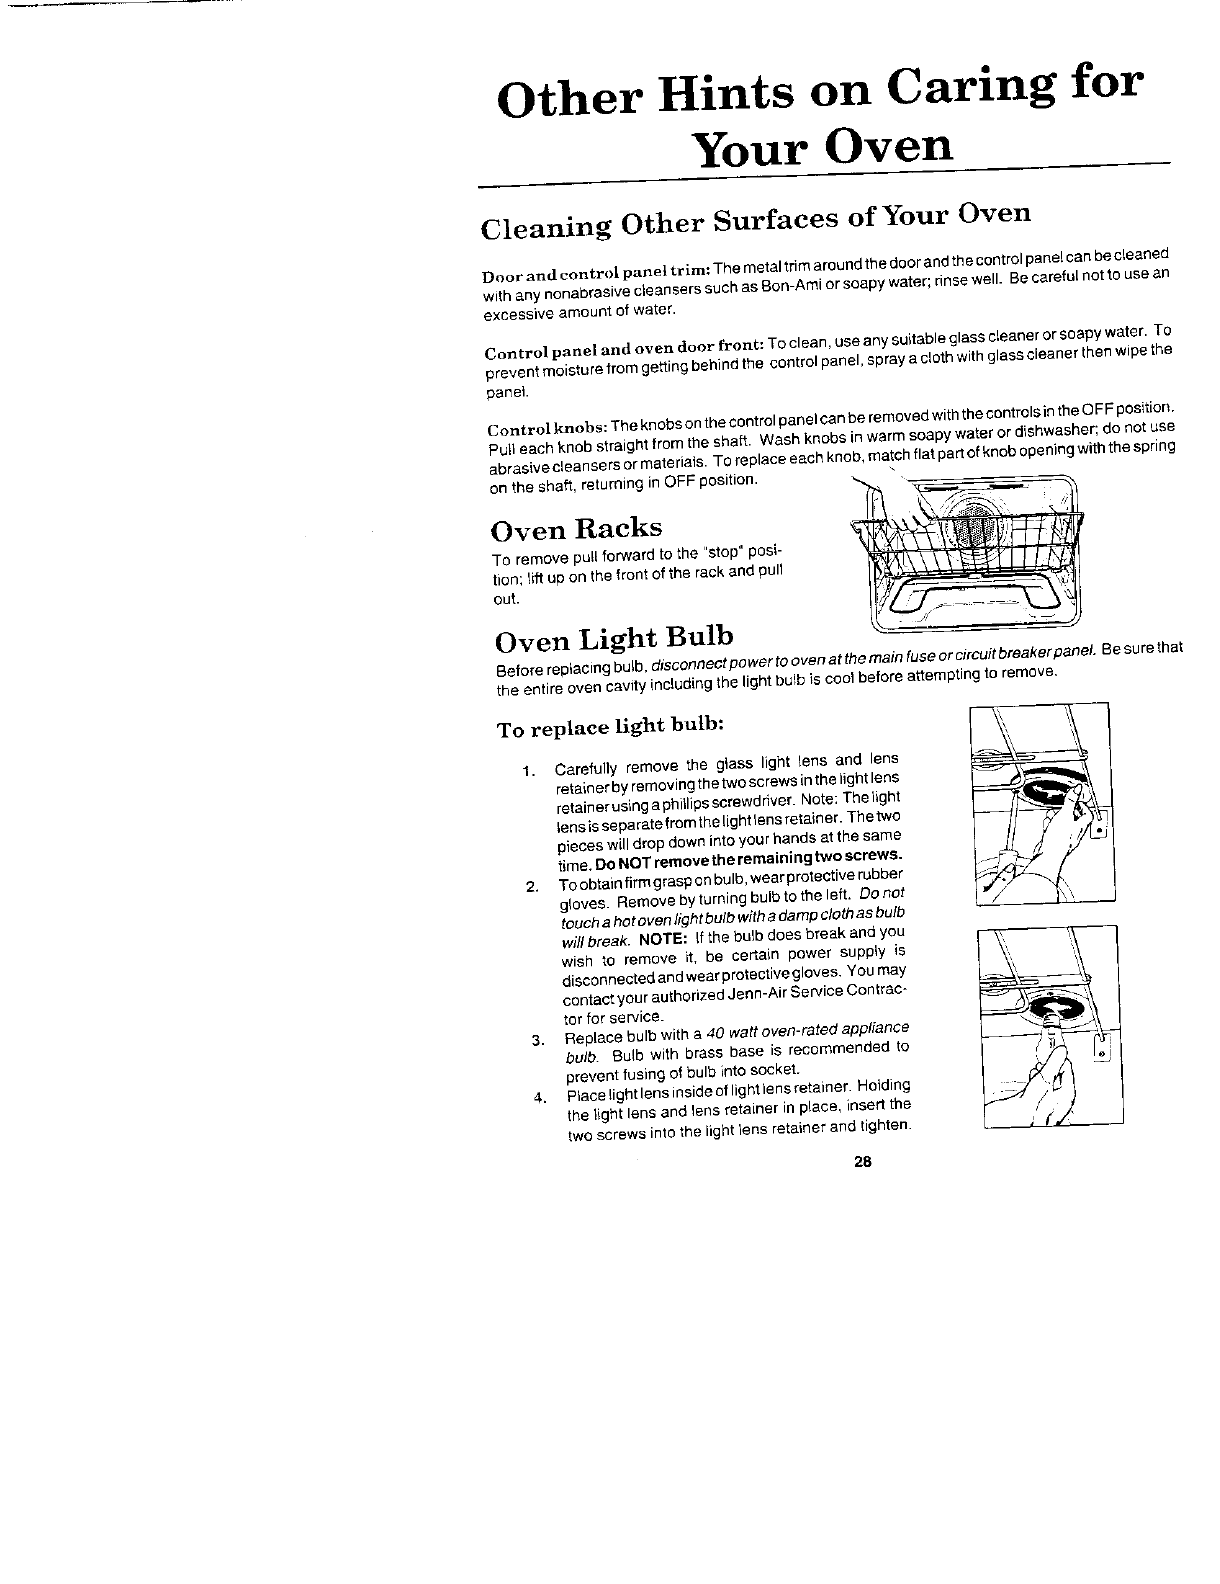
To replace light bulb: I _', "_I' "'
1. Carefot_y remove the giaes tight lens and lens _ I
retainer by removing the two screws in the light lens
retainer using a phillips screwdriver. Note: Thei}ght
tens ieseparate from the light Sensretainer. The two
pieces will drop down into your hands at the same
time. Do NOT remove the remaining two $crewa.
2. Toobtain firm grasp onbulb, wear protective rubber
gloves Remove byturning bulb tothe left, Donot
touch ahot oven light bulb with a damp cloth asbulb
will break. NOTE: (f the bulb does break and you \_, '_I_ 'wish to remove it, be certain power supply is \, ,_ i
dieconnectedandwearprotectivegtoves. You may
contact your authorized Jean-Air Semice Contrac-
tor for service.
3. Replace bulb with a 40 wattoven-ratedappfiance
bulb. Bulb with brass base is recommended to --_'_r_ I
prevent fusing of bulb into socket.
4. Plaeelightlensinsideoflightiensretainer. Hotding
the light lens and lens retainer in place, insert the
two screws into the light tens retainer and tighten.
28