


General
Care & Cleaning
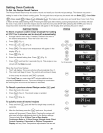
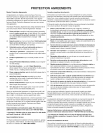
Lift up and pull out.
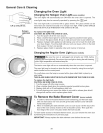
Changing the Oven Light
Changing the Halogen Oven Light (somemoaels)
The oven lights will automatically turn ON when the oven door is opened. The
oven lights may also be manually operated by pressing the @ pad.
The oven light bulb is covered with a glass shield. The glass shield can be
removed to be cleaned manually or to change oven light. THIS GLASS SHIELD
MUST BE IN PLACE WHENEVER THE OVEN IS IN USE.
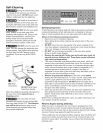
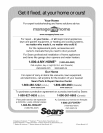
Halogen
Light Bulb
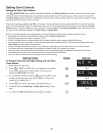
To replace the light bulb:
CAUTION: BE SURE THE OVEN IS COOL.
1. Turn the power off at the main source.
2. Wear a leather-faced glove for protection against possible broken glass.
3. To remove the glass shield, lift up on side and use force to pull shield out.
4. Replace halogen light appliance bulb taking care not to touch the bulb with
your bare fingers. Touching bulb with your skin can leave a film on the bulb
that causes it to burn out quickly.
5. Replace glass shield in opposite order and manner of removal.
ii
//
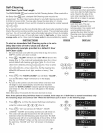
Changing the Regular Oven Light (somemodels)
Be sure the oven is unplugged and all parts are COOL before
replacing the oven light bulb. Do not turn the oven light on during the self-cleaning
cycle. High temperature will reduce lamp life.
The interior oven light will turn on automatically when the oven door is opened.
The oven light may be turned on when the door is closed by using the oven light
switch located on the control panel.
On a self clean oven the lamp is covered with a glass shield held in place by a
wire holder.
THiS GLASS SHELD MUST BE IN PLACE WHENEVER THE OVEN IS IN USE.
To replace the light bulb:
CAUTION: BE SURE OVEN IS COOL
1. Turn the power off at the main source.
2. Wear a leather-faced glove for protection against possible broken glass.
3. Replace bulb with a 40 watt appliance bulb only.
4. For self-cleaning oven, press wire holder to one side to release glass shield,
change bulb and be sure to replace glass shield.
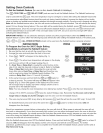
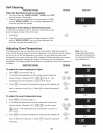
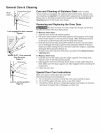
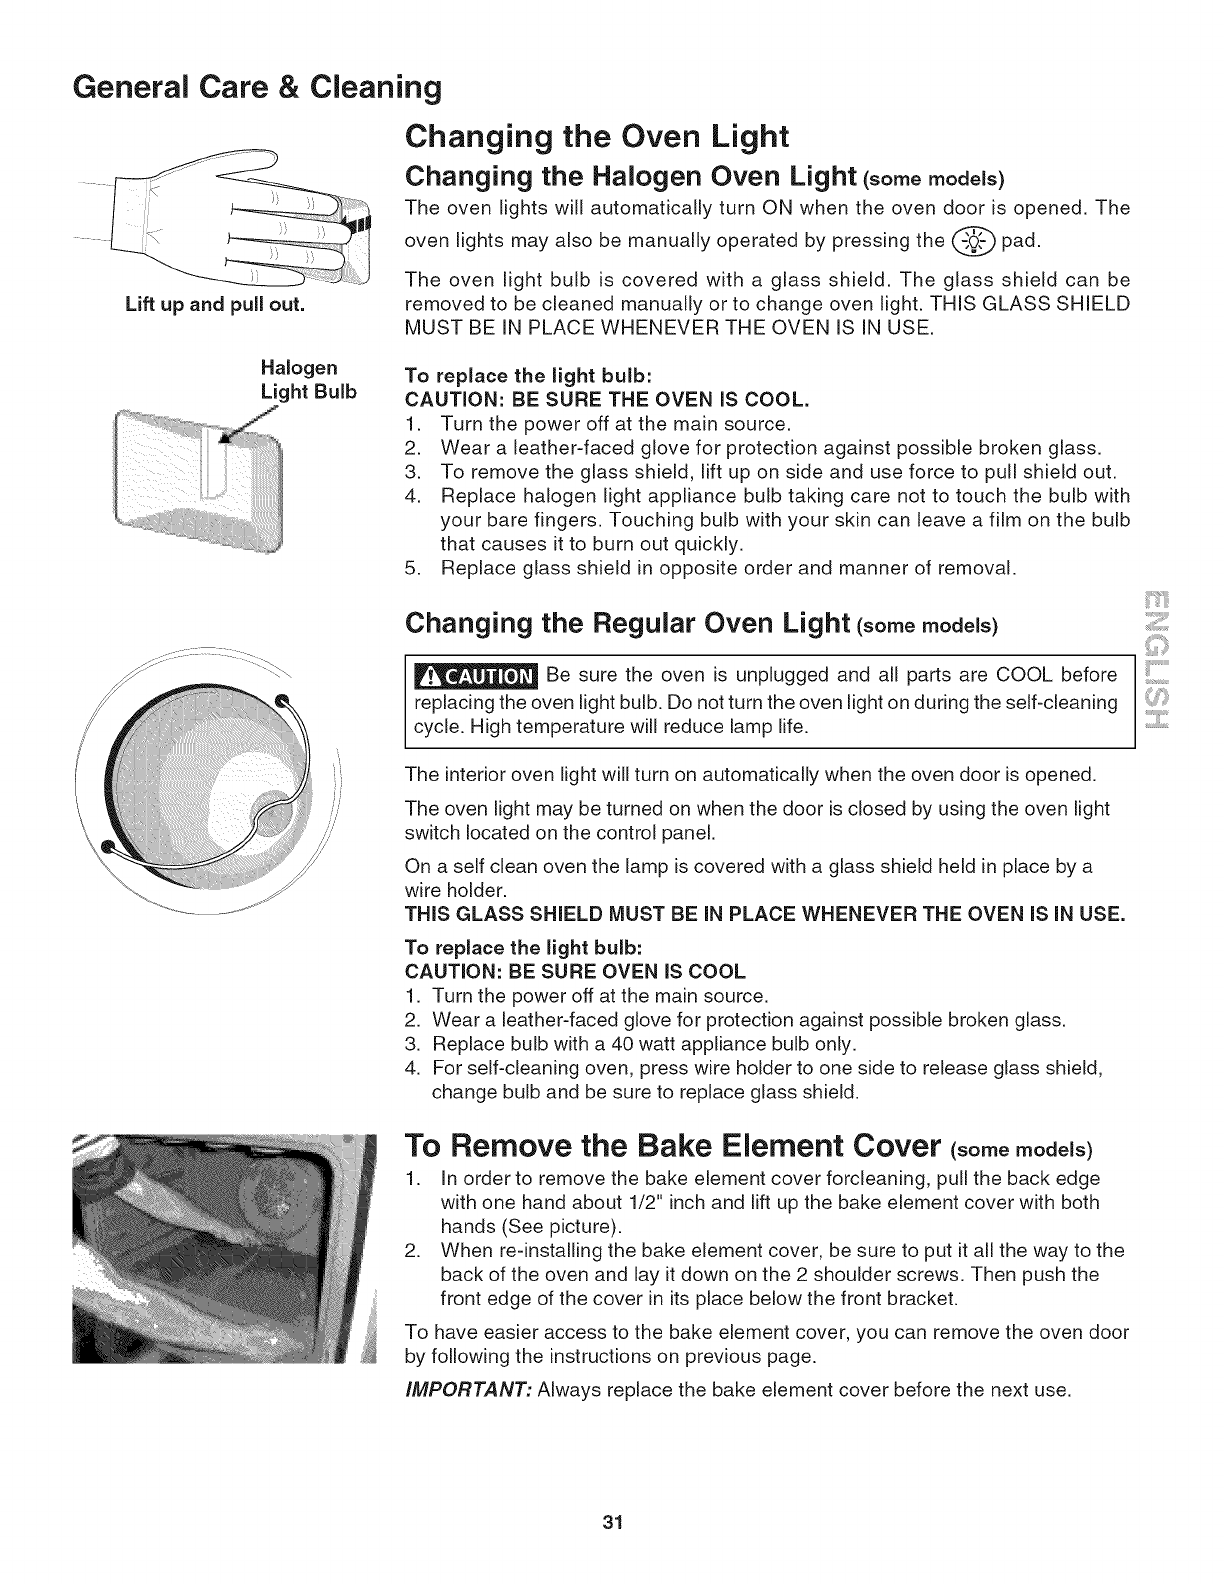
To Remove the Bake Element Cover (somemode_s)
1. In order to remove the bake element cover forcleaning, pull the back edge
with one hand about 1/2" inch and lift up the bake element cover with both
hands (See picture).
2. When re-installing the bake element cover, be sure to put it all the way to the
back of the oven and lay it clown on the 2 shoulder screws. Then push the
front edge of the cover in its place below the front bracket.
To have easier access to the bake element cover, you can remove the oven door
by following the instructions on previous page.
IMPORTANT: Always replace the bake element cover before the next use.
31