15
Oven Controls
Setting the Sabbath Feature (for use on the Jewish
Sabbath and Holidays)
For further assistance, guidelines for proper
usage, and a complete list of models with
the Sabbath feature, please visit the web at:
star-k.org
This appliance provides special settings for
use when observing the Jewish Sabbath/Holidays. Sabbath
mode disables all audible tones or visual display changes on the
oven control. Bake heating is the only cooking feature available
while in the Sabbath mode.
You must first set the Bake feature and temperature(s) needed
for the oven, the Cook Time and Delay Start options (if needed),
before setting the Sabbath mode. Any settings made prior to
setting the Sabbath mode will be visible in the displays. The
Cook Time option, if set prior to the Sabbath mode, will give one
audible alert at the end of Cook Time.
The Sabbath mode will override the factory preset 12 hour
energy saving mode, and the appliance will stay on until the
cooking features are cancelled. If any of the cooking features
are cancelled when the appliance is in the Sabbath mode, no
audible or visual indicators will be available to verify the can-
cellation.
If the oven light is needed during the Sabbath, press to turn
the oven light on before activating the Sabbath feature. Once
the oven light is turned on and the Sabbath feature is active, the
oven light will remain on until the Sabbath feature is turned off.
If the oven light needs to be off, be sure to turn the oven light off
before activating the Sabbath feature.
It is recommended that any oven temperature change with the
Sabbath feature active be followed with two presses of .
This will ensure the oven remains on even if the attempt to set
the oven temperature was lower or higher than the oven control
can accept. If the oven temperature is set incorrectly, the oven
temperature will default to 170°F or 550°F. Try to set the
desired oven temperature again.
Food Poisoning Hazard. Do not let food sit for
more than one hour before or after cooking. Doing so can result
in food poisoning or sickness. Foods that can easily spoil such as
milk, eggs, fish, meat, or poultry should be chilled in the refriger-
ator first. Even when chilled, they should not stand in the oven
for more than 1 hour before cooking begins and should be
removed promptly when finished cooking.
To program oven to Bake with default oven temperature of
350°F and activate the Sabbath feature:
1. Be sure the clock is set with the correct time of day.
2. Arrange oven racks, place bakeware in oven, and close
oven door.
3. Press the Bake key.
4. Press .
5. If Cook Time or Delay Start are not needed, skip this step
and continue to Step 6. If a Cook Time or Delay Start are
desired, enter the times at this point. Refer to the “Setting
Cook Time” and “Setting Delay Start” sections on page 11
for detailed instructions.
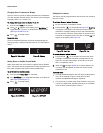
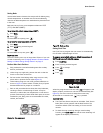
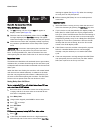
6. Press and hold both Cook Time and Delay Start simultane-
ously for about 3 seconds to set the Sabbath feature. Once
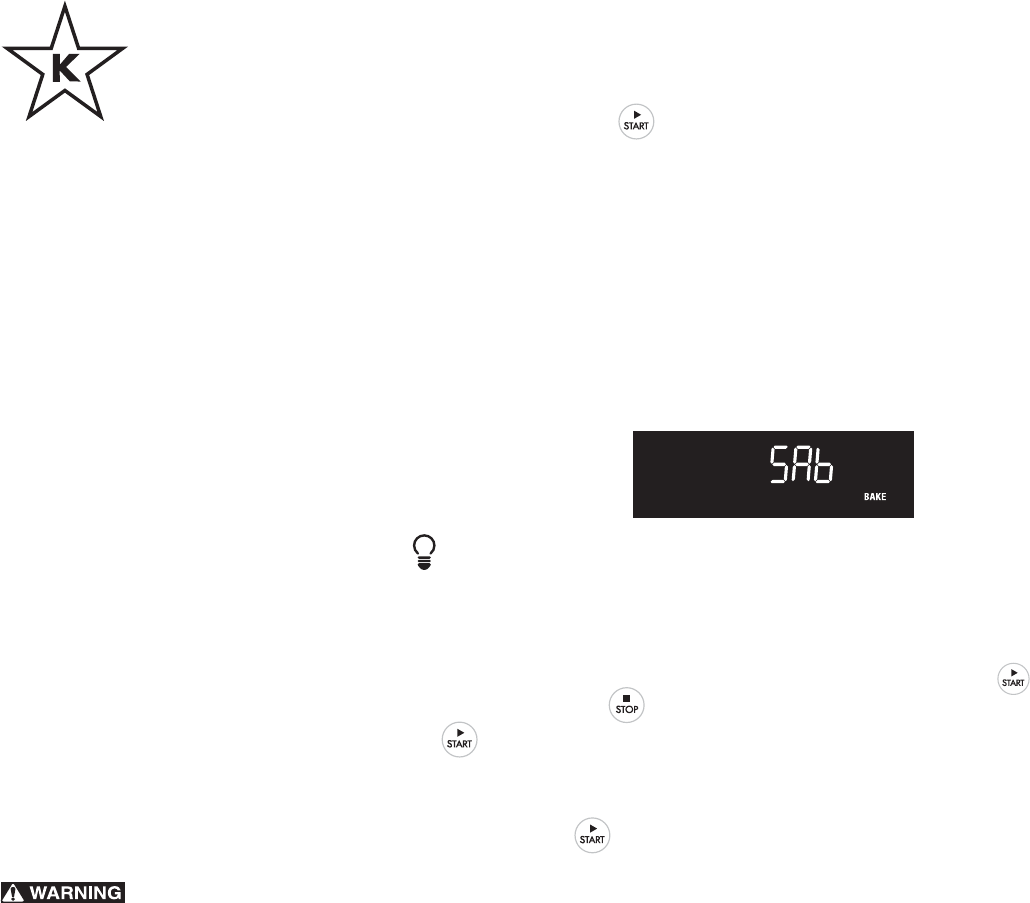
the feature is set, SAb will appear in the display indicating
the oven is properly set for the Sabbath feature (See
Figure 18).
Important note:
• It is not advised to attempt to activate any other oven
function except Bake while the Sabbath feature is active.
Only the following keys will function correctly when the
Sabbath feature is active: 0-9 number keypads, Bake, ,
and . All other keys should not be used once the
Sabbath feature is active.
• You may change the oven temperature once baking has
started. Press the Bake key, use the numeric keypad to enter
the oven temperature change (170 to 550F°), and press
(for Jewish Holidays only). Remember that the oven
control will no longer provide audible tones or display any
further changes when the Sabbath feature is active.
• Remember the oven will shut-off automatically after
completing a Cook Time, Delay Start, or Warm & Hold.
Therefore, it may only be used once during the Sabbath/
Jewish holidays.
• If a Delay Start time longer than the default 11 hours and
59 minutes is desired, set the oven control for the 24 hour
day display mode setting. For detailed instructions, see
“Setting 12 or 24 Hour Display Mode” on page 9.
Figure 18: SAb


