2
B150 Direct Plumb Unit Installation Instructions
The B150 brewer is designed to be easily transformed from the as-purchased, Pour Over
configuration to a plumbed unit. Reconfiguration is designed to be easily and quickly
accomplished by a technician using only a #2 Phillips screw driver.
It is advised that prior to beginning installation that all water be drained from the system
using the drain tubes located at rear of brewer (see Page 8 for Draining Instructions). The
brewer MUST also be disconnected from AC power supply during DPK installation.
1. Disconnect the brewer from AC power and drain the brewer’s Hot Water Tank as
detailed in instructions shown on Page 8.
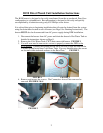
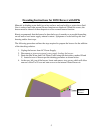
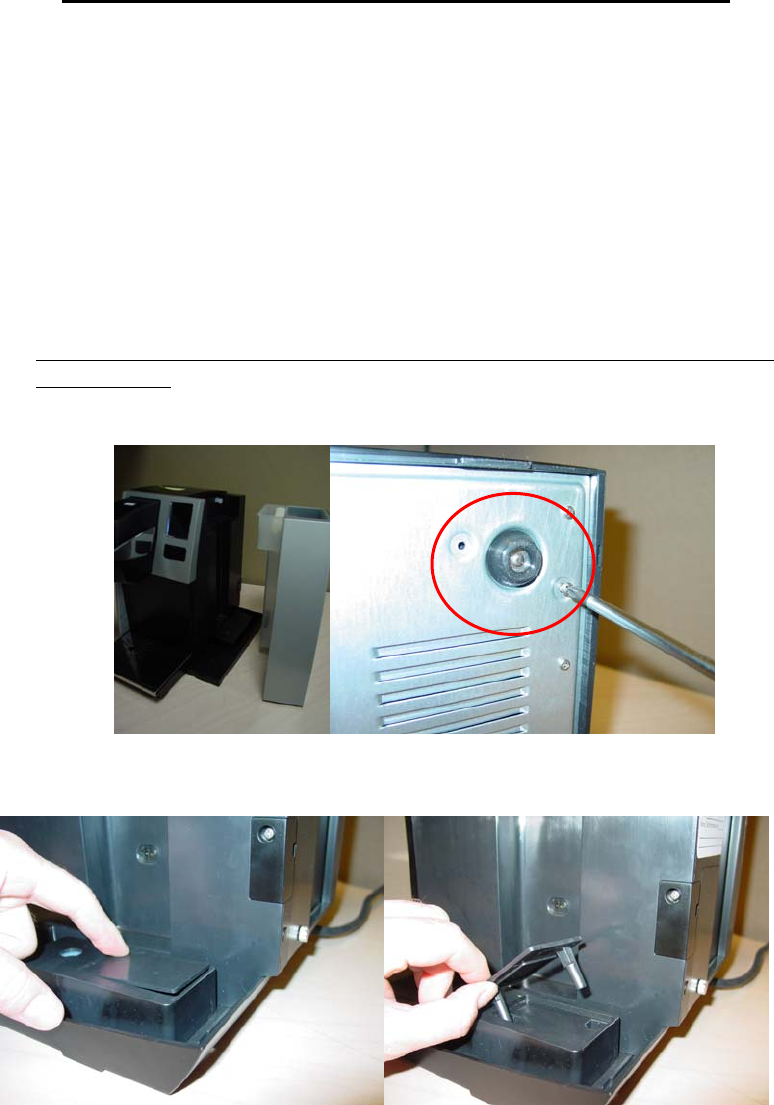
2. Remove the Cold Water Tank (CWT) that came with brewer. FIGURE 1
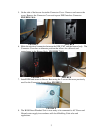
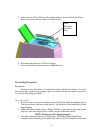
3. You will now need to remove two covers to properly connect the DPK to the
B150 Brewer. Turning the drained brewer on its left side, locate and remove the
2 screws located below that Cold Water Tank. For easy identification, the screws
are located within indented surfaces on the Base Plate. FIGURE 2
FIGURE 1 FIGURE 2
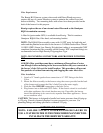
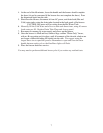
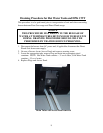
4. Remove and reserve the screws. The Connection Access Plate can now be
removed. FIGURES 3 & 4
FIGURE 3 FIGURE 4


