


11
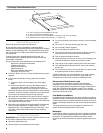
Install Vent System
1. Place cardboard or similar material on top of a flat surface
where you can easily assemble the downdraft vent system.
2. Remove parts packages, downdraft vent and blower box
from the carton.
3. Remove all shipping materials, tape and film from the
downdraft vent and blower box.
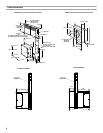
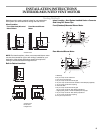
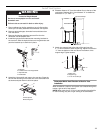
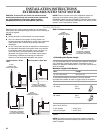
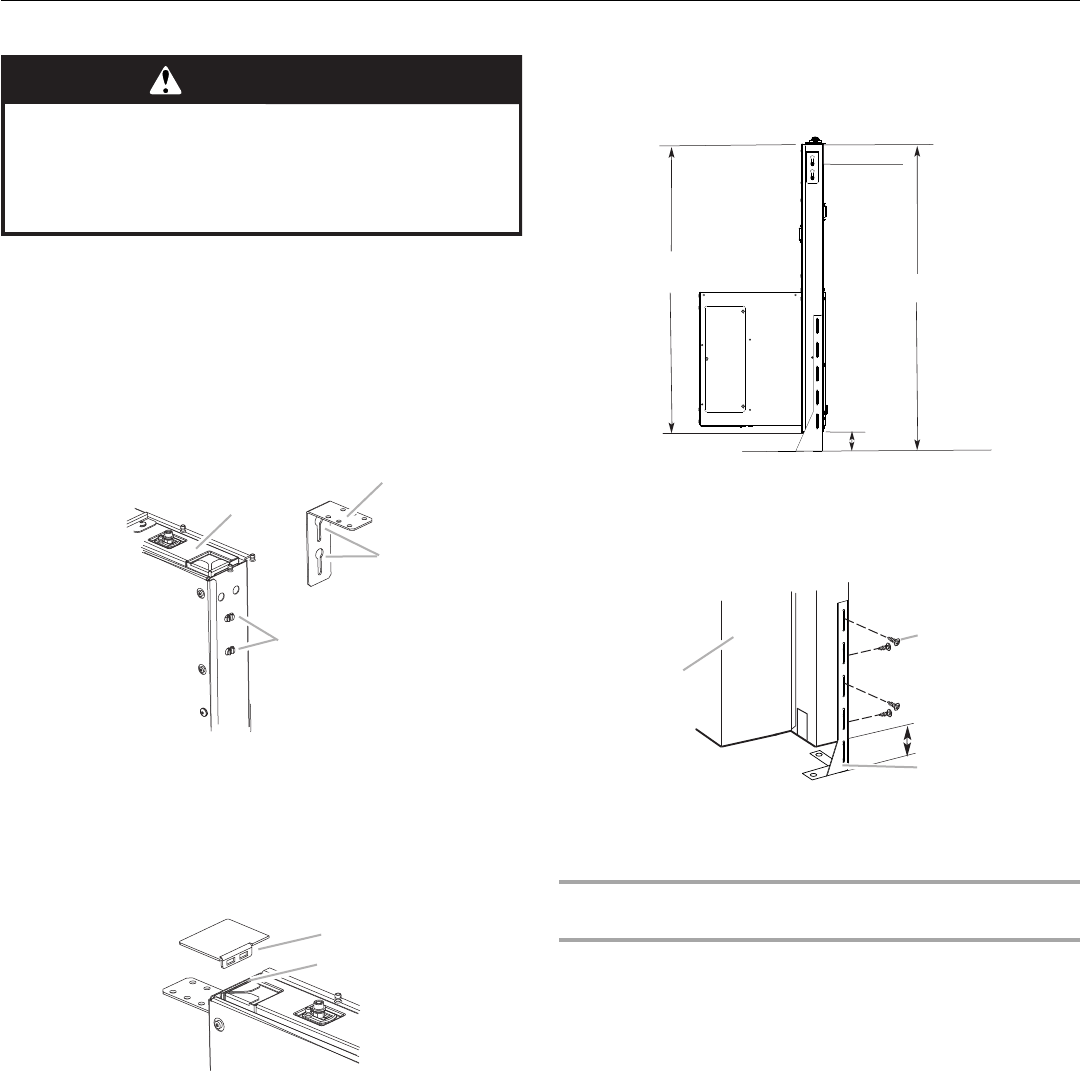
4. Install the right and left undercounter mounting brackets to
the vent box. Slide the keyhole slots over the guide tabs and
push the brackets up to set them in place.
5. Attach the right and left end caps to the vent box. Place the
tab into the mounting slot at each end of the downdraft vent
as shown and push down to lock into place.
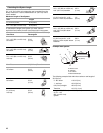
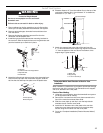
6. Measure distance “X” from the cabinet floor to the top of the
countertop. Subtract 28¹⁄₂" from distance “X” to determine
dimension “Y” (X - 28¹⁄₂ = Y).
7. Attach the support legs to the side of the vent box with
4-4x8mm screws in each support leg. Adjust to dimension
“Y” from the bottom of the vent box to the bottom of the
support legs. Tighten screws.
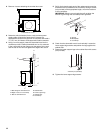
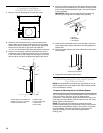
Determine Which Vent Direction Is Best for Your
Installation
When installed in a cabinet, vent system can exhaust through the
bottom, right or left of the cabinet.
NOTE: When using the 6" (15.2 cm) vent transition (supplied) for
6" round venting, only left or right venting is recommended.
A.Vent box
B.Undercounter mounting bracket
C.Keyhole slots
D.Guide tabs
A.End cap tab
B.Mounting slot
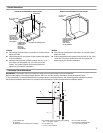
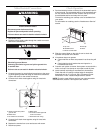
WARNING
Excessive Weight Hazard
Use two or more people to move and install
downdraft vent.
Failure to do so can result in back or other injury.
B
C
D
A
A
B
A.Motor box
B.Support leg
C.4 x 8 mm screws (4)
Cabinet floor
Top of countertop
Downdraft vent
“X”
“Y”
28¹⁄₂"
(73 cm)
A
B
Dim. “Y”
C