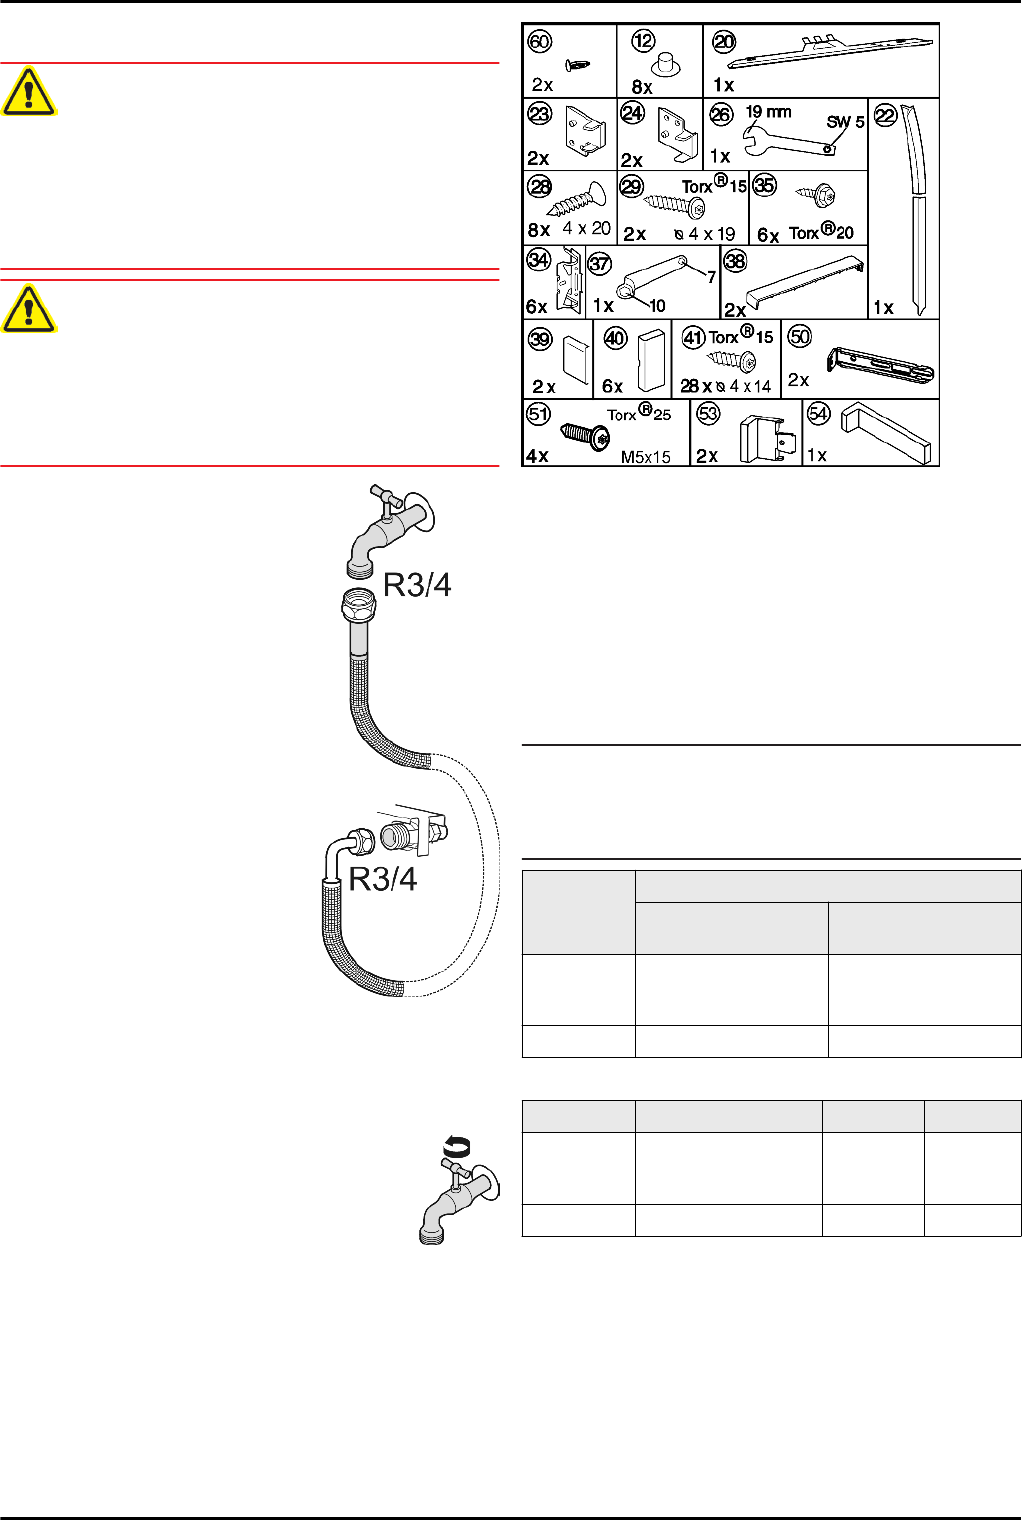
4.4 Water connection*
WARNING
Danger of electric shock!
u
Disconnect the appliance by unplugging it before you
connect it to the water line.
u
Shut off the water supply before you connect the water feed
lines of the IceMaker.
u
The connection to the drinking water system may be carried
out only by a qualified gas fitter and plumber.
WARNING
Risk of poisoning!
u
The water quality has to comply with the drinking water ordi-
nance of the respective country (e.g. 98/8
u
The IceMaker serves exclusively for making ice cubes in
household quantities and has to be operated with water suit-
able for the purpose.
- The water pressure has to be
between 0.15 MPa and 0.6 MPa
(1.5 bar - 6 bar).
- The water supply to the appliance
must be via a cold water pipe which
withstands the operating pressure
and complies with the hygiene regu-
lations.
Use the accompanying stainless
steel hose (1.5 m). Do not reuse old
hoses. A 3 m hose is available from
the customer service department
and has to be fitted by an expert.
In the hose connecting piece is a
sieve with seal.
- Between the hose and the domestic
water connection there has to be a
stopcock to interrupt the water
supply in case of need.
- All the fixtures and fittings used for
water supply have to comply with
the applicable regulations of the
respective country.
- Do not damage or kink the water
inlet pipe when installing the appli-
ance.
u
Connect the straight part of the accompanying stainless
steel hose to the stopcock.
The solenoid valve is at the bottom back of the appliance. It
has a metric R3/4 connecting thread.
u
Connect the angled part of the stainless steel hose to the
solenoid valve.
u
Open the stopcock of the water supply and
check that the entire water system is leakproof.
Before initial use:
u
Have the water pipe bled of air by the proper
expert.
4.5 Installation
All the mounting components accompany the appliance.
Fig. 6
Make sure the following tools are on hand:
q
Cordless screwdriver Torx®15, 20, 25
q
Screwdriver
q
Spanner 13, Spirit level
The intermediate base and side wall of the kitchen unit have to
be at right angles to one another. Align the kitchen unit using a
spirit level and angle. If necessary, use shims.
The appliance can also be installed in an ordinary kitchen
cabinet. In this case detach the fittings of the unit door and
recess. They are no longer needed as the unit door is fitted to
the appliance door.
Note
u
Before assembling the door of the unit, make sure that the
admissable weight of the unit door is not exceeded.
u
Otherwise damage to the hinges and resultant malfunction
cannot be ruled out.
Max. weight of unit door
Refrigerator
compartment door
Freezer compart-
ment door
ICN 30..,
SICN 30..,
ICP 30..
14 kg 12 kg
IC 29.. 13 kg 12 kg
Check installation dimensions:
A B C
ICN 30..,
SICN 30..,
ICP 30..
1772 mm - 1778 mm 1769.5 mm 695 mm
IC 29.. 1574 mm - 1590 mm 1574,5 mm 549 mm
Putting into operation
6


