


6 Maintenance
6.1 Defrosting with NoFrost
The NoFrost system automatically defrosts the appliance.
Refrigerator compartment:
The defrost water evaporates due to the compressor heat. Drops
of water on the rear wall are perfectly normal.
u
Regularly clean the drain opening to allow the water to flow
away (see 6.2) .
Freezer compartment:
The moisture condenses on the evaporator, is periodically
defrosted and evaporates.
u
The appliance does not have to be manually defrosted.
6.2 Cleaning the appliance
Before cleaning:
CAUTION
Risk of injury and damage as a result of hot steam!
Hot steam may damage the surfaces and cause burns.
u
Do not use any steam cleaners!
NOTICE
Incorrect cleaning damages the appliance!
u
Do not use cleaning agents in concentrated form.
u
Do not use any scouring or abrasive sponges or steel wool.
u
Do not use any cleaning agents containing sand, chloride,
chemicals or acid.
u
Do not use chemical solvents.
u
Do not damage or remove the type plate on the inside of the
appliance. It is important for the customer service.
u
Do not pull off, bend or damage cables or other components.
u
Do not allow any cleaning water to enter the drain channel,
ventilation grille or electrical parts.
u
Empty the appliance.
u
Pull out the plug.
- Use soft cleaning cloths and a multi-purpose
cleaning agent with neutral pH value.
- Only use food compatible cleaning and care agents
on the inside of the appliance.
u
Regularly clean ventilation grilles.
w
Dust deposits increase energy consumption.
Outside surfaces and interior:
u
Clean the plastic surfaces, outside and inside, by hand using
lukewarm water and a little washing-up liquid.
NOTICE*
The stainless steel doors are provided with a high-quality surface
coating and must not be treated using the accompanying care
product.
Otherwise the surface coating will be affected.
u
Wipe the coated door surfaces using a soft, clean cloth only.
In case of stubborn dirt, use a little water or a neutral cleaning
agent. A microfibre cloth can be optionally used.
u
If the stainless steel side walls are dirty, clean them using
a commercially available stainless steel cleaning agent. Then
evenly apply the accompanying stainless steel care product,
making strokes in the direction of the grain.
u
Wipe side walls with a paint finish using a soft, clean cloth
only. In case of stubborn dirt, use a little water or a neutral
cleaning agent. A microfibre cloth can be optionally used.
u
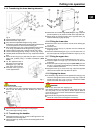
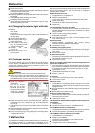
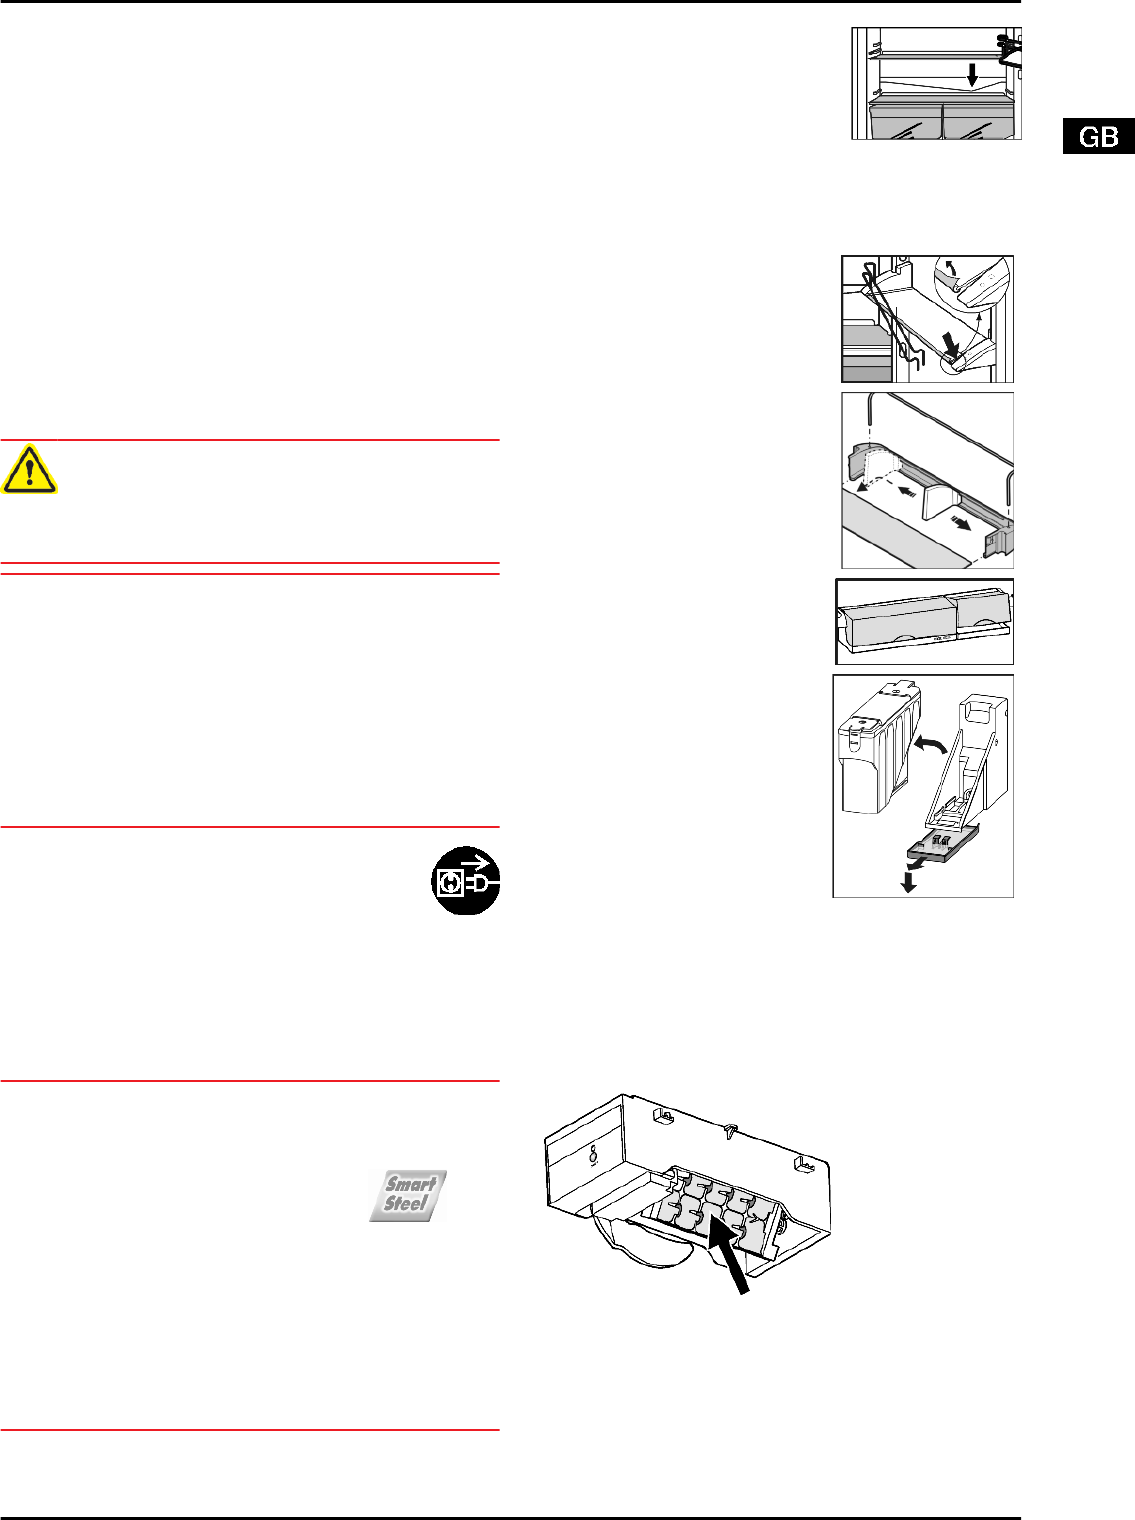
To clean the drain opening: remove
any deposits with a fine instrument,
e.g. a cotton bud.
Items of equipment:
u
Clean items of equipment by hand with lukewarm water and
a little washing-up liquid.
u
For cleaning, remove the support rails for the half-sized glass
shelves.
*
u
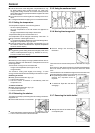
To dismantle the shelves: remove
the trims and side parts.*
u
To dismantle the storage rack:
remove the protective film from the
decorative trims.*
*
u
Lift out the boxes and lift the covers
for removal.*
*
u
To empty the water collecting tray:
Remove the water tank. Carefully
disengage the tray forwards and
then lower for removal.*
*
After cleaning:
u
Wipe dry the appliance and items of equipment.
u
Connect the appliance and switch it on again.
u
Switch on SuperFrost (see 5.4.4) .
When the temperature is sufficiently cold:
u
Put the food back inside.
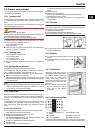
6.3 Cleaning the IceMaker*
Fig. 13
The IceMaker has to be switched on.
u
Pull out the drawer and remove the ice cubes.
u
Clean the drawer with warm water and mild washing-up liquid.
u
When the drawer is pulled out, hold down the On/Off button
(about 10 seconds).
w
After about 1 s the LED goes out, the IceMaker is switched off.
w
After about 10 s the LED flashes for about 60 s.
u
Slide in the drawer while the LED is flashing.
w
The ice-cube tray of the IceMaker turns to a skew position.
Maintenance
11