u
Use the front area of the refrigerator compartment floor only
for briefly putting down cooled products, e.g. when rear-
ranging and sorting. However do not leave cooled products
there otherwise they may be pushed back or tipped over when
the door is closed.
u
Do not store food too close together to enable good air circu-
lation.
u
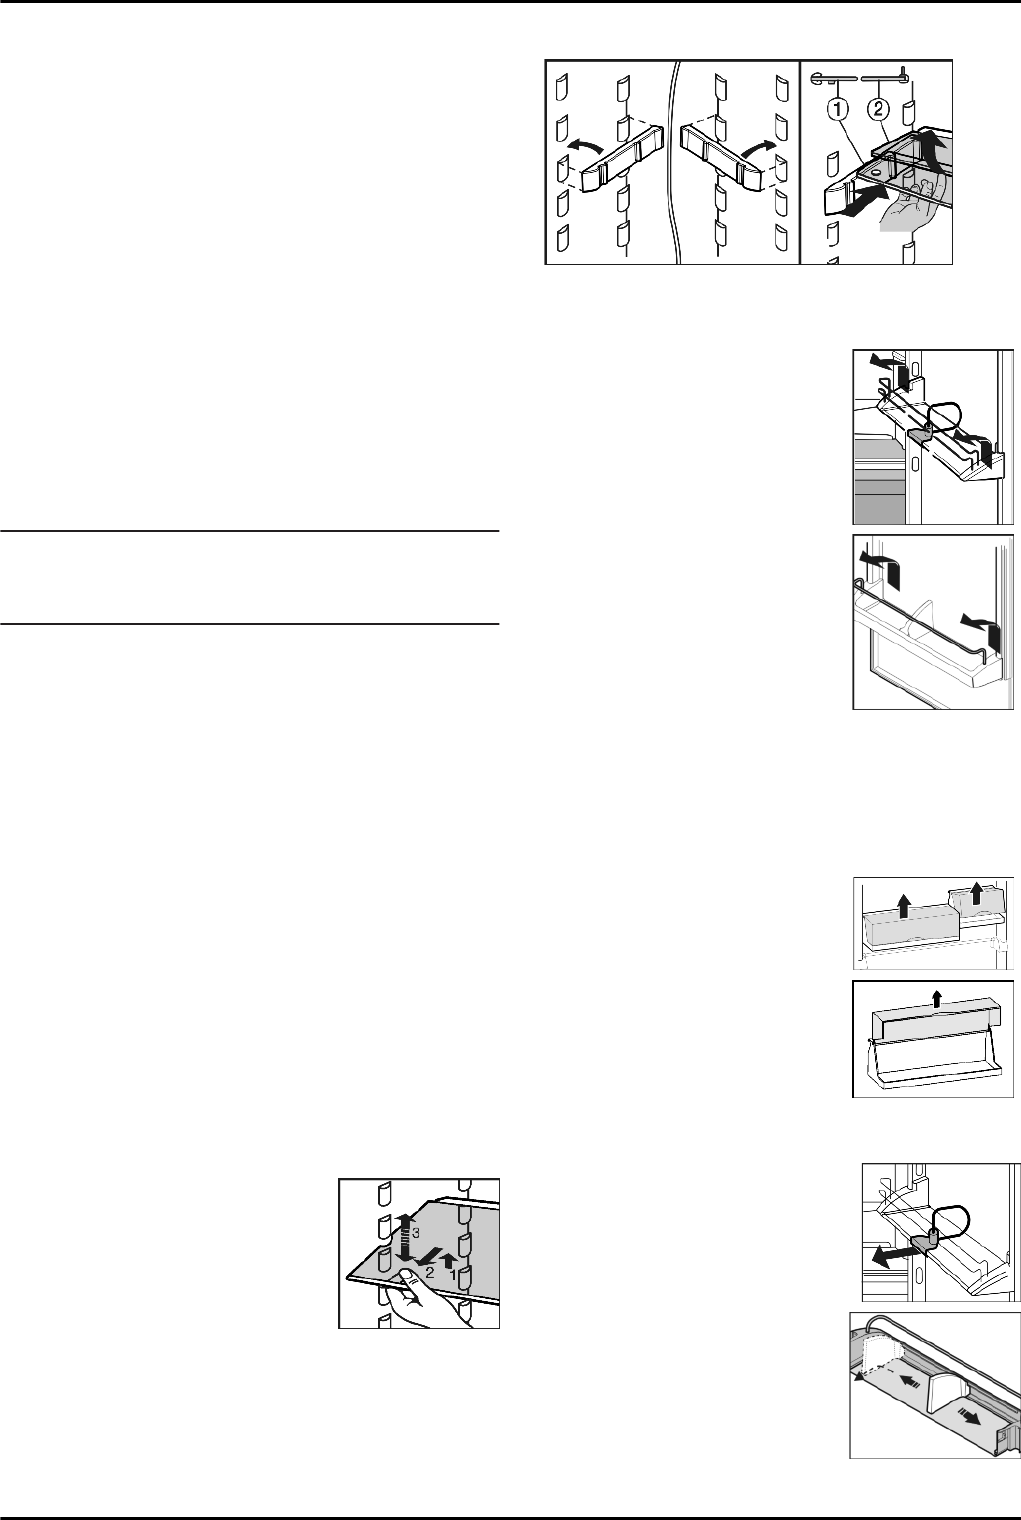
To safeguard bottles from tipping over: move the bottle holder.
5.3.2 Setting the temperature
The temperature depends on the following factors:
-
the door opening frequency
-
the room temperature at the site where the appliance is
installed
-
the type, temperature and quantity of frozen food
Temperature setting to be recommended: 5 °C
The temperature can be changed continuously. Once the 1 °C
setting is reached, it starts again with 9 °C.
u
To access temperature adjustment: press the setting button,
refrigerator compartment
Fig. 3 (3)
once.
u
Press the setting button, refrigerator compartment
Fig. 3 (3)
the number of times needed until the required temperature
shines in the LED display.
Note
u
Long pressing of the setting button sets a slightly colder value
within a small temperature range (e.g.: between "5" and "7"),
but it is not visible in the display.
5.3.3 Fan
With the fan you can rapidly cool large quantities of fresh food or
achieve a relatively even distribution of temperature across all
the storage levels.
The forced-air cooling is to be recommended:
-
at high room temperature (from approx. 30 °C )
-
at high humidity
The forced-air cooling uses slightly more energy. To save
energy, the fan switches off automatically when the door is open.
Switching on the fan
u
Briefly press the fan button
Fig. 3 (2)
.
w
The fan button shines.
w
The fan is active. It switches on automatically when the
compressor runs.
To switch off the fan
u
Briefly press the fan button
Fig. 3 (2)
.
w
The fan button goes out.
w
The fan is switched off.
5.3.4 Relocating the shelves
The shelves have stops preventing them from being unintention-
ally pulled out.
u
Lift the shelf and draw it out forwards.
u
Insert shelf with the raised edge pointing upwards at the back.
w
The food does not freeze onto the rear wall.
5.3.5 Using the sectioned shelf
Fig. 10
u
The glass shelf with stop face (2) has to be at the back.
5.3.6 Moving the storage rack
*
u
Remove storage rack according to
illustration.
*
The boxes can be removed and placed on the table as a single
unit.*
Only one box or both boxes can be used. If particularly tall bottles
are to be stored, attach only the wide box above the bottle
rack.*
Three small boxes are available through the customer service as
optional equipment instead of one wide and one small box.*
u
Re-positioning the boxes: Lift them for
removal and re-position them as
required.*
*
u
To detach lid: Open 90° and raise to
disengage.*
*
5.3.7 Removing the bottle holder*
u
Always take hold of the bottle holder
on the plastic part.
Control
8


