11
HC 1001 / HC 1050
A delight in freshness
INSTALLATION
Water Connection For IceMaker
Models Only
- Figure 11
!
WARNING
ELECTRICAL SHOCK HAZARD!
•
Disconnect the water supply before
connecting the water lines for the
IceMaker. Make sure the refrigerator is
not plugged in and there is no electric
power going to the refrigerator.
•
Failure to follow these instructions
could result in death or serious injury
.
● The water pressure must be between 21.8-87.0
psi (1.5-6 bar).
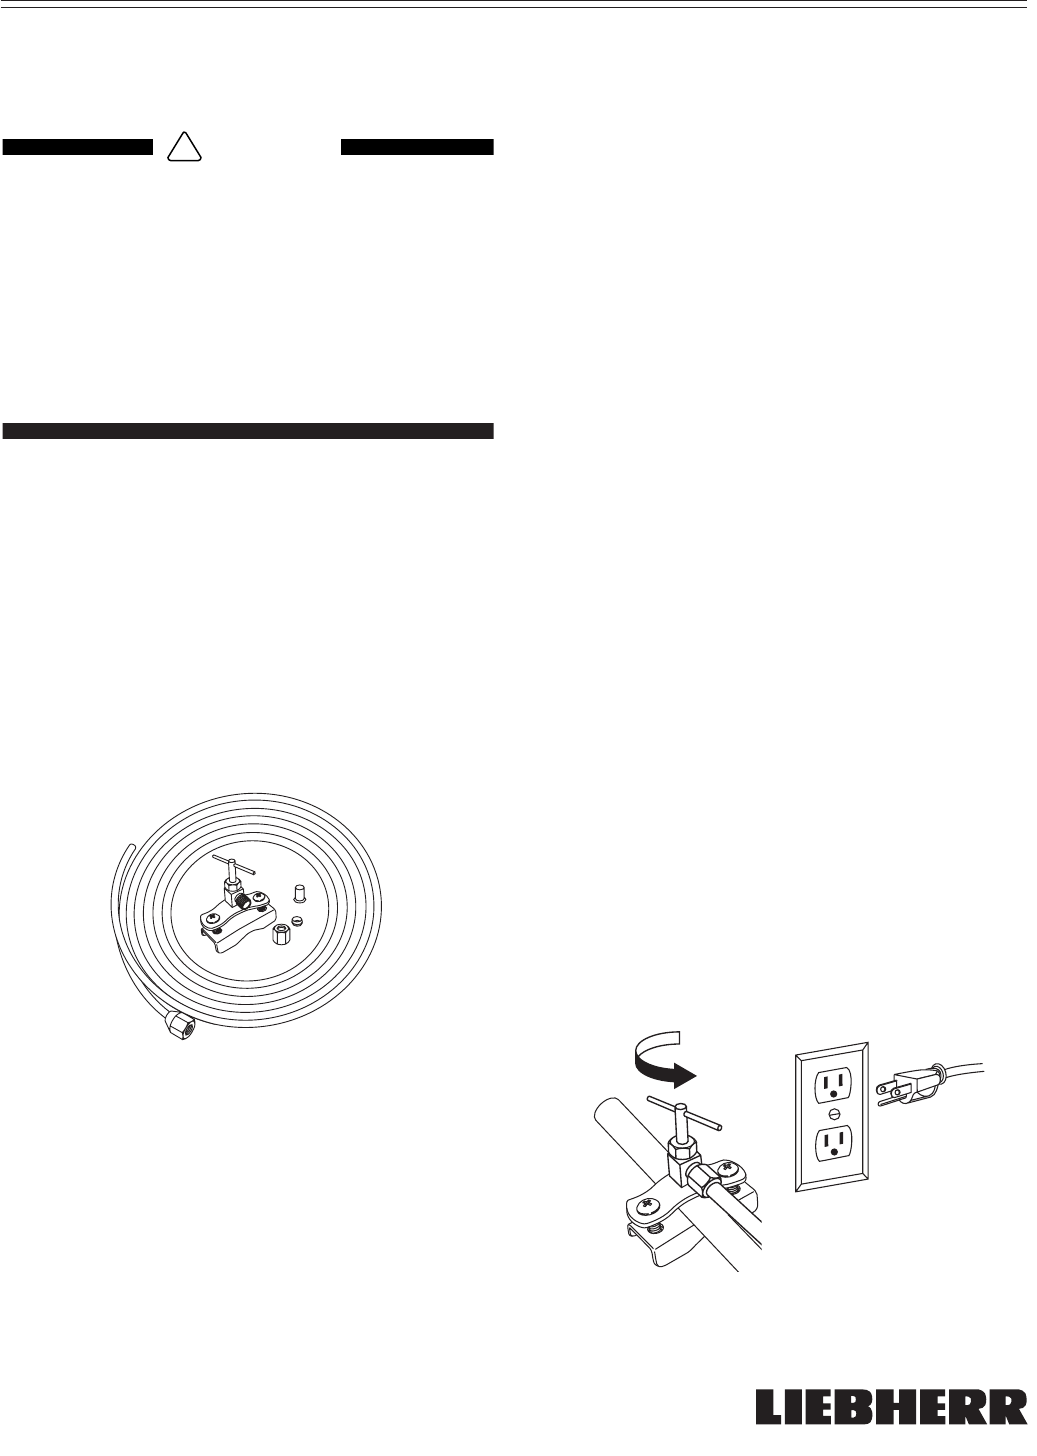
● Use a 1/4 in. OD copper line to connect the
water supply to the solenoid valve. This is not
supplied with the refrigerator (Figure 11).
● A shut-off valve, such as the saddle valve
illustrated here, must be installed between the
hose line and the main water supply so the
water supply can be stopped if necessary.
Do not install the shut-off valve behind the
refrigeration unit.
Figure 11
● If you have hard water, we recommend you
install a water softener. Also, a fi lter must be
installed if the water contains solids such as
sand.
● All equipment and devices used to supply the
water to the appliance must comply with the
current regulations for your geographical area.
Connection to the Water Supply
-
Figures 12, 13
1. Install the shut-off valve, water filter and
automatic shut-off device as required.
Note
The solenoid valve is located at the rear
of your refrigerator-freezer.
2. The 1/4 in. copper tubing between the shut-
off valve and solenoid valve has a 3/4 in.
male connector (Fig. 13, 2). Make sure there
is approximately 30 in. (70 cm) of excess
tubing behind the refrigerator-freezer for easy
connection.
Note
A 3/4 in. to a 1/4 in. adapter and cable
clip are supplied with the IceMaker.
3. Remove the cover cap (Fig. 13, 4) from the
solenoid valve (Fig. 13, 1). Install the brass
adapter (Fig. 13, 2) with sealing ring (Fig. 13, 6) on
the solenoid valve (Fig. 13, 1). Attach the copper
tube to the brass adapter (Fig. 13, 2). Secure
the copper tube (Fig. 13, 3) to the appliance
using the cable clip (Fig. 13, 5).
4. Open the shut-off valve for the water supply and
check the entire water system for leaks. Before
the appliance is used for the first time, a licensed
plumber should bleed air from the system.
5. Insert the electrical plug for the appliance into the
electrical outlet (Figure 12).
6. Move the combined refrigerator-freezer into final
position in the cabinet.
Figure 12
7082132-02_KIKNv_USA.indd 117082132-02_KIKNv_USA.indd 11 2/28/2005 11:06:30 AM2/28/2005 11:06:30 AM


