8
WF1051 / WFI 1051
A delight in freshness
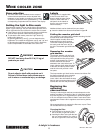
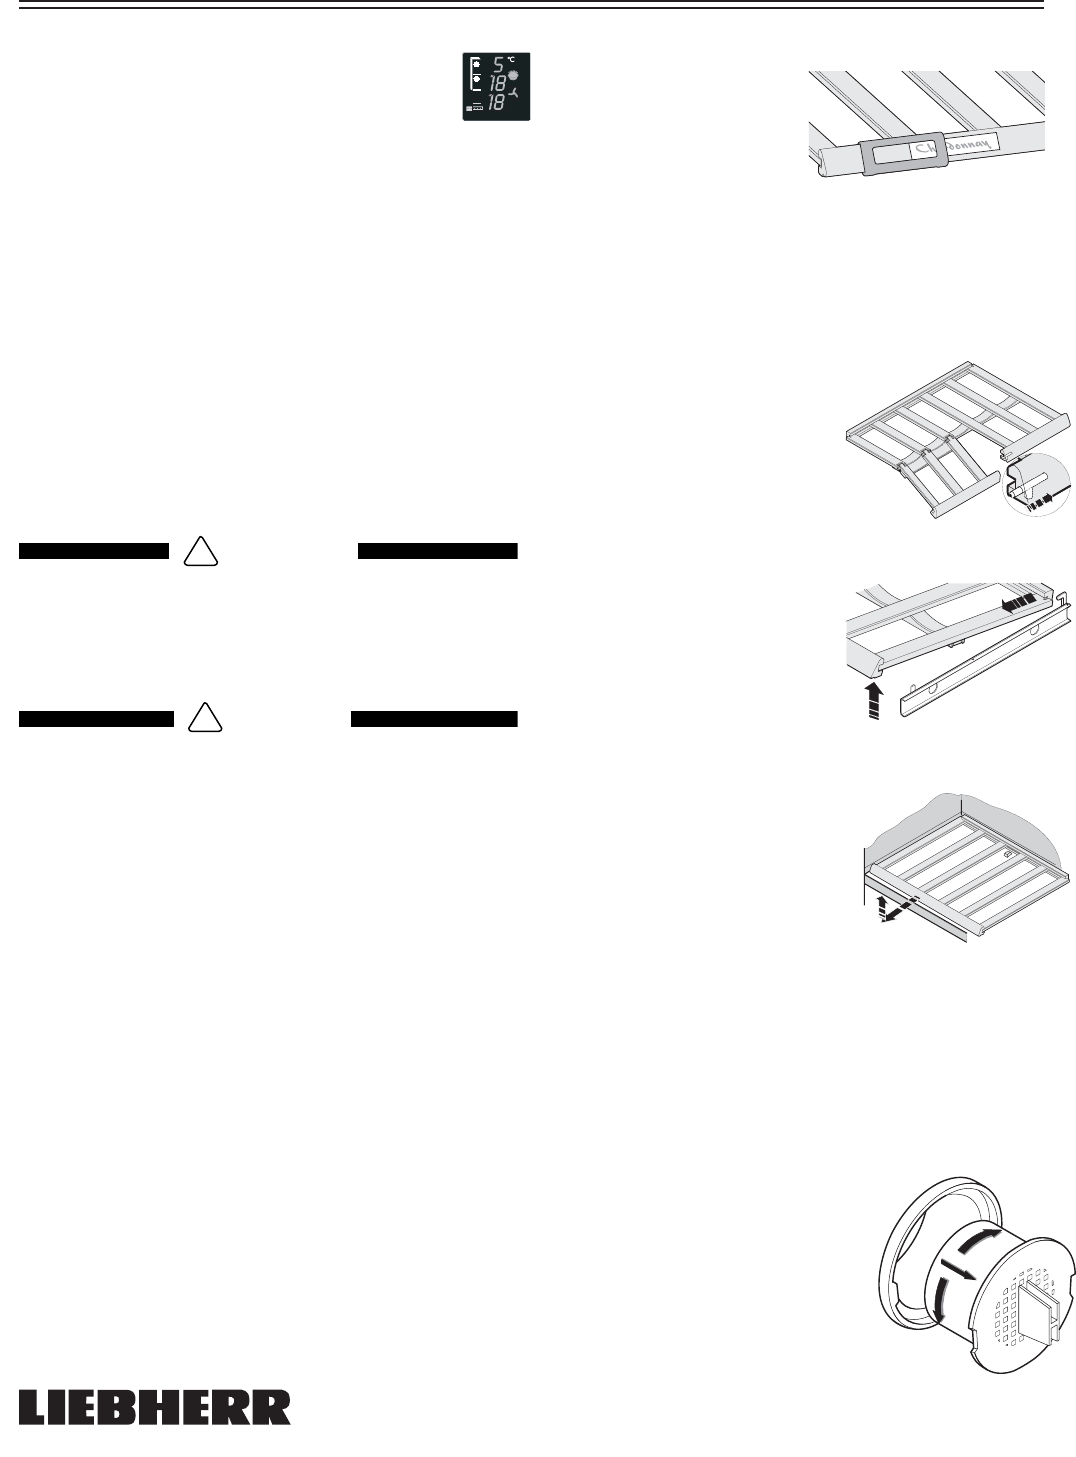
Labels
The appliance is supplied with
a label for each shelf. Use
these to label the type of wine
stored on each shelf. Use a
soft pencil on the labels so
that you can erase it again
when necessary.
Additional labels can be obtained from your dealer.
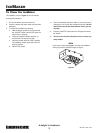
W Insert the labels from above as illustrated in fi gure B.
Folding the wooden grid shelf
Your appliance is equipped with a foldable wooden grid shelf
for each wine cooler compartment.
Use this option to safely store wine
bottles which have been opened.
To fold the wooden grid shelf, press
the catch under the cover strip to
the side. The wooden grid shelf folds
down.
Removing the wooden
grid shelves
The foldable wooden grid shelf runs
on pull-out rails. To remove the shelf,
lift it upwards from the pull-out rails
and pull it out towards you. Ensure
that the shelf does not remain
attached to the catch at the back. To
insert, slide the shelf under the catch
at the back and then press the shelf
onto the rails until you hear it click
into place.
The lower wooden grid shelf can be removed as follows: Pull
the shelf out towards you at an angle
and at the same time, lift it up. To
insert, slide in the shelf above the stop
fi tted on the intervening shelves until it
touches the rear wall and push down.
Replacing the
activated
charcoal fi lter
The way in which wines continue to mature depends on the
ambient conditions. The quality of the air is therefore decisive
for preserving the wine. To guarantee an optimal throughput
of air, an activated charcoal fi lter is fi tted in each wine cooler
compartment. Please refer to appliance overview for position,
fi gure A.
We recommend that you replace the fi lter once a year. Filters
can be obtained from your dealer.
Changing the fi lter:
W Take the fi lter by the handle. Turn it
90° to the left or right and remove.
W Inserting the fi lter: Insert with the han-
dle in a vertical position. Turn it 90° to
the left or right until it clicks into place.
1
1
2
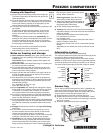
Zone selection
W The wine cooler zone is divided into two compart-
ments whose temperatures can be adjusted inde-
pendently of one another, according to your needs.
To select a temperature zone, press button
9. The
corresponding compartment will be shown in the display.
Setting the light to Dim mode
On glass door models, you can set the light to Dim mode us-
ing the "Light" button
bl. You can select the brightness of the
interior light when the door of the wine cooler zone is closed.
W If the button is dark, the light becomes dimmer and dimmer
once the door has been closed and fi nally goes out.
W To activate the Dim mode, press the "Light" button
bl
briefl y until it lights up.
By pressing buttons
bl and 8, you can determine the
brightness. To increase the brightness use
bl and "Up" and
to decrease the brightness use
bl and "Down". Both wine
cooler compartments are activated at the same time.
WINE COOLER ZONE
!
WARNING
DO NOT load more than 26.5 lb (12 kg) of
products per shelf.
Do not adjust a shelf with products on it.
Failure to follow these instructions may re-
sult in minor or moderate injury or damage.
CAUTION
!
B


