


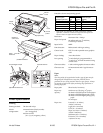


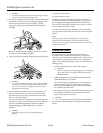
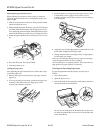
4. Pull the paper out carefully. If it tears, make sure you
remove any remaining pieces.
5. If paper is caught in the paper eject area, gently pull it out
of the printer.
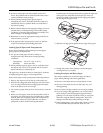
6. Close the printer cover.
7. Turn on the printer to move the print heads to the correct
positions.
If paper jams frequently, try the following:
❏ Use a higher quality paper, one that is not too thin, too
thick, or rough. Make sure it is suitable for ink jet printers.
For best quality, use EPSON special coated and high-
quality glossy papers.
❏ Fan the stack of paper before you load it.
❏ Do not load too many sheets in the input tray. You can
load up to 100 sheets of plain paper, 70 sheets of special
coated paper, 30 sheets of high-quality glossy paper,
50 sheets of transparency film, or 10 envelopes. For heavy
paper, it is best to load sheets one at a time.
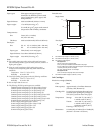
Cleaning the Print Heads
The printer periodically cleans its print heads, so normally
you should not need to manually activate a cleaning cycle.
However, if print quality diminishes, run a print head
cleaning cycle to enable the nozzles to deliver ink properly.
Note:
Because the cleaning cycle uses ink, do not clean the print head(s)
unless you notice a decline in print quality.
You must clean the print heads one at a time. Each cleaning
cycle takes about one minute. During the cleaning cycle, the
carriage moves and you can hear the printer recharging the
print heads. The
Pause
light flashes throughout the cleaning
cycle and then stays on when the cycle is finished.
Follow these steps to clean either or both print heads:
1. Make sure the printer is turned on and open the cover.
2. Press the
Pause
button. (Make sure the
Pause
light comes
on.)
3. To clean the color print head, hold down the
Alt
button and
press
Economy/Condensed
(or
Color
). The cleaning
cycle begins and the
Pause
light flashes. The cleaning
cycle is over when the
Pause
light stops flashing.
To clean the black print head, hold down the
Alt
button and
press
Load/Eject
(or
Black
). The cleaning cycle begins
and the
Pause
light flashes. The cleaning cycle is over
when the
Pause
light stops flashing.
4. Press the
Pause
button and close the printer cover.
It can sometimes take up to five cleaning cycles to improve
print quality. If it does not improve after you clean the print
heads five times, replace one or both ink cartridges as
described in the next section.
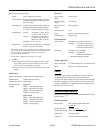
Replacing an Ink Cartridge
You need to replace an ink cartridge when it runs out of ink
(the printer stops printing that color) or if print quality
declines and cleaning the print head did not improve it. You
can check print quality by doing a printer self test.
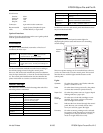
Use only these EPSON ink cartridges:
Black ink cartridge S020034
Color ink cartridge S020036
c
Caution:
❏
Use only genuine EPSON cartridges and do not refill
them. Other products may cause damage to your printer
that is not covered by EPSON’s warranties.
❏
Leave the old cartridge installed in the printer until you are
ready to replace it with a new one. Attempting to print
without a cartridge installed can damage the printer.
❏
Once you install the ink cartridges, do not open the clamps
or remove the cartridges except to replace them with new
ones. Once you remove a cartridge, you cannot reuse it.
Any paper in the paper path is ejected automatically when
you replace the cartridge.
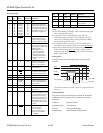
Follow these steps to replace either or both ink cartridges:
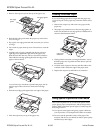
1. Make sure the printer is on and open the printer cover.
2. Press the
Pause
button and check that the
Pause
light
comes on.
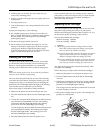
3. Hold down the
Alt
button for about five seconds until the
print head moves slightly left, to the ink cartridge install
position. The
Pause
light begins flashing.
The carriage returns to the home position after 60 seconds
if no ink cartridge is removed.
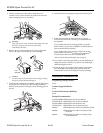
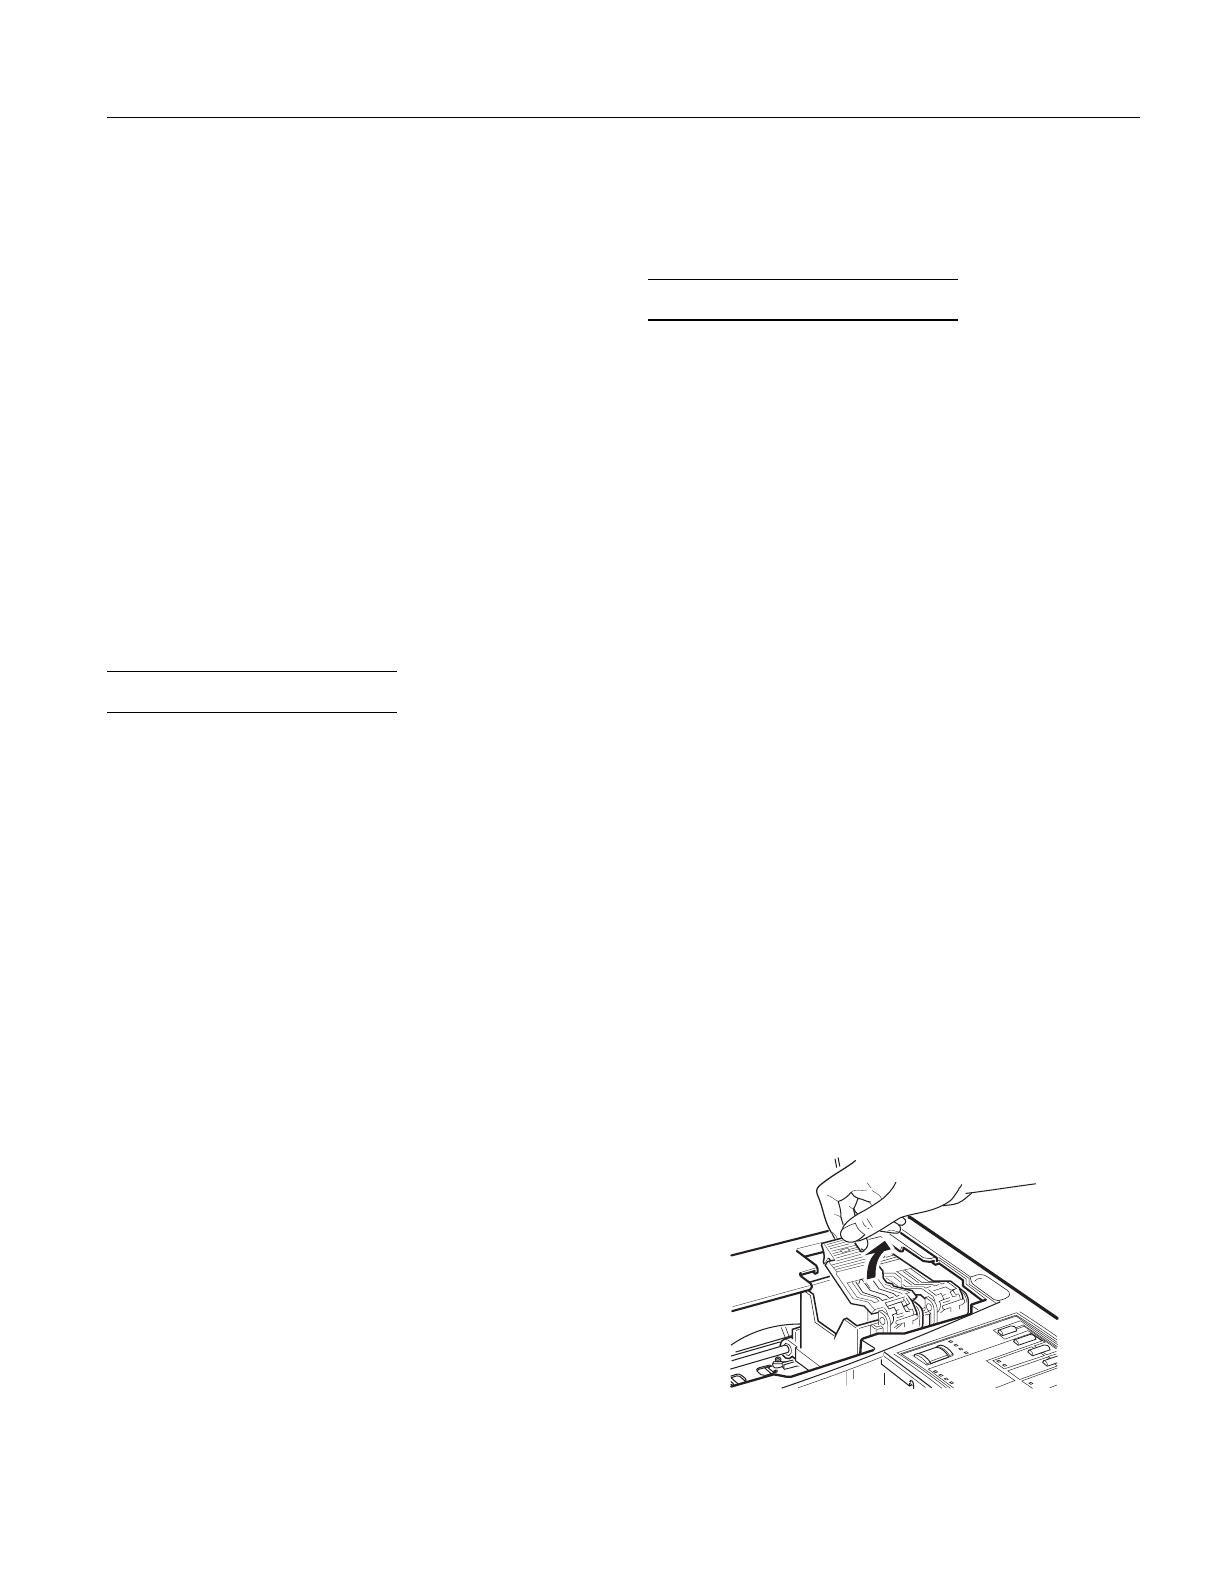
4. Pull up the cartridge clamp to open it. The cartridge rises
partially out of the printer.
EPSON Stylus Pro and Pro XL
Ink Jet Printers 8/1/95 EPSON Stylus Pro and Pro XL-13