


6
1. The first step in pressure canning is to assemble the can-
ning equipment. Be sure your canner is thoroughly cleaned
and working properly. Before each canning season, check
the dial gauge for accuracy (see page 8, step 11). Also check
the sealing ring, overpressure plug, and the rubber gasket
of the air vent/cover lock. Replace these parts when they
become hard, deformed, cracked, worn, pitted, or unusually
soft (see page 8, step 13).
2. Check Mason jars for nicks, cracks, and sharp edges.
Check screw bands for dents or rust. Use only jars, lids,
and bands in perfect condition so an airtight seal may be
obtained.
Wash and rinse jars, lids, and bands. Pour hot water into jars
and set aside until needed. Follow closure manufacturer’s
directions for bands and lids.
3. Select fresh firm food. Sort food according to size. Clean
food thoroughly. Prepare according to recipe. Fill hot Mason
jars promptly with food and liquid to recommended level. Allow
½-inch headspace for fruits. ALL vegetables and meats require
1-inch headspace due to expansion during processing.
Work out air bubbles with a clean nonmetallic spatula. Wipe
sealing edge clean with a damp cloth.
Adjust bands according to closure manufacturer’s direc-
tions.
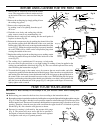
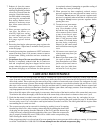
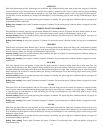
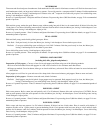
4. P l a c e 3 q u a r t s o f
boiling water, canning
rack, and jars in canner.
To prevent water stains
on jars, add 2 tablespoons
white vinegar to water in
canner. Always use canning
rack. Jars may break if
set directly on bottom of
canner.
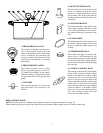
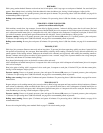
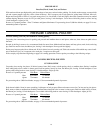
5. Look through the vent
pipe to be certain it is open
before placing cover on
canner. To clean the vent
pipe, draw a pipe cleaner
or small brush through the
opening.
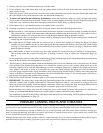
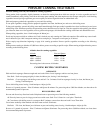
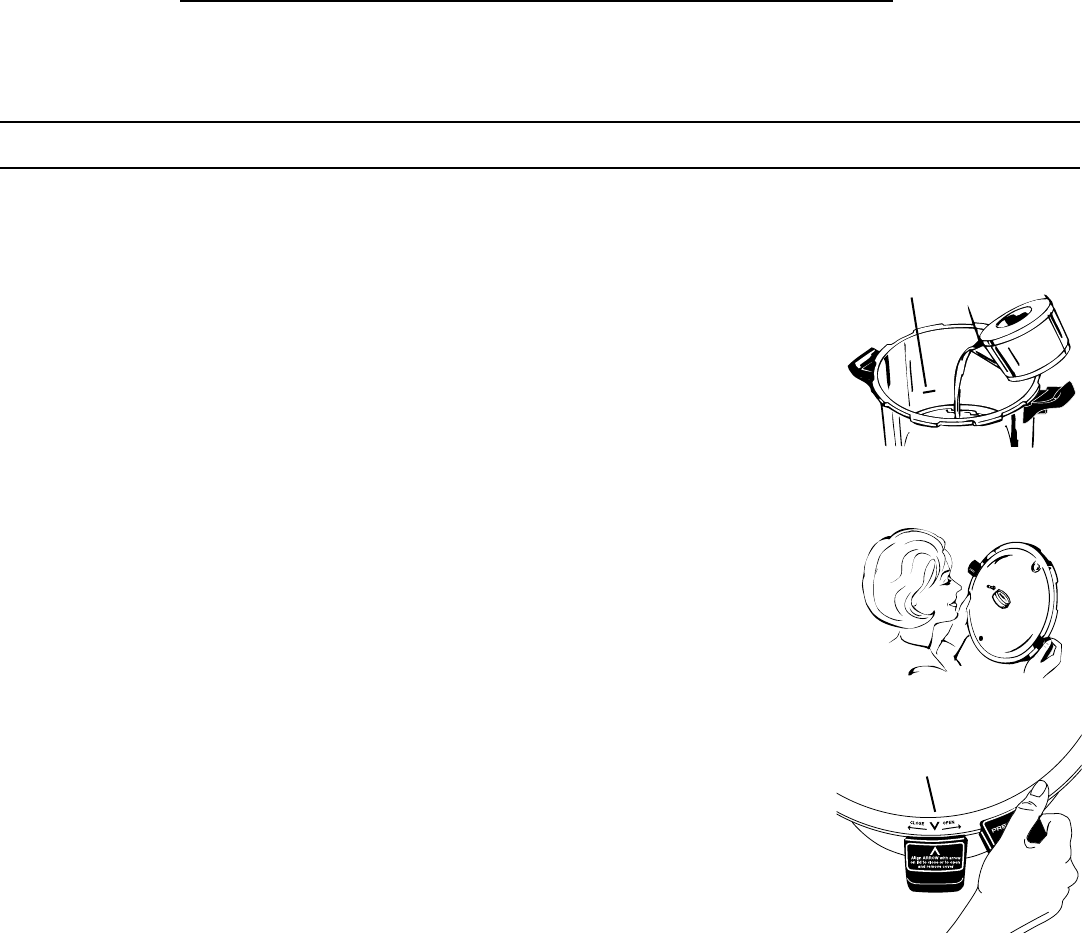
6. Place cover on can-
ner, aligning the V mark on
the cover with the
V
mark
on the body handle and
lock securely by turning in
the direction indicated to
close (clockwise). Cover
handles must be centered
over body handles. Do not
force beyond this posi-
tion.
As a safeguard against using canned foods which may be affected with spoilage that is not readily detected, boil all low acid foods
and tomatoes for 10 minutes at altitudes below 1,000 feet. Extend the boiling time by 1 minute for each 1,000 foot increase in
altitude.
Many times odors that cannot be detected in the cold product will become evident by these methods. If, after boiling, food does
not smell or look right, discard it without tasting.
MASON JARS: While there are many styles and shapes of glass jars on the market, only Mason jars are recommended for home
canning. Mason jars are available in ½ pint, pint, and quart capacities with threads on which a cap may be screwed. See the chart
below for the jar capacity of your canner. Additional information may be obtained from the manufacturers of Mason jars.
CLOSURES FOR MASON JARS: The two-piece vacuum cap consists of a flat metal lid held in place with a screw band. A rubber
compound on the underside of the lid forms a seal during processing. Follow the closure manufacturer’s directions for using the
two-piece cap and for testing for a proper seal. If the closure has not sealed, completely reprocess or use the food immediately.
Refer to the closure manufacturer’s directions for additional information.
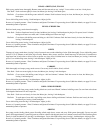
CANNER JAR CAPACITIES FOR PRESSURE CANNING
(MAXIMUM CAPACITY)
MODEL NO. beginning with ½ PINT 1 PINT 1 QUART
0175 12 10 7
0178 24 20 7
Please note: To double deck pint and half pint jars, see page 19.
How To PRessuRe Can foods
IMPORTANT: Read carefully. Do not attempt to use your canner before reading these instructions.
Follow these step-by-step instructions for pressure canning in your canner. Prepare food according to the directions in specific
recipe.
3-quart water line
Align the V mark on the
cover with the
V
mark on
the body handle.