


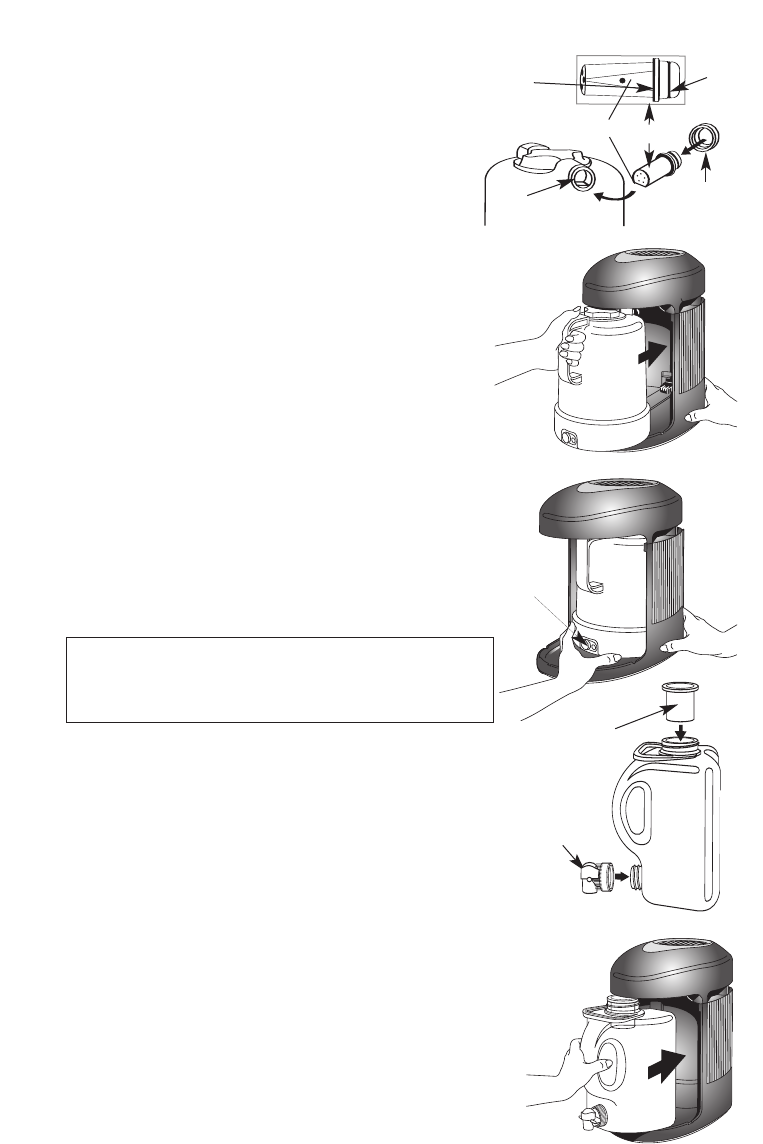
baffle, flat side down into the spout and
secure with the nut. The hole on the flat
side of the baffle should be facing down.
It is important that you tighten the
securing nut, with baffle properly in
place, onto the boiling chamber before
each use. Failure to properly secure the
baffle and nut may result in leakage or
early shut off of the AquaVié
™
unit.
7.
Wipe off any water on the outside and
bottom of the boiling chamber and around
the electrical connection.
8. Slide the boiling chamber into the chassis
and press firmly to ensure that it is properly
placed. It is important that the boiling
chamber be pressed firmly into the chassis. It
is recommended that you place one hand on
the back of the chassis and push the boiling
chamber into the chassis with the other
hand. To ensure that a tight electrical
connection is made, also press on the base
of the boiling chamber near the start
button.
CAUTION: To prevent personal injury or
property damage the boiling chamber must
be fully engaged prior to start-up.
9. Press the “start” button at the base of the
boiling chamber.
NOTE: The button will glow when the boiling
chamber is heating; however, the light will go
out, and the boiling chamber will stop heating
if electrical power to the boiling chamber is
interrupted or stopped. If this occurs, press the
start button again to restart the cycle.
10.
The cooling fan will not start immediately.
A delayed fan star
tup featur
e has been included
in your AquaVié
™
system. The fan will start once
the boiling chamber has reached a pre-determined
temperatur
e, appr
oximately 30-40 minutes after
starting the cycle.
-5-
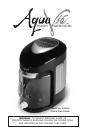
Flat edge
of baffle
Securing
Nut
Spout
Baffle
Dispensing
Valve
Mineral
Dispenser
Flat
Gasket
O-Ring
Start
Button