


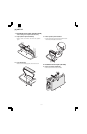
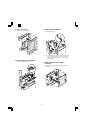

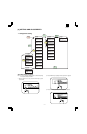
G. PWB cover installation
• Install the PWB cover with screws.
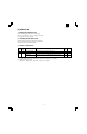
3. Expansion memory installation
• Fix the memory PWB with pawls.
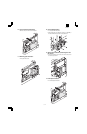
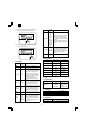
4. PS kit (AR-PS1) installation
• Fix the PS PWB with pawl.
∗Note: The DIMM connector and the PS-PWB are provided with
the reverse insertion protection key(notch). A strong push,
however, allows reverse insertion. Use great care of the
inserting direction.
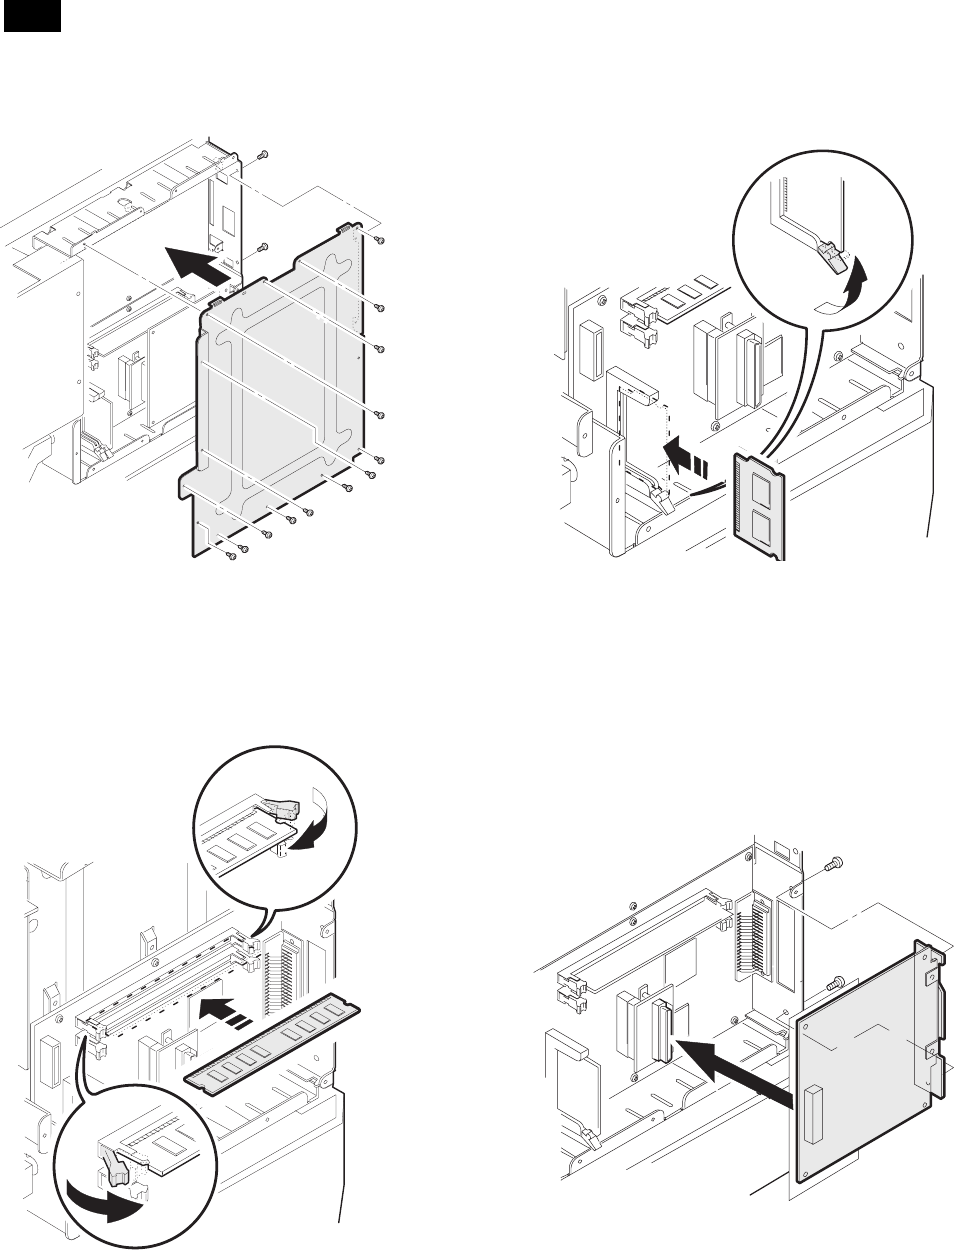
5. Network Interface Control PWB
installation
• Insert the network PWB into the printer PWB connector and fix
it with screws.
AR-PB8
3 – 3