


Instructions for the installer
64
18.FINAL OPERATIONS
After replacing the nozzles, reposition the flame-spreader crowns, the burner caps and the grids.
Following adjustment to a gas other than the preset one, replace the gas adjustment label fixed to the
appliance with the one corresponding to the new gas. This label is in the packet together with the
nozzles.
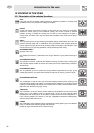
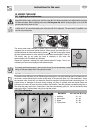
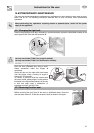
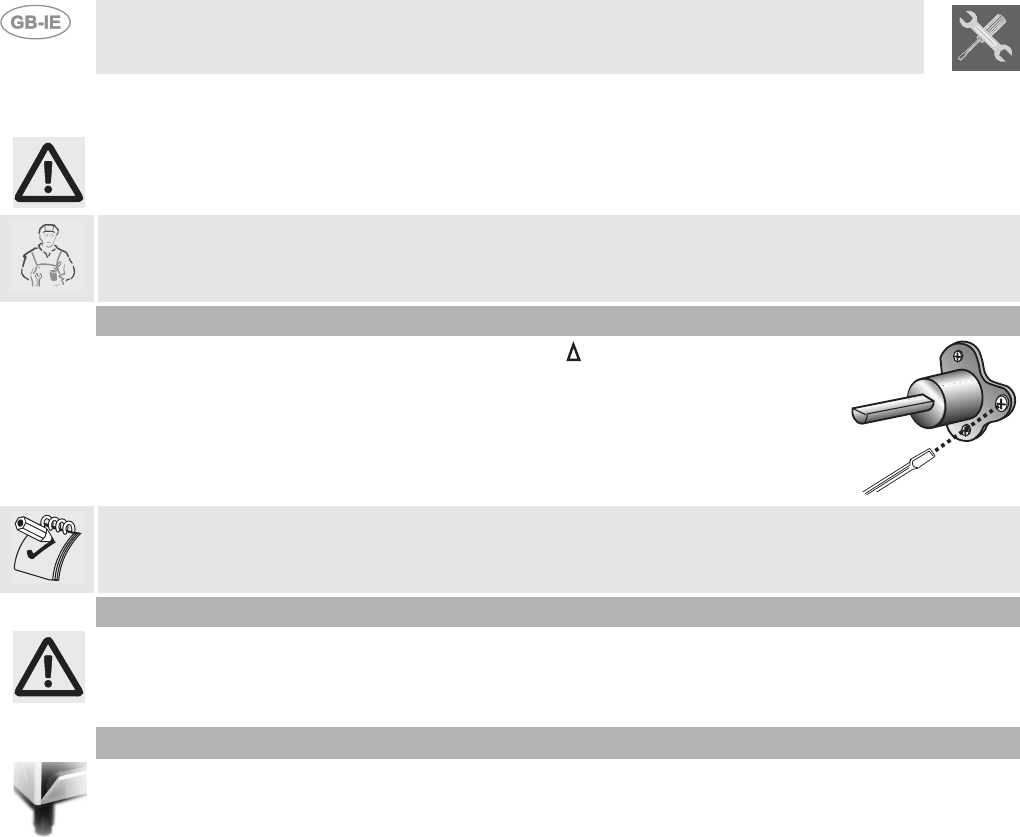
18.1 Regulation of the hob burner minimum level for natural gas
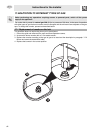
Light the burner and turn it to the minimum position . Extract the gas tap knob
and turn the adjustment screw at the side of the tap rod until the correct minimum
flame is achieved. Refit the knob and verify the burner flame is stable (turning the
knob rapidly from the maximum to the minimum position the flame must not go
out). Repeat the operation on all the gas taps.
For models with valves, keep the knob at minimum level for about 1 minute to keep the flame lit and to
activate the safety device.
18.2 Regulation of the hob burner minimum level for LPG
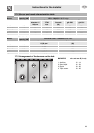
In order to adjust the minimum with LPG, the screw at the side of the tap rod must be turned clockwise
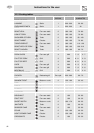
all the way. The bypass diameters for each individual burner are shown in paragraph "17.2 Burner and
nozzle characteristics table". Once the regulation has been completed, restore the seal on the by-
passes using paint or similar materials.
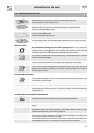
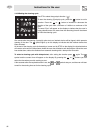
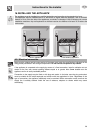
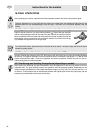
18.3 Positioning and levelling the appliance (depending on model)
After making the electrical and gas connections, level the appliance on the floor by means of its four
adjustable feet. For good cooking results, the appliance must be properly levelled. Depending on the
model you have purchased, the foot height adjustment range may vary from 70 to 95 mm and from 110
to 160 mm. These heights refer to the distance between the highest point of the foot (fixed part) and the
lowest point (movable part which rests on the floor).