


Instructions for the user
23
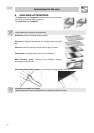
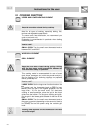
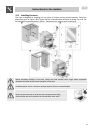
13.5 Door glass
The door glass should always be kept clean.
For easier cleaning, the glass parts of the door can be fully removed by proceeding as described
below.
After opening the door and locking it in place with at least one of the hinges (see point 13.4 Removing
door), remove the two panes of glass.
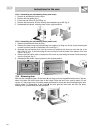
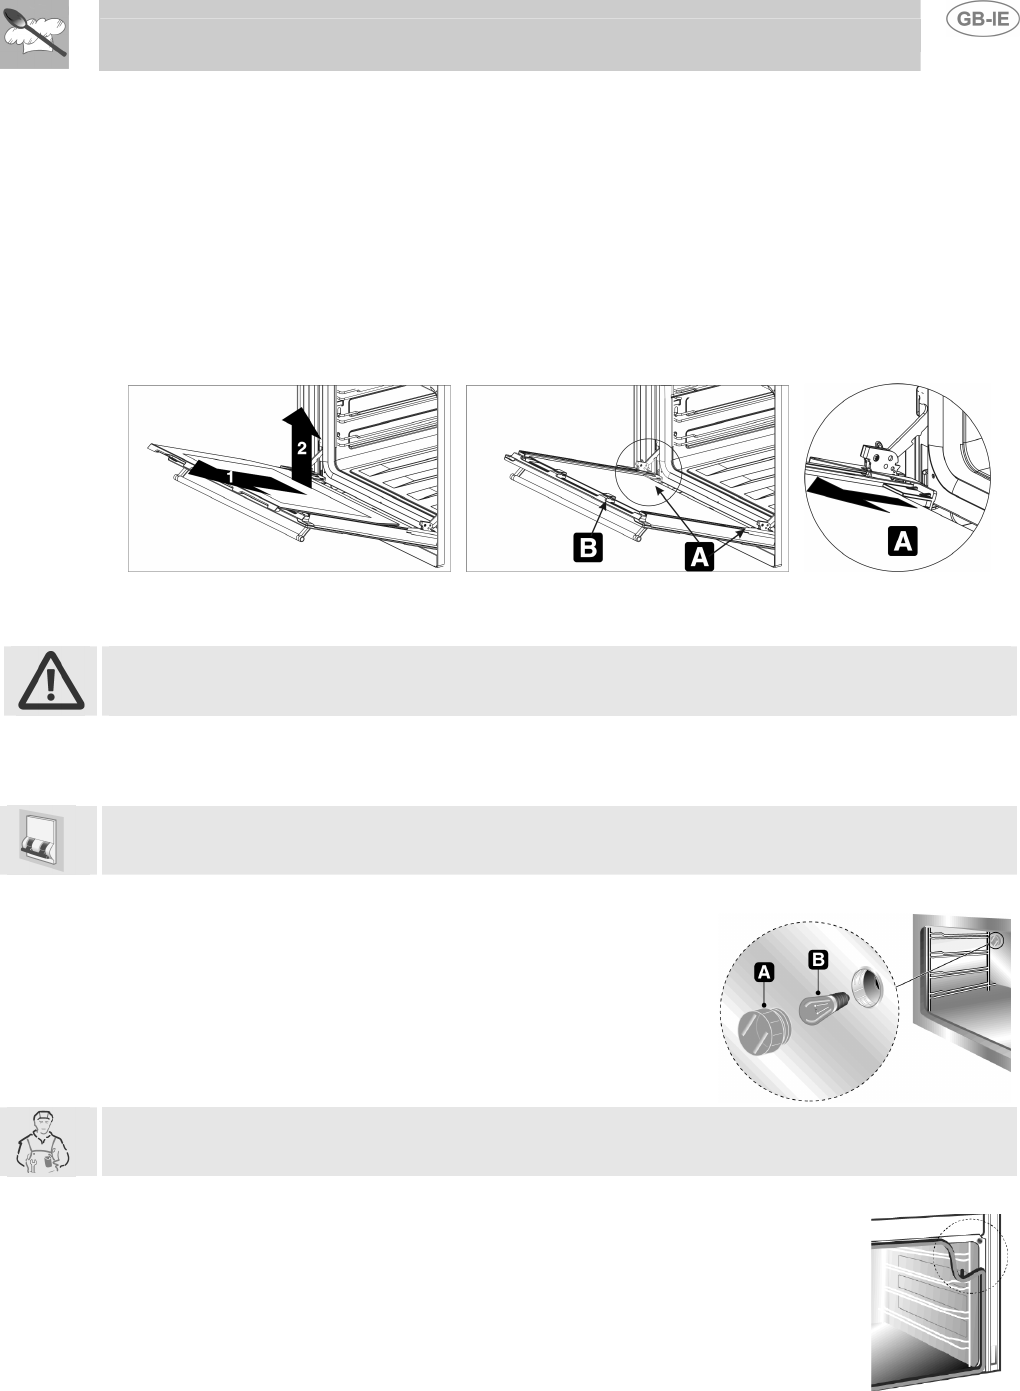
The first pane is removed in two steps: first slide it along, leaving it resting on the door frame (1) and
then lift it out (2).The second pane must first be removed from the seat “A” (see detail) by slighting it
out a few centimetres. Then also free it from the seat “B”.
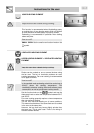
If the door should close during these operations, simply relock one of the hinges as described in point
"13.4 Removing door".
The panes of glass can now be washed separately.
Use absorbent kitchen paper to clean. In case of tough spots, clean with a damp sponge using
regular detergent. This oven door is air cooled. Care should be taken not to use excess moisture for
cleaning, and avoid spillage through the vents.
Warning: before removing the panes of glass, make sure that the door has been locked in open
position as described in point 13.4 Removing door. This operation might have to be repeated during
the removal process if the door is accidentally freed.
MAINTENANCE
The oven may require maintenance or replacement of parts subject to wear such as seals, bulbs, and
so on. The following instructions describe how to carry out these minor maintenance operations.
Before any intervention, disconnect the power supply of the device.
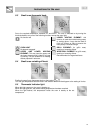
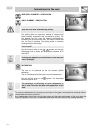
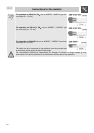
13.6 Replacement of light bulb
Remove the bulb protector A by turning anticlockwise and
change bulb B with a similar one. Re-fit the bulb protector A.
Only use oven bulbs (T 300°C).
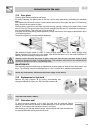
13.7 Oven door seal
To permit thorough cleaning of the oven, the seal may be removed. Before
removing the seal, take off the door as described above. Once the door has been
taken off, lift the tabs at the corners as shown in the figure.
After cleaning, refit the seal with the longer side horizontal and insert the tabs into
the appropriate holes starting from the top ones.