8
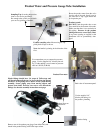
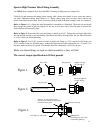
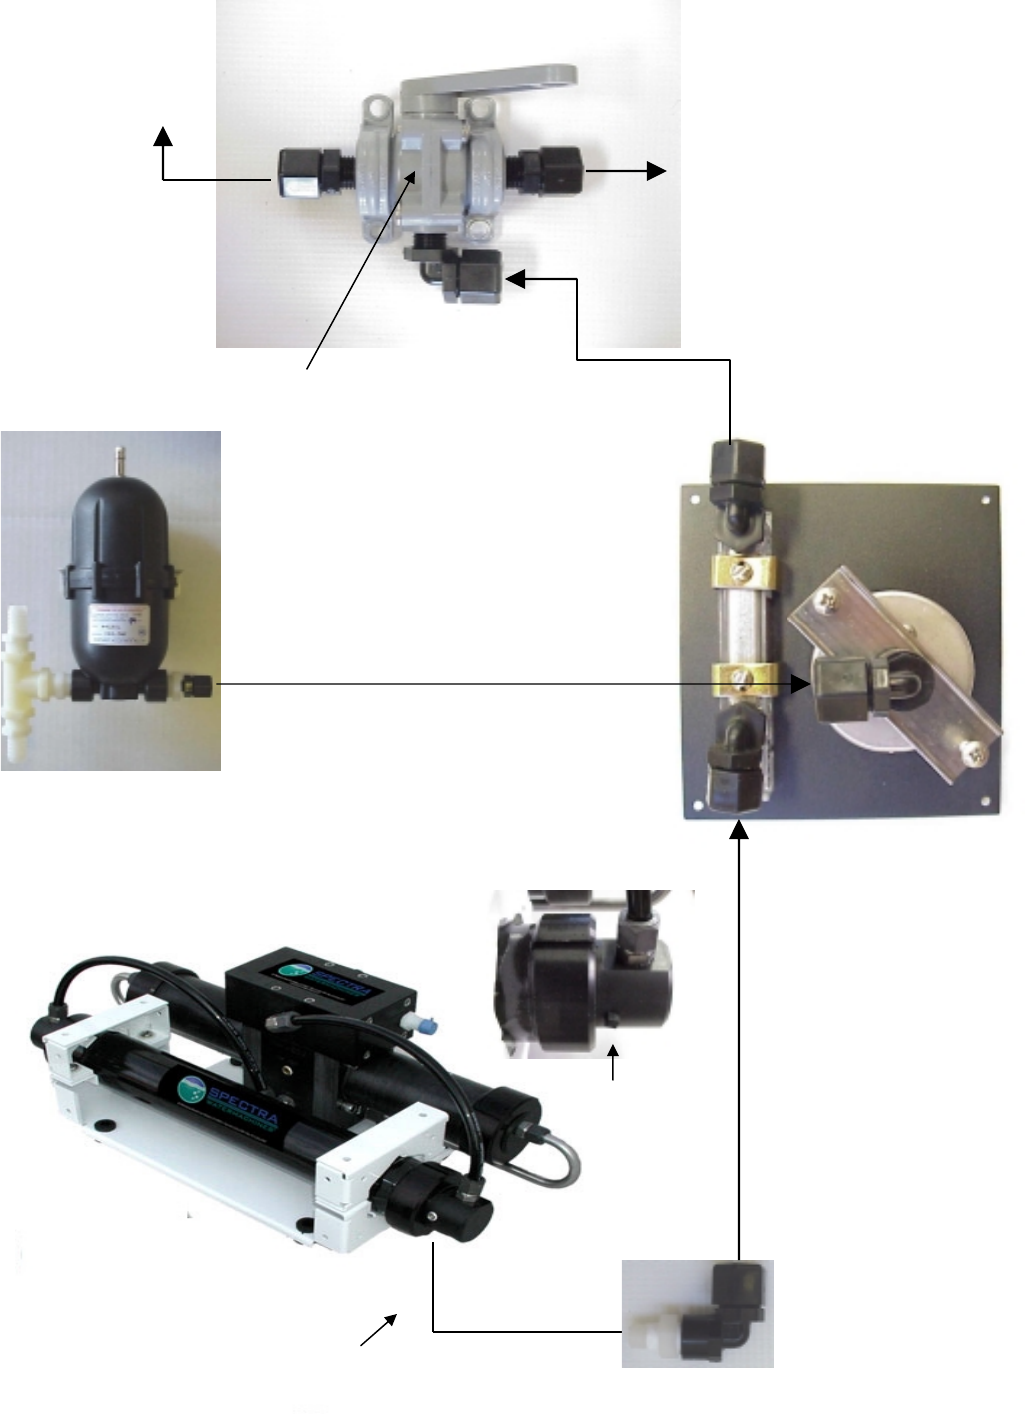
Remove one of the product port plugs (from either end) and
thread in the product fitting with Teflon tape sealant.
Back view of instrument panel.
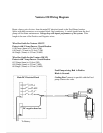
Use accumulator port to connect the pressure
gauge. Use the supplied 1/4” black nylon tub-
ing. If other tubing is used it must be pressure
rated to 150 PSI (10 BAR)
Product Flow meter
Pressure Gauge
Product Water and Pressure Gauge Tube Installation
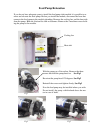
Product sampling valve. Mount using the sup-
plied plastic straps as shown.
Note: the handle is pointing in the direction of the
flow.
Route the product water from the valve
into the top of the tank. Install a tee in
the water fill or tap a pipe thread into
an inspection port.
Product to tank.
DO NOT! feed the product into a vent
line, manifold or the bottom of the tank.
Make sure that there is no restriction in
this piping. Pressure in the product
tubing must never exceed 5psi (.3bar)
at any time, (running or stopped) or the
membrane will be permanently dam-
aged.
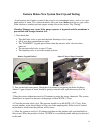
Sampling Tap for testing the product
water or for service procedures.
Put enough tube on this port to reach
your service (pickling) container.
Plastic fittings should have 3-4 wraps of Teflon tape and
will thread almost all the way in. Leave the first pipe thread
uncoated. Avoid getting dirt or debris in the system during
assembly. Secure piping away from moving objects and
protect from chafe. Exercise care not to cross thread the
fittings. See the tube assembly instructions next page.
Product fitting
Product Ports are
located here
Use the supplied 1/4”
black nylon tubing for
the product plumbing


