


8
For the lter to be removed, the lter
element must be saturated with water and all
internal seals must be wet. DO NOT ATTEMPT
TO REMOVE A FILTER ELEMENT THAT IS NOT
WET. Doing so may result in breakage of
the glass sleeve or lamp, and could result in
personal injury.
1. Disconnect unit from power source.
2. Run water through the unit to insure that the
lter is saturated and all seals are wet.
3. Remove the unit from its wall mount
(if wall mounted)
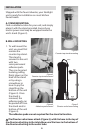
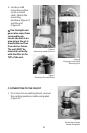
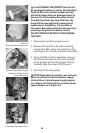
4. Grasp the unit rmly and unscrew the cap by
turning counterclockwise (Figure 13).
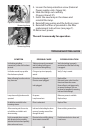
5. Once the cap is completely unscrewed, use
the tubing disconnect tool to disconnect the
outlet tube (Figure 14).
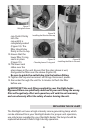
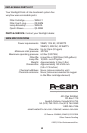
6. With the outlet tube disconnected, lift the
cap and lter out of the unit. It is not unusual
for the O-ring at the bottom of the lter to
stay on the glass sleeve (Figure 15).
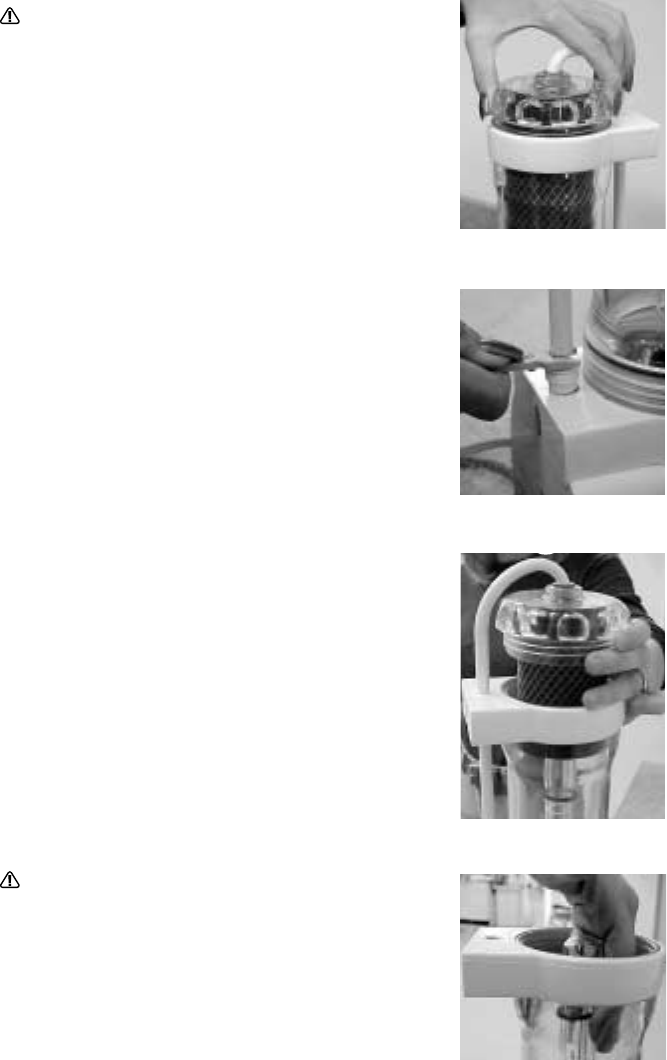
7. Reach in and remove the lower lter O-ring
seal as shown (Figure 16).
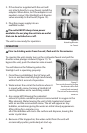
8. Sanitize the unit prior to installing the
new lter. To do this, reinstall the cap
(without the lter installed), reconnect the
diverter outlet tubing and replace the
unit on its mount or stand. Reconnect
power and run water through the unit
for approximately 5 minutes. Without a
lter cartridge in the unit, some ozone
remains in the outlet water, sanitizing
the upper portion of the unit and the
outlet lines.
DO NOT DRINK water that has been run
through the unit without a lter.
9. Disconnect power and remove the cap as in
steps 3, 4 and 5 above.
10. To insure that the lower lter seal will slide
easily into the unit, wet the glass sleeve
(Figure 17).
11. The upper (large) seal ts into the top
Figure 15—Unscrewing cap
and removing lter
Figure 16
Removing lower O-ring
Lower O-ring
Figure 13
Disconnecting outlet tube
Figure 14
Disconnecting outlet tube