9
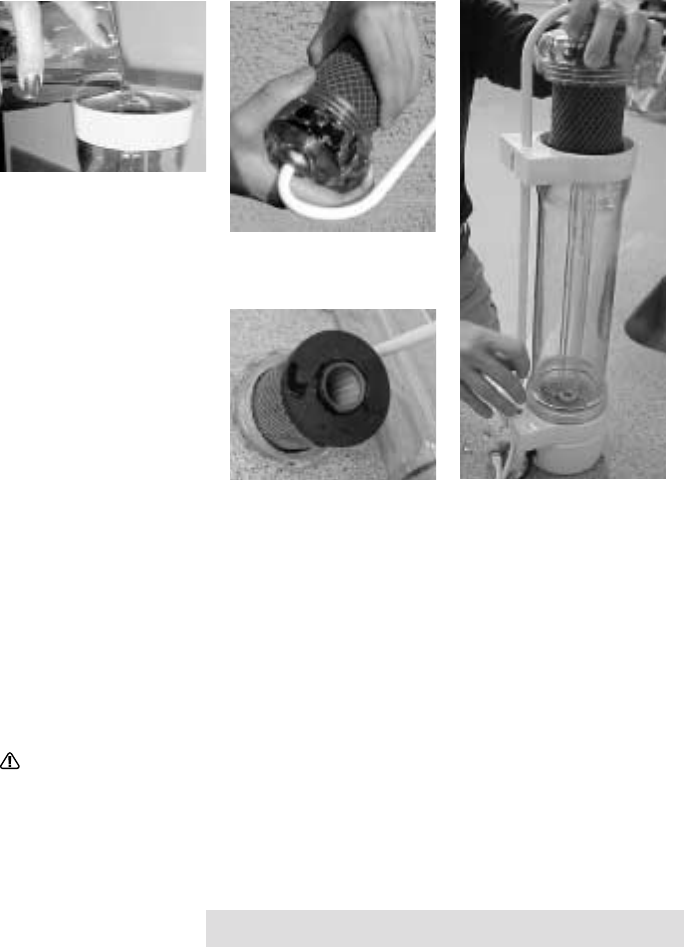
glass sleeve in the unit. Ensure that the glass sleeve is wet,
and guide the lter over the sleeve (Figure 20).
Be sure to guide the outlet tube into the bottom tting.
14. Tighten the cap and reconnect all ttings. Reconnect power.
15. Run water through the unit for 5 minutes to ush the lter
before use.
IMPORTANT! Use only lters supplied by your Sterilight dealer.
Approved lters are specically matched to your unit. Using the wrong
lter will negatively effect unit operation, will void the unit warranty,
and can adversely affect the safety of water leaving the unit.
REPLACING THE UV LAMP
The Sterilight unit uses a high-intensity ozone generating lamp which
can be obtained from your Sterilight dealer. For proper unit operation,
use only lamps supplied by your Sterilight dealer. The lamp should be
replaced whenever it fails to light during operation.
cap. Push it rmly
into the
cap until it is
completely seated
(Figure 18). The
lter should stay
rmly in the to cap.
12. Ensure that the
lower lter O-ring
seal is in place
(Figure 19).
13. The lower seal
slides over the
Figure 17
Wet glass sleeve
Figure 18
Installing the lter into the cap
Figure 19
Checking lower O-ring seal
Figure 20
Installing the lter in the unit


