


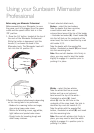
Before using your Mixmaster Professional
Before assembling your Mixmaster, be sure
the power cord is unplugged from the power
outlet and the speed control dial is in the
'Off' position.
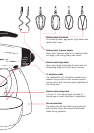
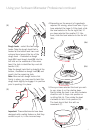
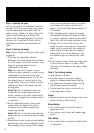
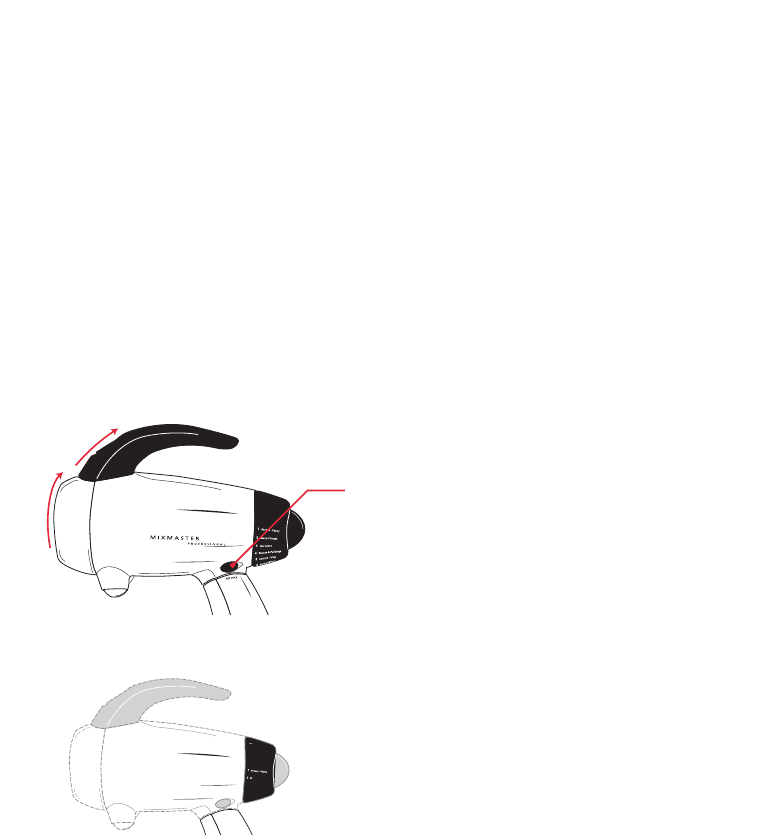
1. Press the 'tilt' button, located at the top of
the neck of the Mixmaster Professional.
While the button is depressed, hold the
handle (1) and ease the head of the
Mixmaster back. The Mixmaster head will
lock into this tilt position (2).
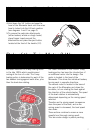
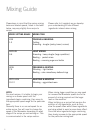
2.Select the desired attachments depending
on the mixing task to be performed;
- Beaters for creaming butter and sugar,
plus mixing heavy cake mixes.
- Whisks for whisking cream, egg whites,
light batters and packet cake mixes.
- Dough hooks for kneading dough and
other heavy mixtures.
3.Insert selected attachment;
Beaters – select the two beaters.
Take the beater that has a pointier,
curved bottom and has a red
coloured band around the top of the beater
– illustrated as beater (A). Insert beater (A)
into the left hole on the underside of the
mixer head, the hole is identified by a red
dot beside it (3).
Take the beater with the angular/flat
bottom, illustrated as beater (B) and insert
into the remaining hole.
Note: Be sure both beaters click firmly in
place, you may need to twist the beater
slightly to engage it in position prior to
pushing it in place.
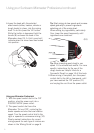
Whisks – select the two whisks.
Take the whisk that has a curved
bottom and has a red coloured
band around the top of the whisk –
illustrated as whisk (A). Insert
whisk (A) into the left hole on the
underside of the mixer head, the hole is
identified by a red dot beside it (4).
Take the whisk with the angular/flat
bottom, illustrated as whisk (B) and insert
into the remaining hole.
Note: Be sure both whisks click firmly in
place, you may need to twist the whisk
slightly to engage it in position prior to
pushing it in place.
4
Using your Sunbeam Mixmaster
Professional