


10
Important: To the Operator Model 430 Torque
Section 5 Important: To the Operator
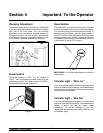
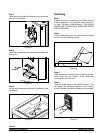
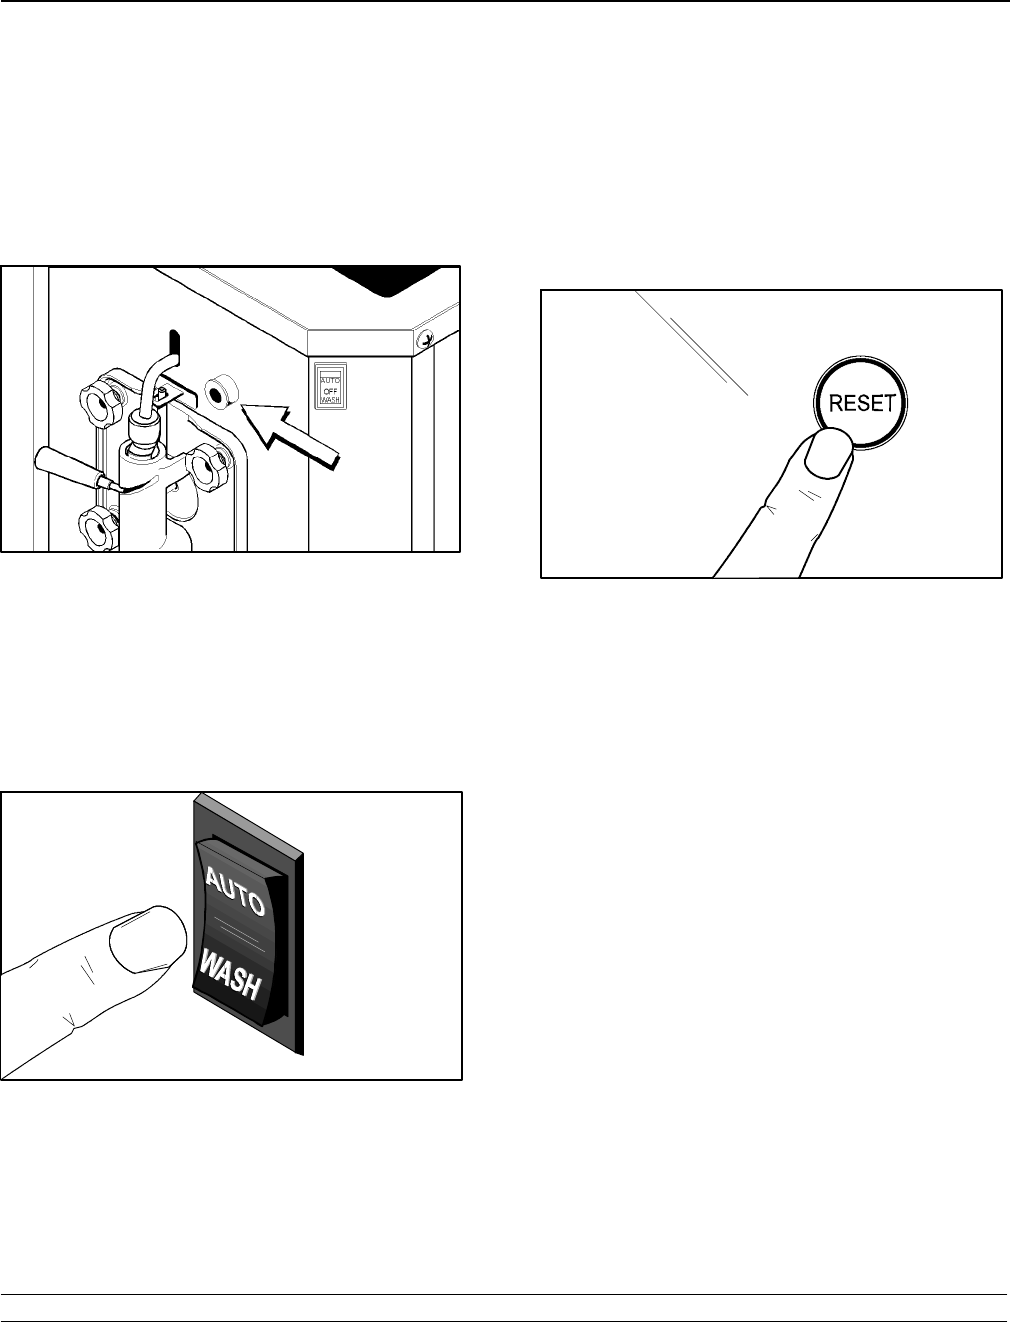
Viscosity Adjustment
The viscosity (thickness) of the slush can be adjusted
by turning the viscosity adjustment screw on the upper
right side of the front panel. Turn the viscosity
adjustment screw clockwise for a thicker product, or
counterclockwise for a thinner product. After making
an adjustment, allow the refrigeration system to cycle
2 or 3 times to accurately evaluate the viscosity.
Figure 1
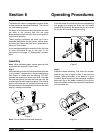
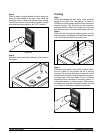
Power Switch
The center position is “OFF”. The “up” position is
“AUTO”, which activates the beater m otor and the
refrigeration system. The “down” position is “WASH”,
which activates the beater motor only.
Figure 2
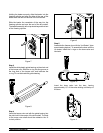
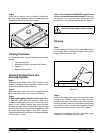
Reset Button
The reset button is located in the rear panel. The reset
protects the beater motor from an overload condition.
If an overload occurs, the reset mechanism will trip. To
properly reset the freezer , place the power switch in
the “OFF” position. Press the reset button firmly. Place
the power switch in the “W ASH” position and observe
the freezer’s performance. Once satisfied, place the
control switch in the “AUTO” position.
Figure 3
IMPORTANT: Do not use metal objects to press the
reset button.
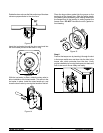
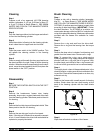
Indicator Light -- “Mix Low”
A mix level indicating light is located on the front of the
machine. When the light is flashing, it indicates that the
mix hopper has a low supply of product and should be
refilled as soon as possible.
Indicator Light -- “Mix Out”
A mix out indicating light is located on the front of the
machine. When the light is flashing, it indicates that the
hopper is empty and the mix supply needs
replenishing. To prevent damage to the unit,
refrigeration discontinues automatically when the mix
out indicator lights.