


20
Models RD30/RC25Operating Procedures
Priming
Step 1
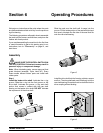
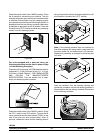
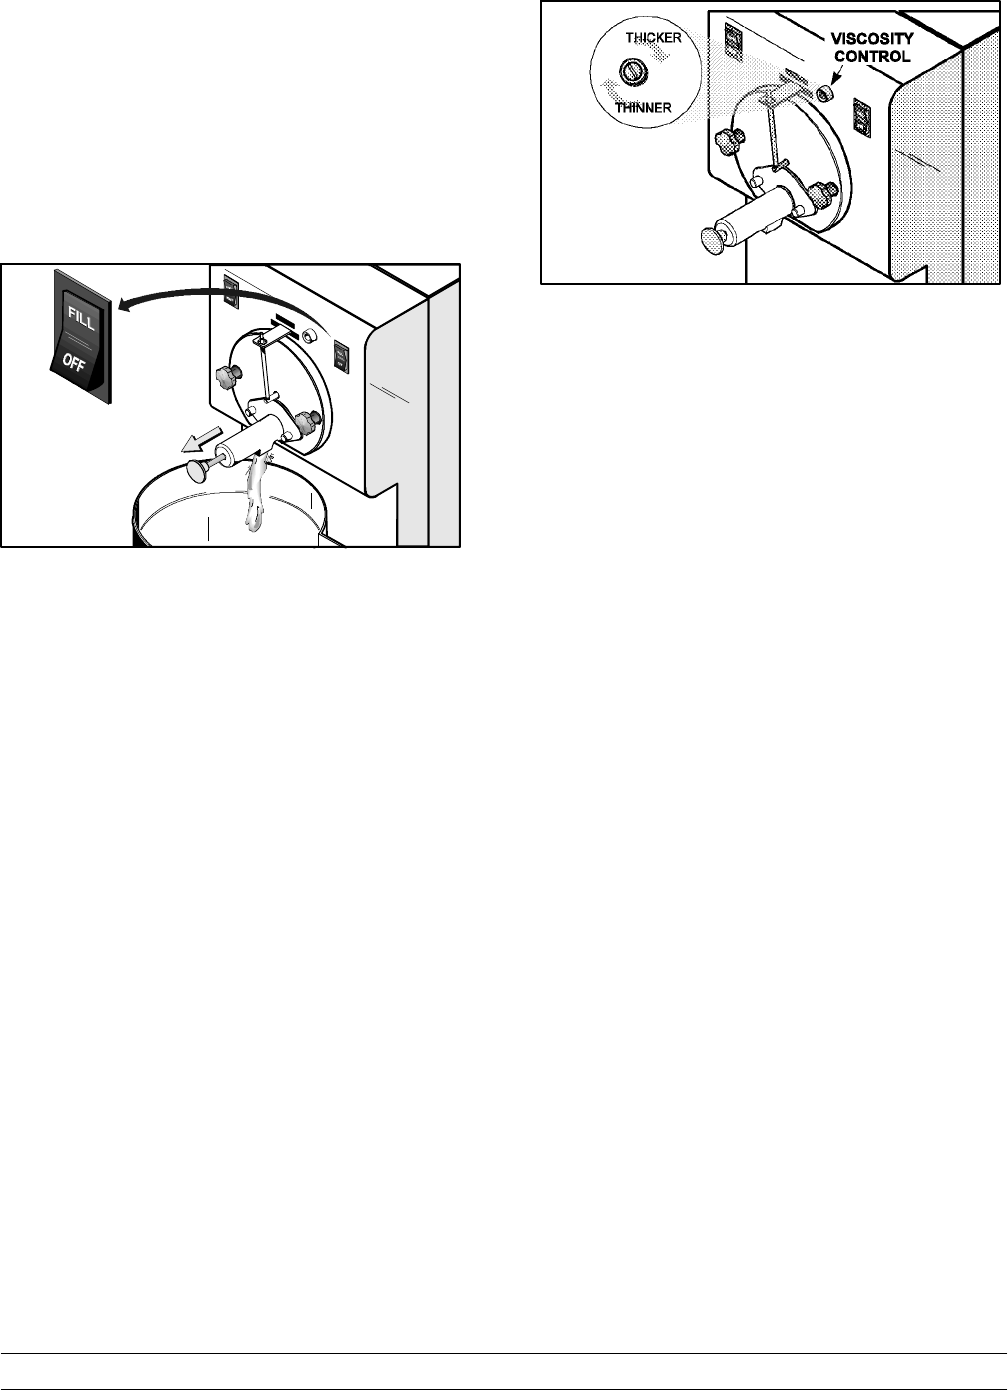
With a mix pail beneath the door spout, open the draw
valve. Press the fill switch to allowfresh pr oduct to flow
into the freezing cylinder. This will force out any
remaining sanitizing solution. When full strength
product is flowing from the door spout, close the draw
valve. Allow the freezing cylinder to fill until the mix
level float switch has satisfied the fill syst em.
Figure 35
For units equipped with a post mix valve, the
following procedure is to be used in place of Step
1 of the Priming Procedure.
With a pail beneath the door s pout, open the draw
valve. Place the “FILL” switch in the “ON” position.
Press and hold the area labeled “PUSH” on the front
of the post mix valve (prime switch). Release the valve
after 10 seconds. Allow the product to flow out the
draw valve until full strength product is delivered. This
will force out any remaining sanitizing solution. Close
the draw valve and allow the freezing cylinder to fill.
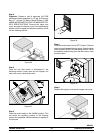
Step 2
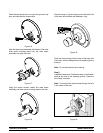
Place the control switch in the “AUTO” position. When
the unit cycles off, the product will be at serving
viscosity. The viscosity (thickness) of the slush can be
adjusted by turning the viscosity adjustment screw on
the upper right of the front panel. Turn the viscosity
adjustment screw clockwise for a thicker product, or
counterclockwise for a thinner product. After making
an adjustment, allow the refrigeration system to cycle
2 or 3 times to accurately evaluate the viscosity.
Figure 36
Note: In order for the refrigeration system to operate,
the fill switch must be in the “ON” position while the
control switch is in the “AUTO” position.
Closing Procedure
To disassemble the Model RD30, the following items
will be needed:
S T wo cleaning pails
S Necessary brushes provided with freezer
S Cleaner
S Single service towels
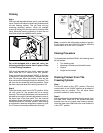
Draining Product From The
Freezing Cylinder
Step 1
T urn the fill switch to the “OFF” position. Place the
control switch in the “W ASH” position as far ahead of
cleaning time as possible. This will allow frozen
product to soften for easier draining.
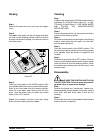
Step 2
With a sanitized mix pail beneath the door spout, open
the draw valve. When all of t he product has been
drained from the mix hopper and freezing cylinder,
close the draw valve. Make sure the control switch is
in the “OFF” position.