THE FOODSAVER USER MANUAL
19
How To Vacuum Package Using the FoodSaver
Jar Sealer with Mason Jars
THE FOODSAVER USER MANUAL
18
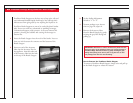
6 Vacuum package as per instructions on page 10, steps 6-8.
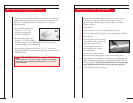
7 Remove the Accessory Hose from the Jar Sealer by gently twist-
ing the gray hose fitting and pulling up.
8 Remove the Jar Sealer from the Mason jar. Make sure the metal
lid on the jar is securely in place. It should not move.
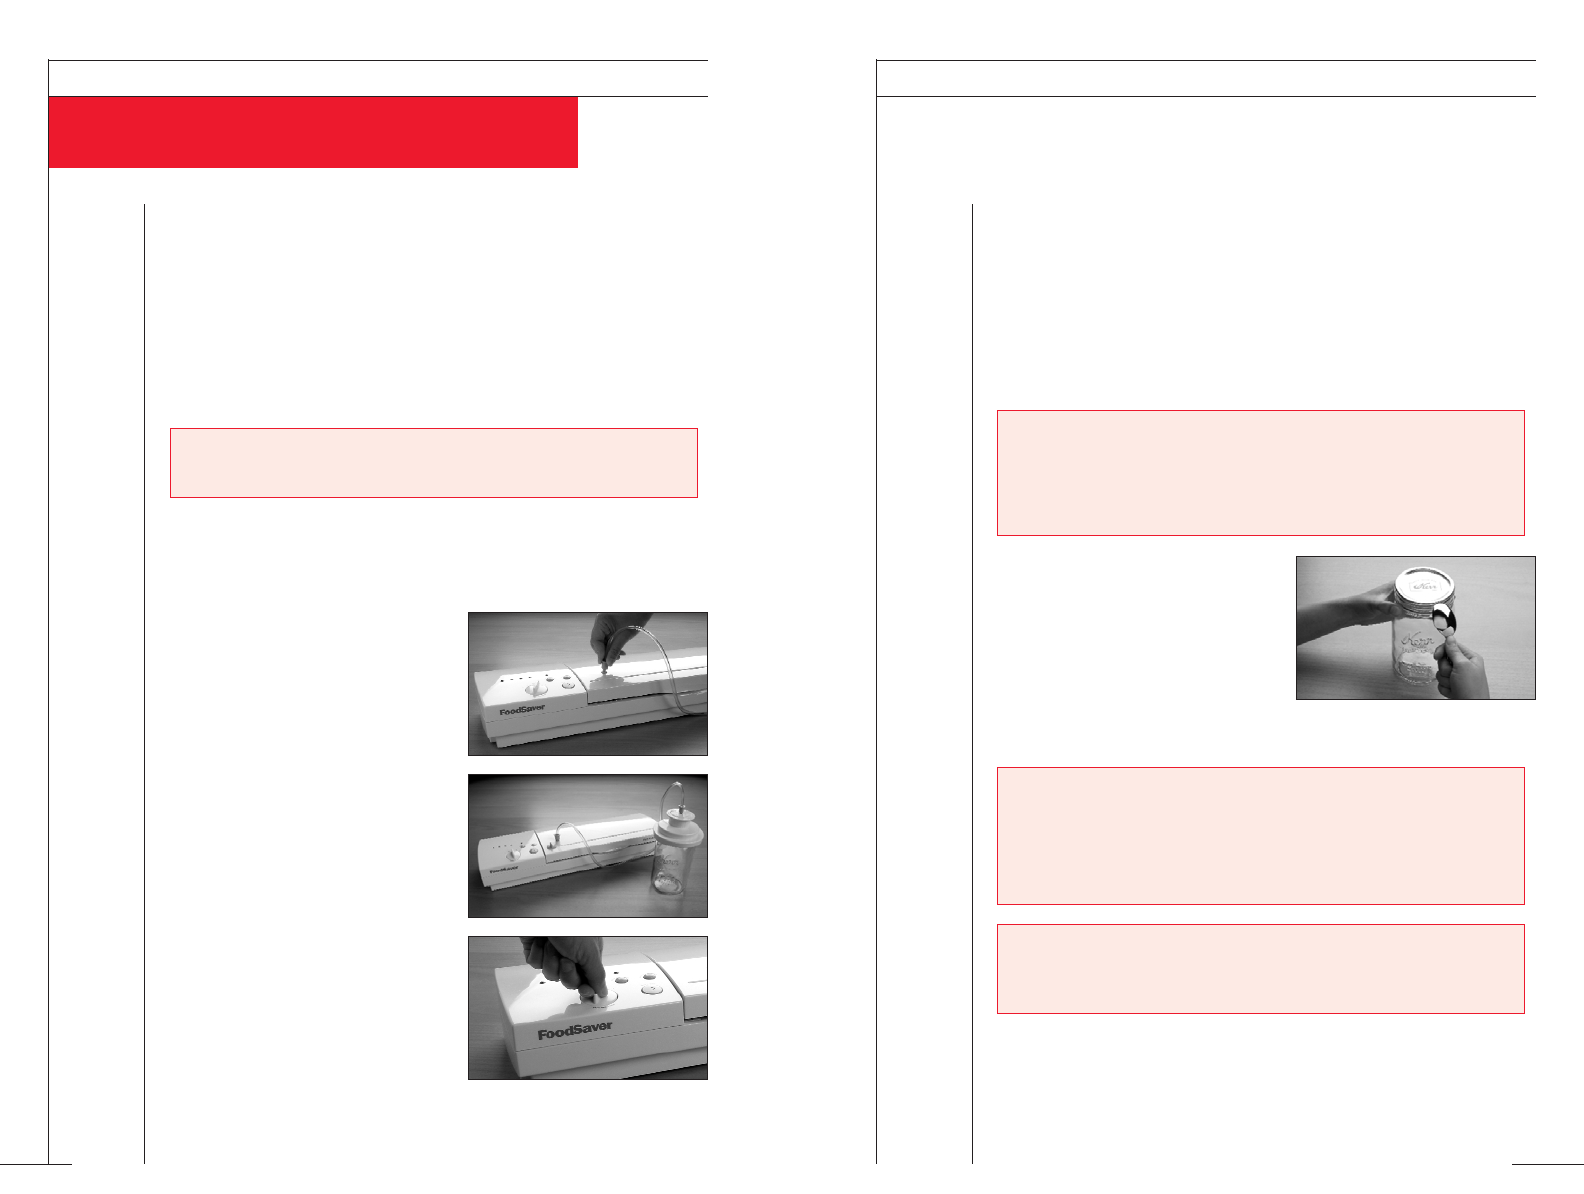
How to Open the Mason Jar
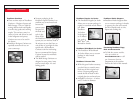
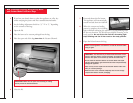
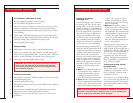
To open a Mason jar, wedge a
spoon between the Mason jar lid
and the highest part of the threaded
rim. Twist the spoon gently to
release the vacuum. When opened
this way, the Mason jar lid can be reused many times.
NOTE: Do NOT attempt to vacuum package any contents that
are warmer than room temperature since the vacuum may cause
the contents to bubble out of the jar.
IMPORTANT: To avoid accidents, do not use a knife to remove the
Mason jar lid. Also, do not use a bottle opener to remove
the Mason jar lid as it will bend the lid and prevent its reuse.
Vacuum packaging is not a substitute for the heat process of
home canning.
IMPORTANT: Remember to remove the Accessory Hose from the
Accessory Port on the appliance before you vacuum package in
FoodSaver Bags. Remove the hose by gently twisting the gray
fitting while pulling it out. Never yank or tug the hose as this
may damage both the hose and the fitting.
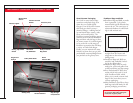
Use the FoodSaver Jar Sealer to vacuum package food in Mason
jars. There are two sizes of Jar Sealers: the FoodSaver Wide-
Mouth Jar Sealer for wide-mouth Mason jars, and the FoodSaver
Regular Jar Sealer for regular and standard-mouth Mason jars. If
you wish to store Mason jars in the freezer, make sure to use
straight-walled (no shoulders), freezer-safe Mason jars. Leave
extra space between the contents and the lid to allow for the
normal expansion of liquids.
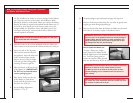
1 Place the item(s) to be vacuum packaged inside the Mason jar.
Leave at least one inch between the contents and the rim of the jar.
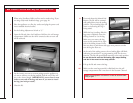
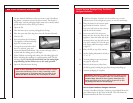
2 Insert one end of the Accessory
Hose into the Accessory Port on
the appliance. Insert the other end
of the Accessory Hose into the
hole on the top of the Jar Sealer.
Twist the gray hose fitting while
inserting to ensure a tight fit.
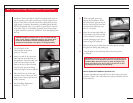
3 Place the Mason jar lid on the top
of the Mason jar.
(IMPORTANT:
Do NOT use screw bands when
vacuum packaging jars.)
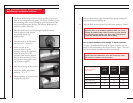
4 Place the Jar Sealer over the top
of the Mason jar. Push down
firmly until the Jar Sealer covers
the entire rim of the jar.
5 Set the Sealing Adjustment
Switch to “1” or “2.”
NOTE: Always pre-soak new metal lids. Bring water to a boil, then
turn off. Pre-soak lids 5-10 minutes.


