


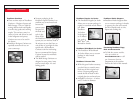
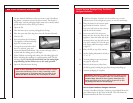
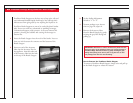
How to Use the Vacuum Override Button
Use the Vacuum Override Button when you want to remove
even more air from a FoodSaver Bag, Designer Canister,
Square Canister, Bulk Storage Canister, Mason jar or other
storage container.
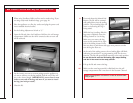
1 Open the lid.
2 Place the items to be vacuum packaged into the bag.
3 Place the open end of the bag down into the Vacuum Channel.
4 Close the lid.
5 Press and release the On button.
The appliance will automatically
begin the vacuum process.
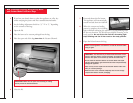
6 To extend the vacuum time,
press and hold the Vacuum
Override Button.
7 Release the Vacuum Override
Button to return the appliance to the normal sealing cycle.
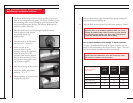
8 When finished vacuuming and sealing, the red sealing light will
blink, indicating the appliance is reprogramming itself. The lid
will open slightly.
Do not lift the lid until the red sealing light
stops blinking and the lid has reset to the ready position.
9 Open the lid and remove the bag.
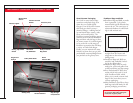
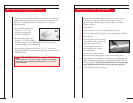
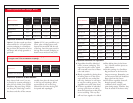
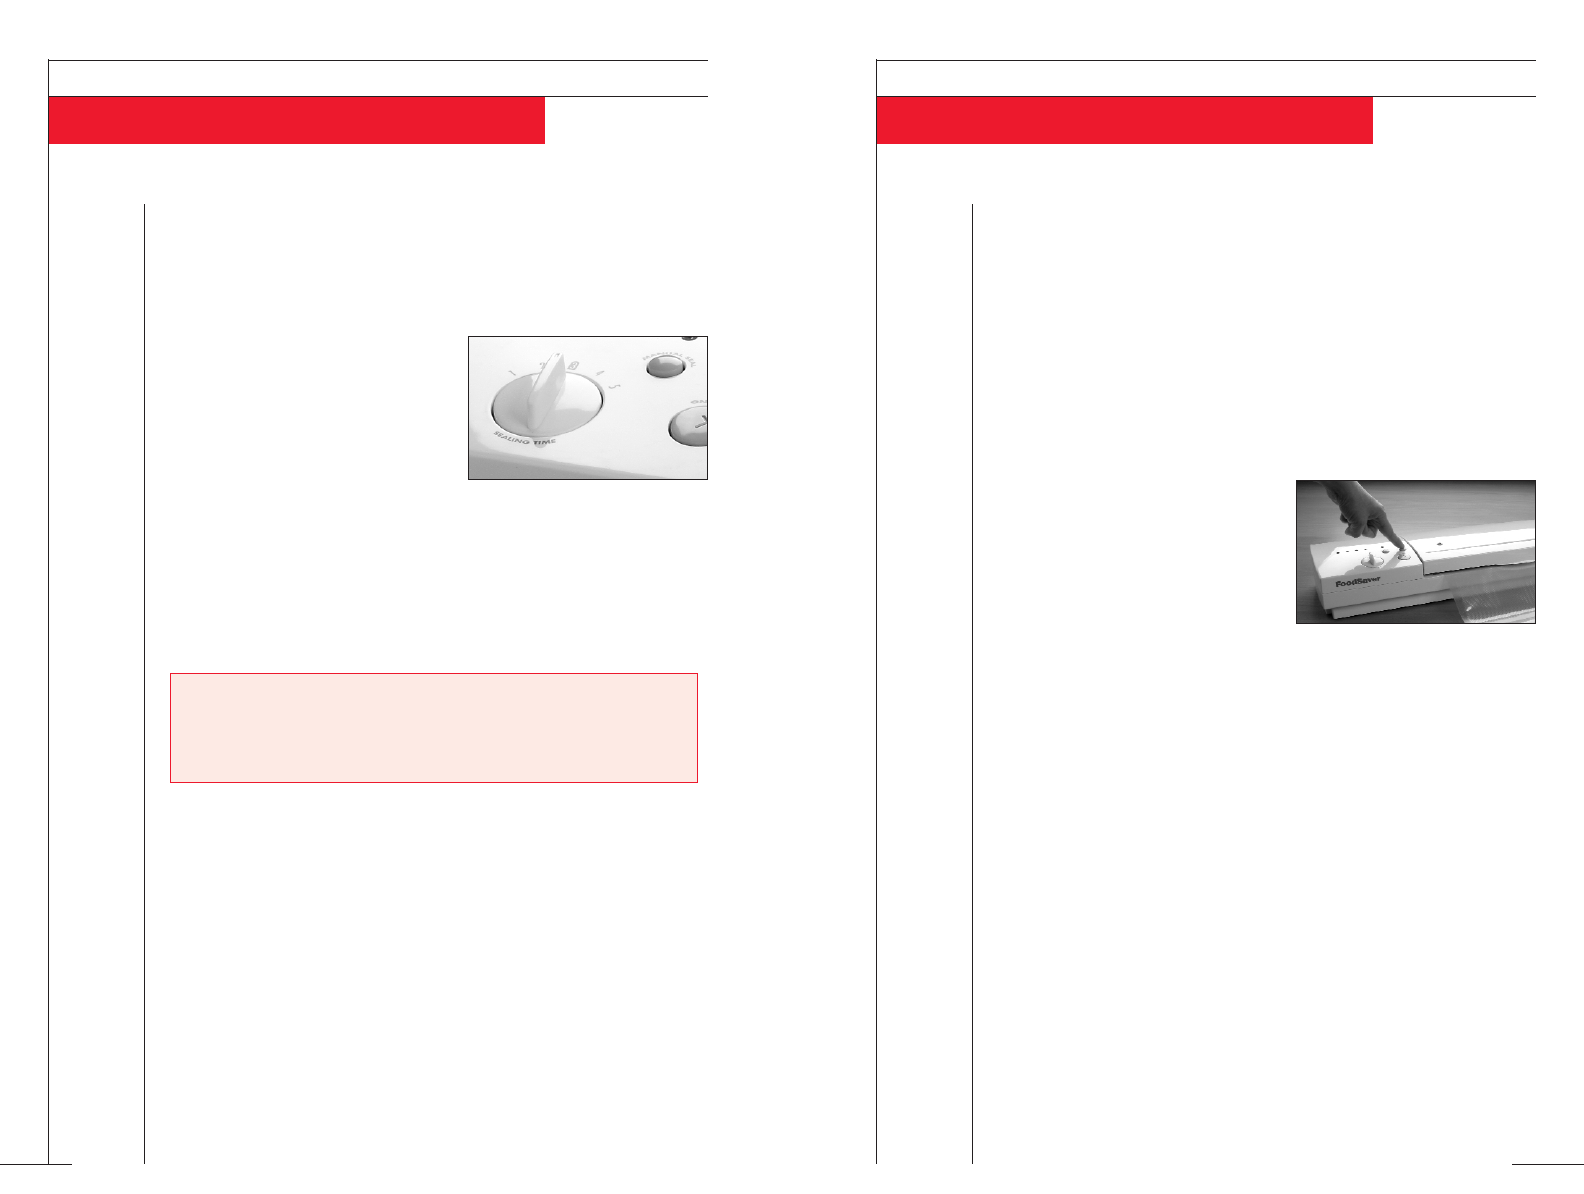
This Five-Position Sealing Adjustment Switch lets you control the
length of the sealing process. Seal times increase according to the
dial, with “1” being the shortest seal time and “5” being the
longest seal time.
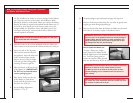
• Set the Sealing Adjustment
Switch to “1” or “2” for
vacuum packaging with
FoodSaver accessories.
• Set the Sealing Adjustment
Switch to “3” when creating a
FoodSaver Bag from a FoodSaver Roll and also for standard
vacuum packaging in FoodSaver Bags.
• Set the Sealing Adjustment Switch to “4” or “5” for vacuum
packaging foods with excess moisture and juices (example: meats,
chicken or fish).
• Set the Sealing Adjustment Switch to “4” or “5” for vacuum
packaging foods with excess moisture.
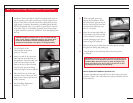
NOTE:
During seal only processes with non-FoodSaver Bags, the
normal setting of “3” may be too strong, resulting in a melted bag.
If this occurs set the Sealing Adjustment Switch to “1” or “2” for
less heat intensity.
How to Use the Sealing Adjustment Switch
THE FOODSAVER USER MANUAL
13
THE FOODSAVER USER MANUAL
12