


How to Make a Custom-Made Bag with FoodSaver Rolls
THE FOODSAVER USER MANUAL
9
THE FOODSAVER USER MANUAL
8
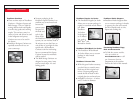
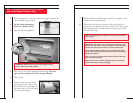
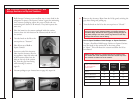
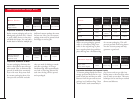
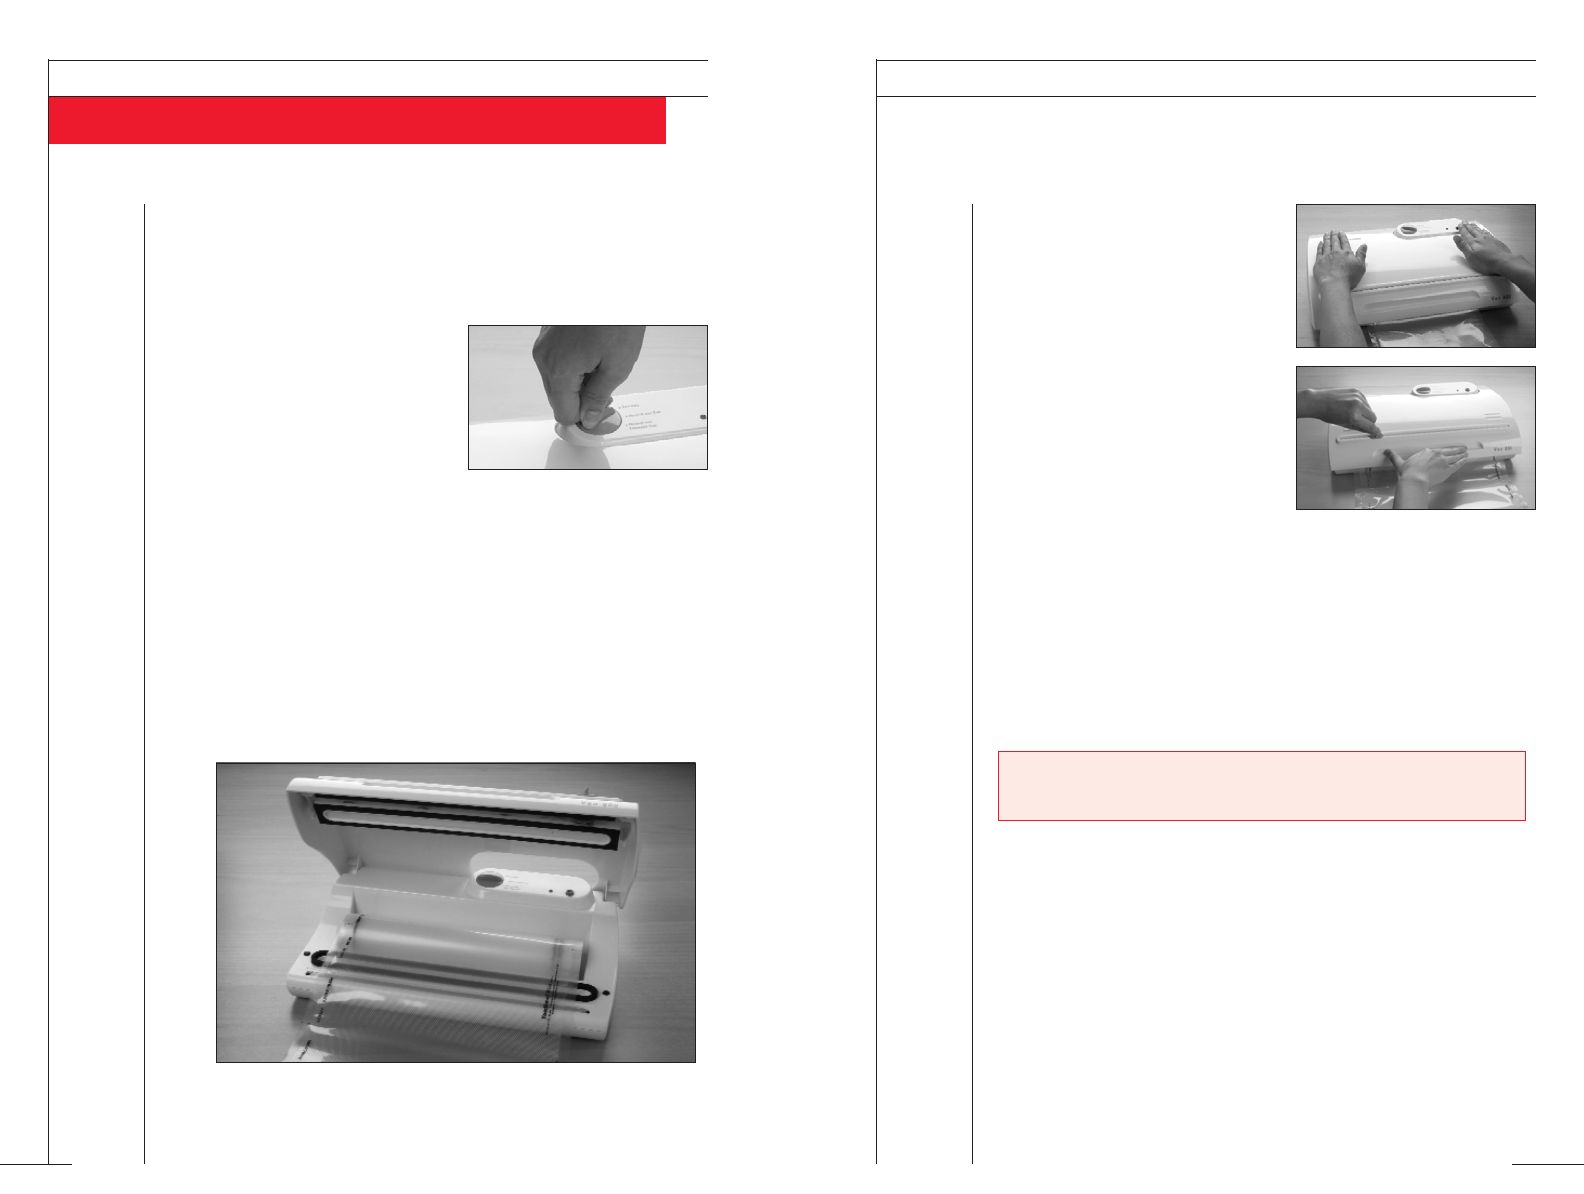
6 With the palms of your hands,
press down on the ridges on the
lid and hold. The green light will
turn on indicating the bag is
being sealed.
7 Wait until the green light turns
off before releasing the lid.
When the light turns off, the
sealing process is complete.
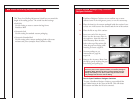
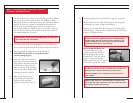
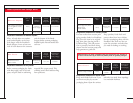
8 While applying pressure to the
front indentation of the lid, slide
the bag cutter completely across the sliding channel to cut the
bag. Make sure you return the bag cutter to the extreme left or
right side of the sliding channel.
9 Open the lid and remove the bag.
10 Make sure the extra bag material is rolled back into the roll
storage compartment and is not down in the Vacuum Channel.
NOTE: Let the appliance cool down for at least 20 seconds before
using it again.
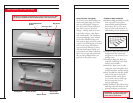
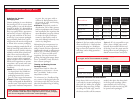
When using FoodSaver Rolls you first need to make a bag. If you
are using ready-made FoodSaver Bags, go to page 10.
1 Place the appliance on a flat, dry surface and plug the power cord
into a standard electrical outlet.
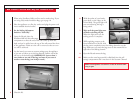
2 Set the Sealing Adjustment
Switch to “Seal Only.”
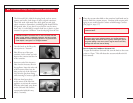
3 Open the lid and place the
FoodSaver Roll into the roll storage
compartment so that the end of the roll comes up from the
back and can be pulled over the top of the roll toward the front
of the appliance. Make sure the roll is centered so that an even
cut will be achieved.
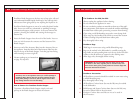
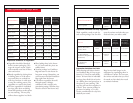
4 Lay the item(s) you want to vacuum package near the appliance
so you can see where to cut the bag material. Pull the end of the
roll out to the desired length. IMPORTANT: Leave at least 3
extra inches at one end of the bag, and more if you want to
reseal or reuse the bag (one inch per reseal).
5 Close the lid.