


How to Vacuum Package Using Ready-Made
and Custom-Made FoodSaver Bags
THE FOODSAVER USER MANUAL
11
THE FOODSAVER USER MANUAL
10
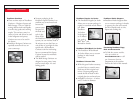
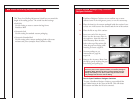
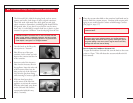
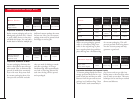
7 While continuously holding down the lid, the appliance will
vacuum and seal automatically.
8 When all the air has been removed, and the bag has been
sealed, the green light and the motor will turn off. The vacuum
and sealing process is complete. Remove hands, open the lid
and remove the bag.
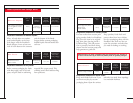
IMPORTANT: You will need to pre-freeze foods that have excess
liquid or moisture before vacuum packaging in FoodSaver Bags
because the liquid can be drawn up into the Vacuum Pump.
Do not allow the Vacuum Channel to become filled with liquid.
This may allow liquid to get sucked into the motor and permanently
damage the appliance.
Wipe out any excess liquid from the Vacuum Channel after each
time you vacuum package.
Make sure the roll is rewound completely into the roll storage
compartment before vacuum packaging.
NOTE: Let the appliance cool down for at least 20 seconds before
using it again.
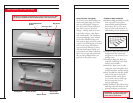
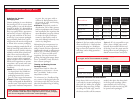
1 Place the appliance on a flat, dry surface and plug the power cord
into a standard electrical outlet.
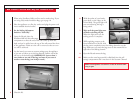
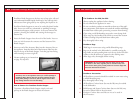
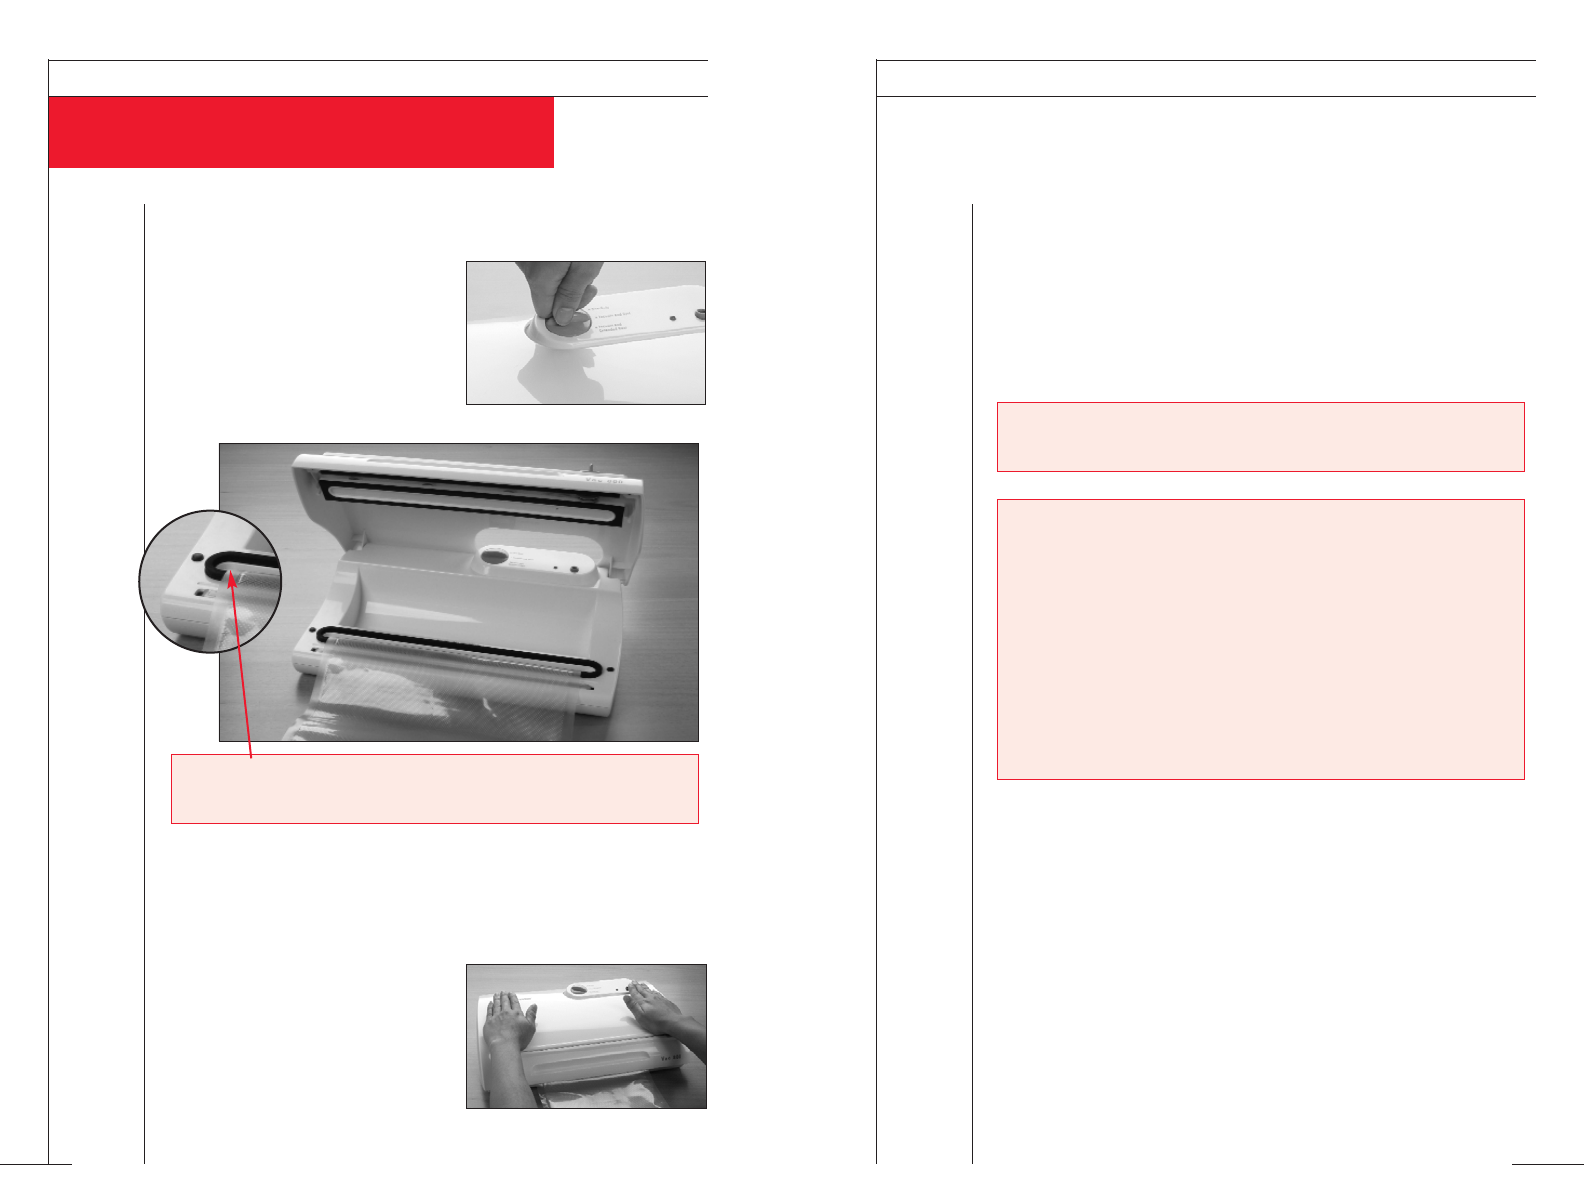
2 Set the Sealing Adjustment
Switch to “Vacuum & Seal.”
3 Open the lid of the appliance.
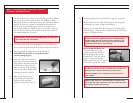
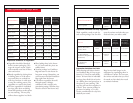
4 Place items to be vacuum packaged inside the bag. Place the
open end of the bag down into the Vacuum Channel.
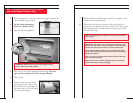
5 Close the lid.
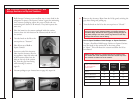
6 With the palms of your hands,
press down on the ridges on the
lid and hold. The green light and
the motor will turn on indicating
the vacuum has begun.
IMPORTANT: Make sure the open end of the bag is resting
entirely inside the Vacuum Channel.