11
RH36 & MH36 INSTALLATION & OPERATIONS MANUAL 2M-1189333
Installation & Operations Manual 1189333 Rev 0 (03/07) Page 11
C. Assembling (Stacking) the Oven Module and Range Module
1. Move the range top module and the oven module to the area of their permanent location as directed in the
previous Paragraph “B” or the Pre-installation Instructions on the outside of the shipping carton.
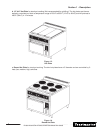
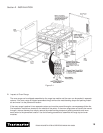
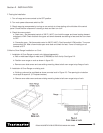
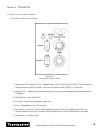
2. Remove the following (refer to Figure 2-1):
• Two drip pans
• Two side panels
• Back cover
• Front louvered panel located below control panel
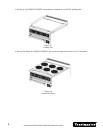
3. Place range top module in position on oven module.
4. Attach range top to oven using two 5/16” hex bolts on each side of the oven (4 bolts total, furnished).
Refer to Figure 2-1
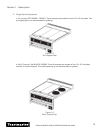
5. Thread jumper wire harness from range top through oven base frame opening and connect wires marked
201, 202 and 203 to terminal block as shown in Figure 2-1.
6. Remove all remaining packing materials.
7. On Marine Oven Ranges bolt the oven range to the floor/deck using the leg brackets.
D. Electrical Connection
1. Remove the right side panel and the front louvered panel located below the control panel if they have not
already been removed.
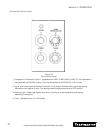
2. Remove knockout plate located below terminal block on oven floor as shown in Figure 2-1. Knockout
desired hole in knockout plate. Reassembled knockout plate to floor of oven.
3. Connect main power wires from circuit breaker to terminal block as shown in Figure 2-1.
4. Reinstall all panels and drip pans that were removed.
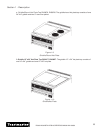
E. Initially Clean the Griddle and/or 12” x 24” Hot Plate(s)
1. Remove the rust preventative material from the surface with a nonflammable grease solvent.
2. Wash the surface with warm water and a mild detergent.
3. Rinse with a damp cloth and wipe dry.
4. Griddle must then be seasoned immediately. Refer to Section 3, Operation, for procedure to follow.
Section 2 - INSTALLATION


