


B. Servicing Evaporator Fan Motors and Temperature Control (continued)
b. VM-2 & VM-2SL Fan Panel/Drain Pan Disconnect (continued)
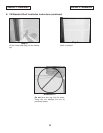
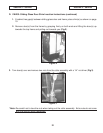
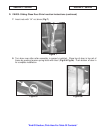
● Disconnect wiring one at a time on both sides of remaining ballast assembly.
*Note: Be cautious!!
At the same time individual wires are disconnected,
mark wires for correct reinstallation!
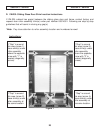
● Place remaining ballast assembly in safe location.
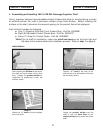
● At the fan panel / drain pan assembly, remove temperature control knob and
screws on both sides.
● Let fan panel / drain pan assembly hang.
● Proceed to “step 3”.
3. Service required component.
*Important Note!: It is highly recommended that any service work outside the 3 month
condensing coil cleaning be performed by a “Victory” recommended
service company or qualified service technician.
4. After service to component is complete, make sure all area’s on fan panel/drain pan
assembly with sealant are still in tact by adding more sealant to avoid leakage.
5. Reverse steps for reinstallation and proper restoration of power.
C. Servicing Evaporator Coil and/or Heat Exchanger Assembly
1. Discontinue power to merchandiser by turning arrow on temperature control knob to
“one” (1) and unplugging power cord from electrical outlet at rear of cabinet.
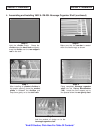
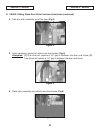
2. At back of cabinet, take off rear joint cover by taking out top and bottom phillips head
screws.
*Note: For VM-2 & VM-2SL, take off right rear joint cover as you’re facing the back of
cabinet. This will give access to heat exchanger.
3. If needed, perform “Instructions to Service Evaporator Fan Motor(s) and
Temperature Control” for access to evaporator coil and accumulator.
4. Service evaporator coil and/or heat exchanger assembly.
*Important Note!: It is highly recommended that any service work outside the 3 month
condensing coil cleaning be performed by a “Victory” recommended
service company or qualified service technician.
18
Section 5 - Service
Section 5 - Service