10
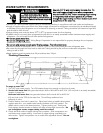
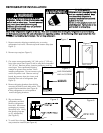
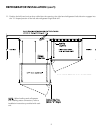
12. Roll refrigerators into cutout to within 3” (7.6 cm) of being flush with kitchen cabinets. To avoid kitchen cabinet
damage, place cardboard between kitchen cabinets and refrigerator. Push cardboard back with refrigerator and
remove cardboard when refrigerators are in place. Remove power cord slack by pulling nylon cord straight out
while pushing refrigerator completely into place. Power and nylon cords will rest along refrigerator side. Note:
When moving the unit into position, be careful not to crimp, kink, or crush the copper water supply line.
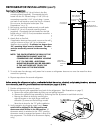
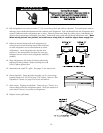
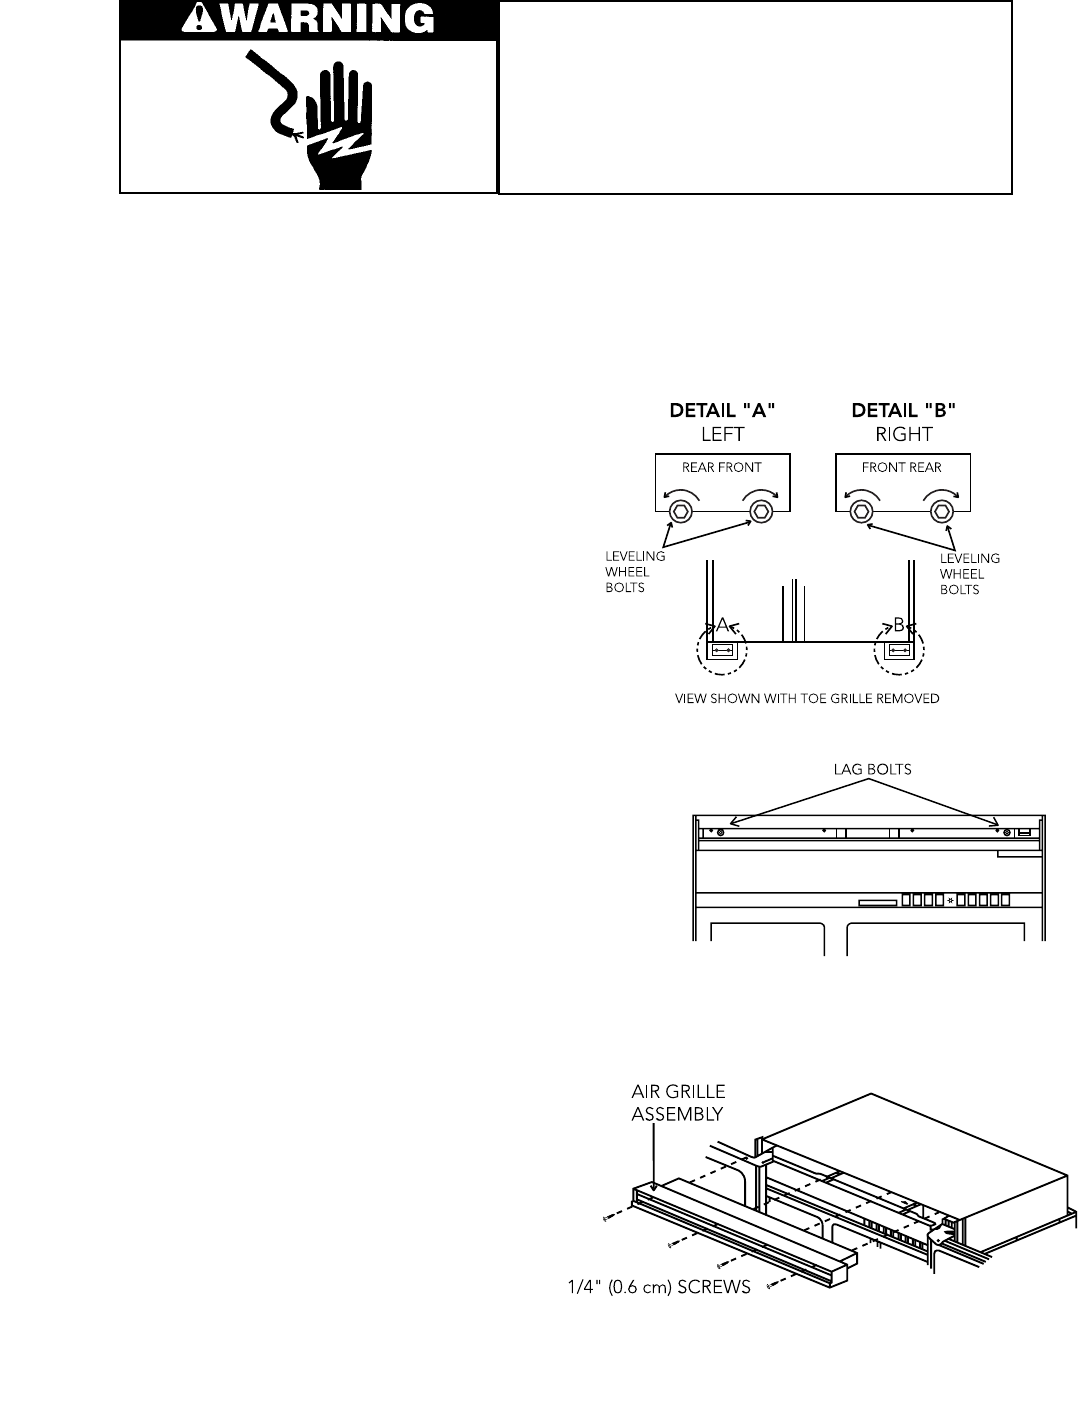
13. Adjust to desired height and level refrigerator by
turning front and rear leveling wheel bolts clockwise
to raise refrigerator and counterclockwise to lower
refrigerators. Level refrigerators so that the door
tops are in the same planes and that the door gap
between the two units is even (refrigerator sides are
parallel).
14. Align refrigerators with sides of kitchen cabinets by
adjusting leveling wheels. Rotate leveling feet until
firmly in place against floor.
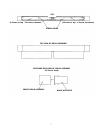
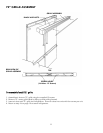
15. Assemble and install 72” grille. See page 11 for instructions.
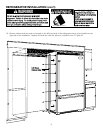
16. Secure lag bolts. Screw lag bolts securely into 2 x 4 mounting
board(s) using an 8” (20.3 cm) long 7/16” socket. Refer to “Site
Preparation” section on page 2 for more information.
17. Open doors. Displays should flash. Press any key. There is a 6
minute delay before the refrigerator starts. Verify the position of
each switch if there is no power to refrigerators
18. Replace center grill blade.
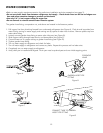
EElleeccttrriiccaall SShhoocckk HHaazzaarrdd
DDiissccoonnnneecctt ppoowweerr oorr ttuurrnn ppoowweerr ddiissccoonnnneecctt sswwiittcchh ttoo
OOFFFF ppoossiittiioonn bbeeffoorree ppeerrffoorrmmiinngg aannyy iinnssttaallllaattiioonn
pprroocceedduurree.. FFaaiilluurree ttoo ddoo ssoo ccaann rreessuulltt iinn ddeeaatthh oorr
eelleeccttrriiccaall sshhoocckk


