4
ELECTRICAL REQUIREMENTS
AREA REQUIREMENTS
IItt iiss tthhee ccuussttoommeerr’’ss rreessppoonnssiibbiilliittyy ttoo::
•contact a qualified electrical installer.
•assure that the electrical installation is adequate and in conformance with the
National Electrical Code, ANSI/NFPA 70-latest edition or Canadian Electrical
Code C22.1-1998 and C22.2 No. 0-M91 (or latest edition), and all local codes
and ordinances. 120 volt, 60-Hz, 15 amp, fused, electrical supply is required. It
is recommended that a separate circuit serving only this appliance be provided.
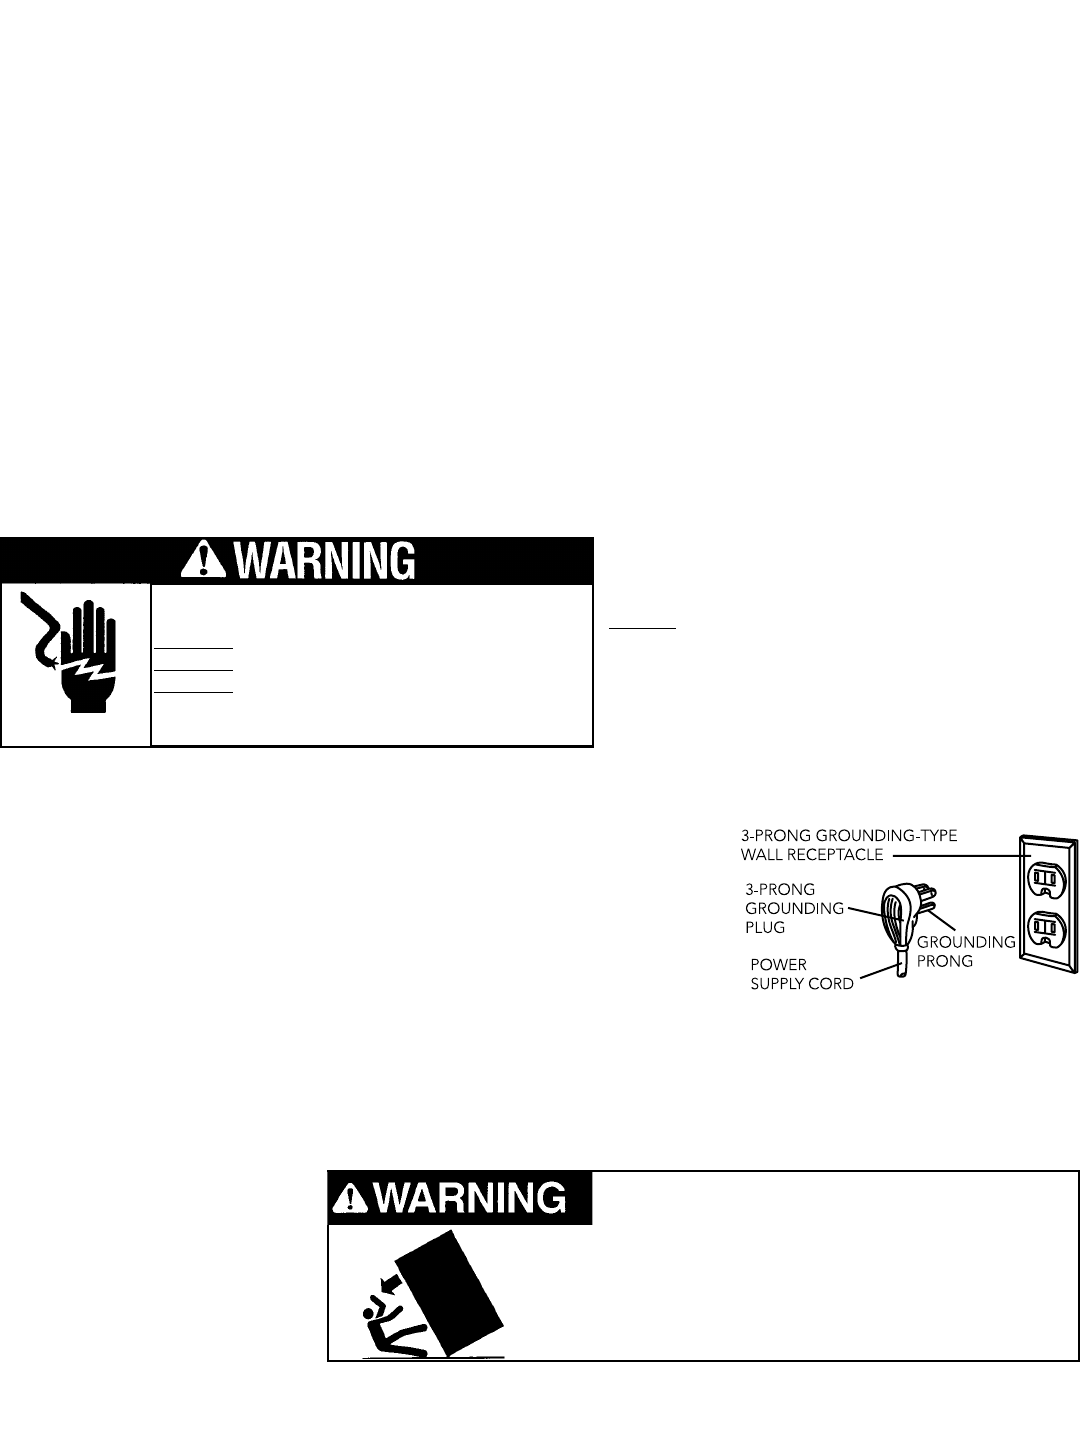
This appliance is equipped with a power supply cord having a 3-prong
grounding plug. To minimize possible shock hazard, the cord must be plugged
into a mating 3-prong, grounding-type wall receptacle. Do not use an
extension cord.
IIff ccooddeess ppeerrmmiitt aa sseeppaarraattee ggrroouunnddiinngg wwiirree ttoo bbee
uusseedd,, iitt iiss rreeccoommmmeennddeedd tthhaatt aa qquuaalliiffiieedd eelleeccttrriicciiaann
ddeetteerrmmiinnee tthhaatt tthhee ggrroouunnddiinngg ppaatthh iiss aaddeeqquuaattee..
DDoo NNoott
ggrroouunndd ttoo aa ggaass ppiippee.. CChheecckk wwiitthh aa
qquuaalliiffiieedd eelleeccttrriicciiaann iiff yyoouu aarree nnoott ssuurree tthhee
aapppplliiaannccee iiss pprrooppeerrllyy ggrroouunnddeedd.. DDoo NNoott hhaavvee aa
ffuussee iinn tthhee nneeuuttrraall oorr ggrroouunnddiinngg cciirrccuuiitt..
VVeerriiffyy tthhee ffoolllloowwiinngg::
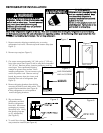
•Refrigerators can fit into residence and can be moved around corners and through doorways.
•Floors can support refrigerator’s weight plus food weight (approximately 1200 pounds each).
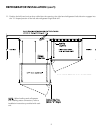
•Rear wall is solid and is able to support a (2) horizontally mounted 2X4s (included) bolted to 2 wall studs. The 2X4
board bolt heads must be flush with 2X4 to prevent obstruction.
•Remove anything attached to rear or side walls that can obstruct refrigerator opening.
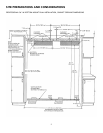
•Cutout dimensions are accurate.
•Electrical outlet is in correct location.
•Water line in in correct location.
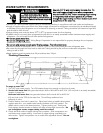
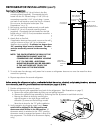
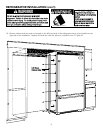
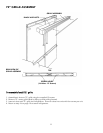
Anti-Tip Requirements
The anti-tip boards should be
fastened into position prior to
moving the unit into the opening.
Note: The space between the
rear of the refrigerator cabinet
and the condensing unit
assembly housing is 1 1/2” (3.8
cm) deep. Additional mounting
boards may be required if the
refrigerator does not touch the
back wall of the enclosure
TTIIPP OOVVEERR HHAAZZAARRDD
RReeffrriiggeerraattoorr iiss ttoopp hheeaavvyy aanndd ttiippss eeaassiillyy wwhheenn nnoott
ccoommpplleetteellyy iinnssttaalllleedd..
KKeeeepp ddoooorrss cclloosseedd uunnttiill rreeffrriiggeerraattoorr iiss ccoommpplleetteellyy
iinnssttaalllleedd..
UUssee ttwwoo oorr mmoorree ppeeooppllee ttoo mmoovvee aanndd iinnssttaallll rreeffrriiggeerraattoorr..
FFaaiilluurree ttoo ddoo ssoo ccaann rreessuulltt iinn ddeeaatthh oorr sseerriioouuss iinnjjuurryy
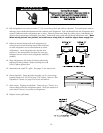
5. Turn on main water supply. Check for leaks. Turn saddle valve handle counterclockwise and run water through
copper tubing and into a bucket. Turn saddle valve clockwise to shut off water to copper tubing.
6. Route copper tubing to refrigerator area or water filter area.
7. Leave an additional length of copper tubing coil to facilitate moving the refrigerator out of enclosure for cleaning or
service.
8. See page11 for water connection instructions.
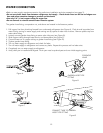
EELLEECCTTRRIICCAALL SSHHOOCCKK HHAAZZAARRDD
PPlluugg iinnttoo aa ggrroouunnddeedd 33--pprroonngg oouuttlleett..
DDOO NNOOTTrreemmoovvee ggrroouunndd pplluugg..
DDOO NNOOTT uussee aann aaddaapptteerr..
DDOO NNOOTT uussee aann eexxtteennssiioonn ccoorrdd..
FFaaiilluurree ttoo ffoollllooww tthheessee iinnssttrruuccttiioonnss ccoouulldd rreessuulltt iinn
ffiirree oorr eelleeccttrriiccaall sshhoocckk..


