


1918
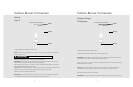
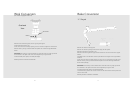
Bake Conversion
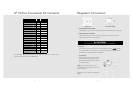
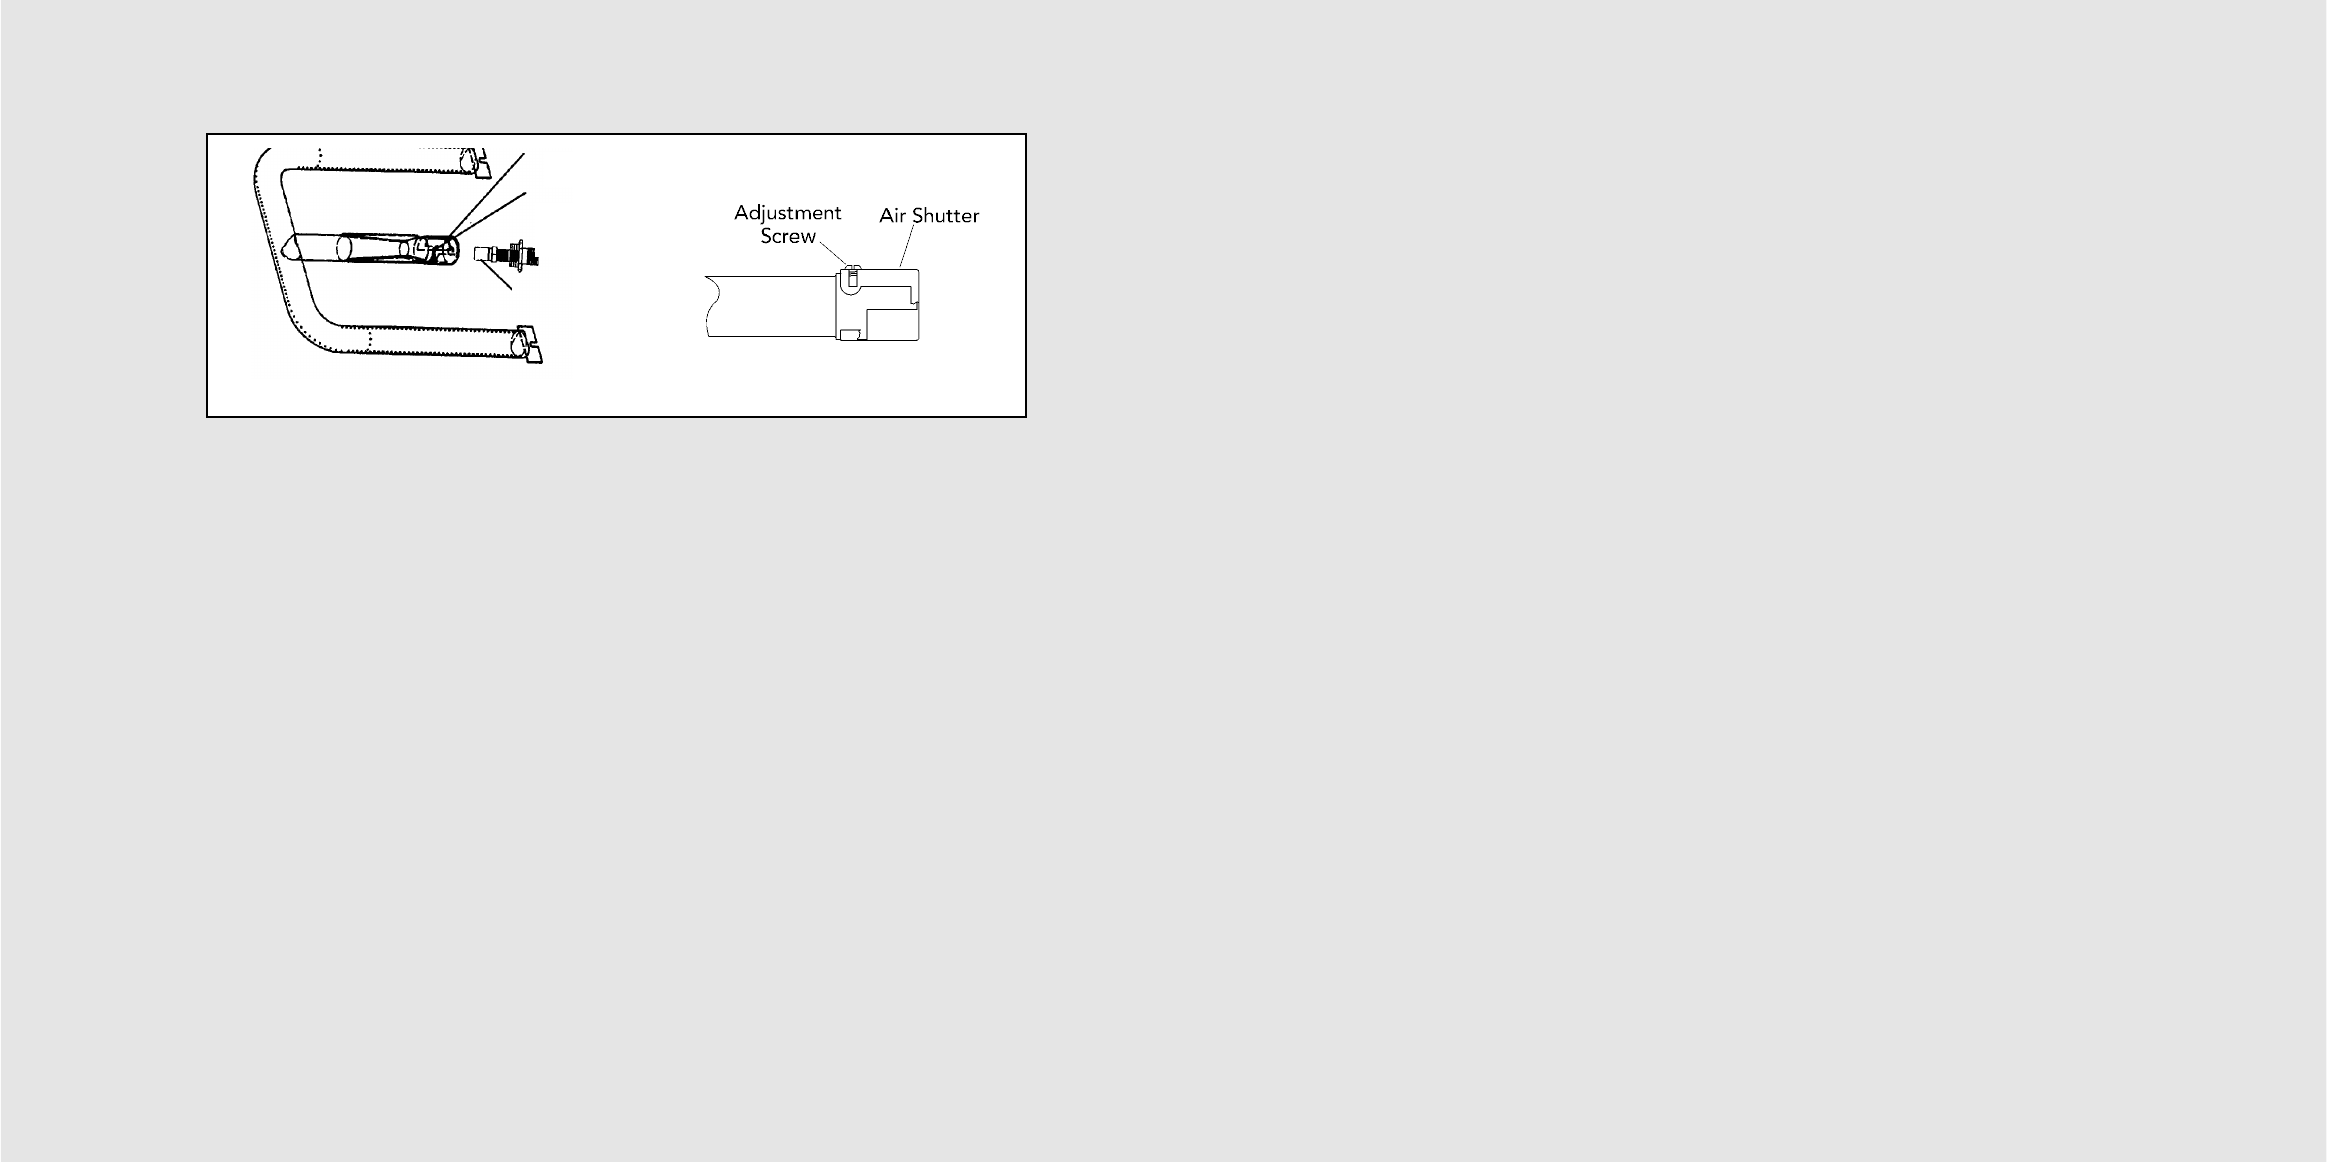
“U” Shaped
Remove oven racks and rack supports.
Remove oven bottom.
Remove screws securing bake igniter to bake burner.
Remove screws securing bake burner shield to oven burner box.
Remove screws securing bake burner to oven burner box.
Loosen air shutter screw and adjust opening on burner to 3/8” and tighten air shutter screw.
Remove orifice by turning counterclockwise and replace with orifice from bag labeled Oven
Burner Orifice (U-Shape).
IMPORTANT: The orifice tip must be located 3/16” inside the burner for proper gas mixture
and combustion. The depth of the orifice can be adjusted by turning the orifice
counterclockwise (more depth) or clockwise (less depth).
Reverse procedure as needed to reassemble.
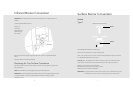
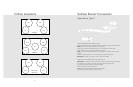
Air Shutter
Set Screw
Orifice
Hood
Air Shutter
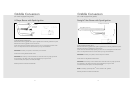
Rating Label Locations
When LP/Propane conversion is complete, complete the enclosed conversion label and place it
next to the rating label.
The rating label locations can be found as follows:
Professional Open Burner Range & Rangetop - On the interior left side of the burner box. To
access this label, remove the left side grates and grate support.
Professional Sealed Burner Range & Rangetop - Under the control panel.
Designer Sealed Burner Range & Rangetop - Under the control panel.