


— 8 —
GAS PRESSURE REGULATOR
A gas regulator is shipped packaged separately with this unit in the oven cavity area.
This regulator must be installed by an authorized service person before the unit is placed into
operation. See unit data plate, riveted inside the lower front kick panel, for pressure regulator
setting information.
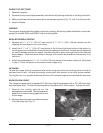
1. Locate either a
3
/4" or 1" (19 or 25 mm) NPT gas connection pipe protruding through the back
of the unit.
2. Cover the pipe threads with pipe joint compound resistant to propane gases.
3. Screw the regulator onto the pipe hand tight with flow direction arrow pointing towards the back
of the unit and the regulator adjustment in the up right position.
4. Using a pipe wrench, tighten the regulator securely in the upright position.
Note: The regulator is preset and should not require any additional adjustments.
The pressure regulator must be mounted horizontally to ensure the proper preset outlet pressure.
If mounted in any other direction, the outlet pressure must be rechecked and possibly reset.
A leak limiter is supplied with every regulator to allow excess gas pressure to escape. Do not
obstruct the limiter or the gas regulator, as obstruction may cause the regulator to malfunction.
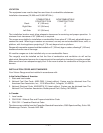
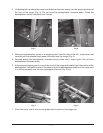
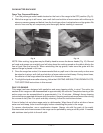
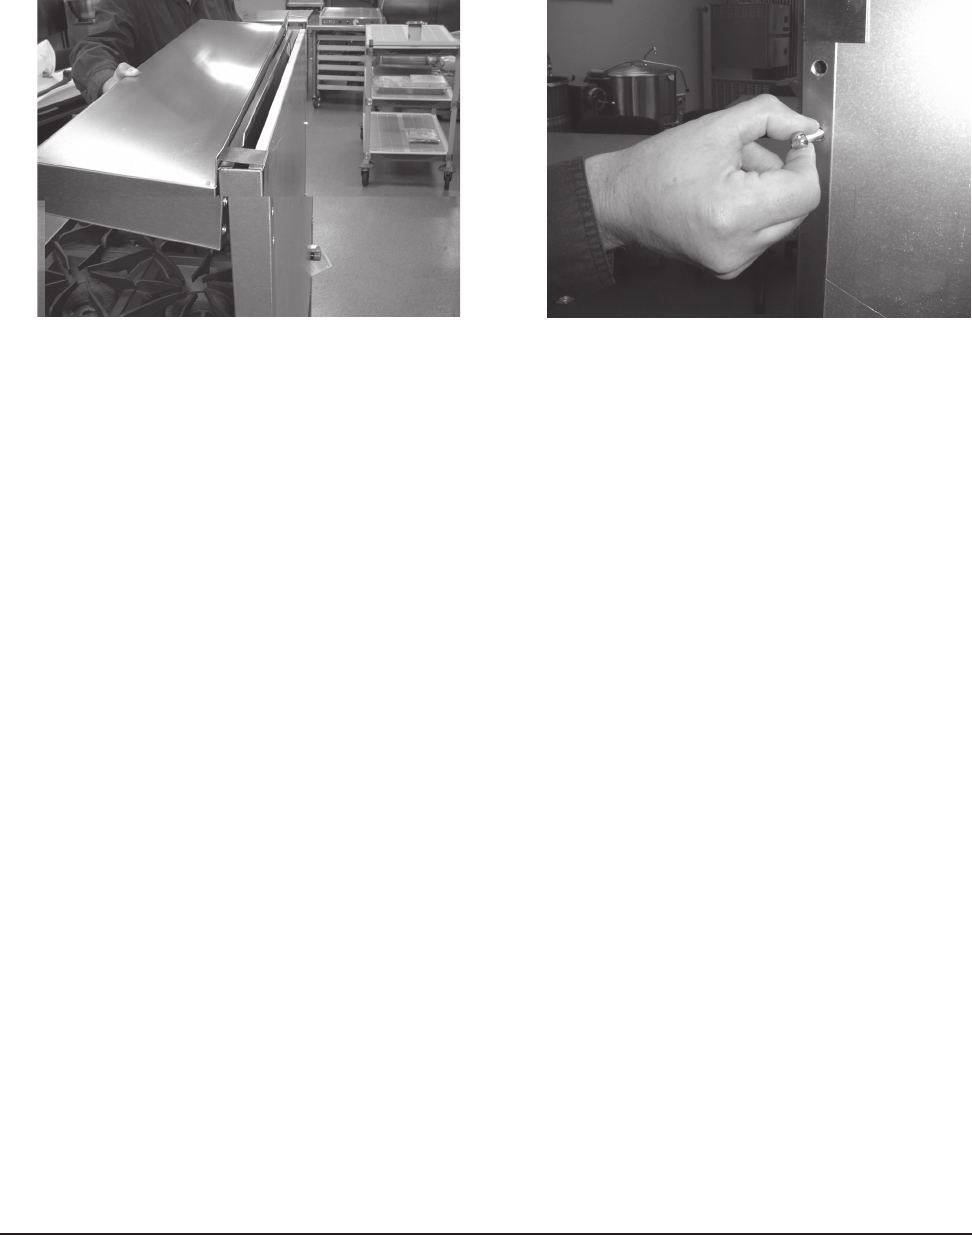
8. Lift the plate shelf and hang this onto the top of the backsplasher (Fig. 7).
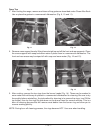
9. From the rear of the range, secure the plate shelf to the backsplasher by placing four
1
/4 x 20 x
2
5
/16 (6 x 509 x 59 mm) bolts provided into the existing bolt holes and tighten (Fig. 8).
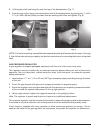
NOTE: For broiler mounting, assemble the backsplasher/plate shelf as described in steps 1 through
9, then follow instructions provided by the broiler manufacturer for mounting the broiler to the plate
shelf.
Fig. 7
Fig. 8