


7 Installing optional
C. Connect vent hood
Ll
vent hood
CAUTION:
Disconnect from electrical supply before installing
vent hood.
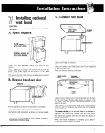
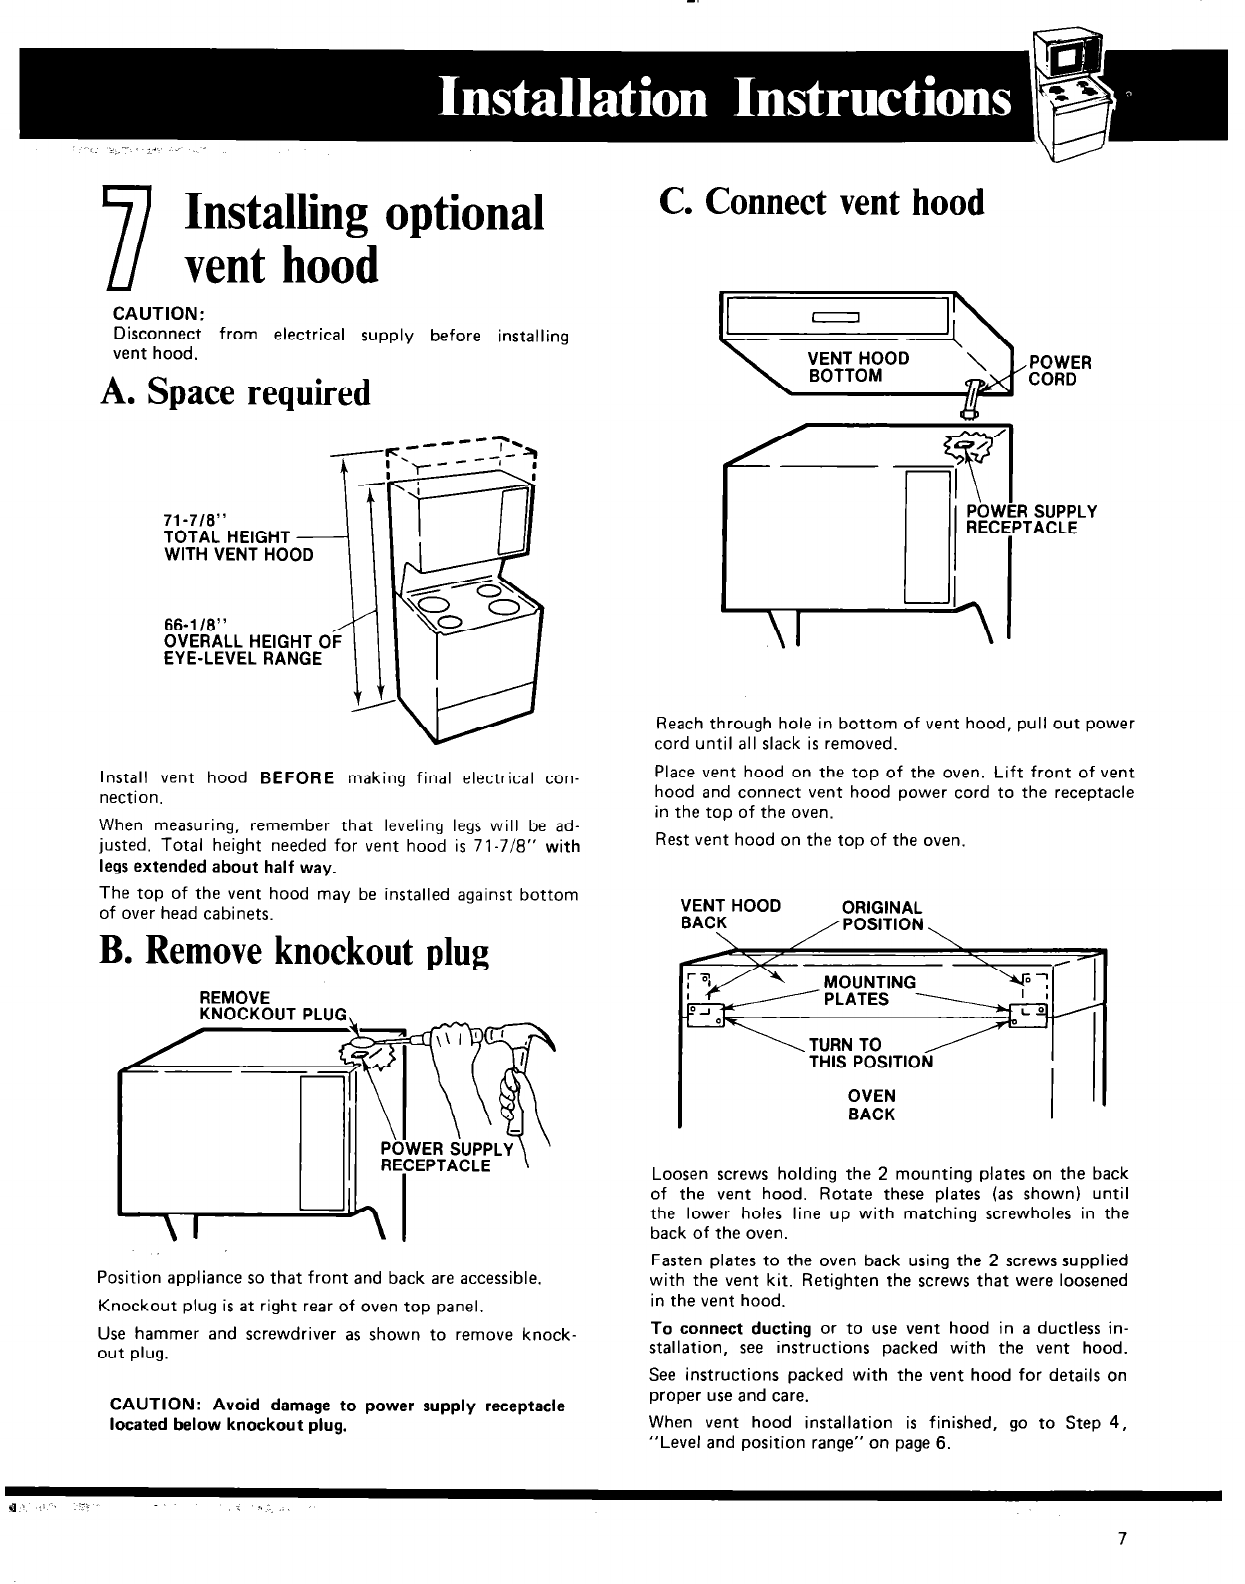
A. Space required
EYE-LEVEL RANGE
Reach through hole in bottom of vent hood, pull out power
cord until all slack is removed.
Install vent hood BEFORE making final electrical con-
nection.
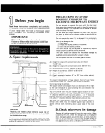
When measuring, remember that leveling legs will be ad-
justed. Total height needed for vent hood is 71-7/e” with
legs extended about half way.
The top of the vent hood may be installed against bottom
of over head cabinets.
Place vent hood on the top of the oven. Lift front of vent
hood and connect vent hood power cord to the receptacle
in the top of the oven.
Rest vent hood on the top of the oven.
VENT HOOD
ORIGINAL
BACK
\
,/POSITION \
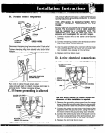
B. Remove knockout plug
REMOVE
IT
THIS POSITION
OVEN
BACK
I
i
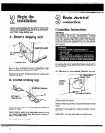
Loosen screws holding the 2 mounting plates on the back
of the vent hood. Rotate these plates (as shown) until
the lower holes line up with matching screwholes in the
Position appliance so that front and back are accessible.
Knockout plug is at right rear of oven top panel.
Use hammer and screwdriver as shown to remove knock-
out plug.
CAUTION: Avoid damage to power supply receptacle
located below knockout plug.
Fasten plates to the oven back using the 2 screws supplied
with the vent kit. Retighten the screws that were loosened
in the vent hood.
To connect ducting
or to use vent hood in a ductless in-
stallation, see instructions packed with the vent hood.
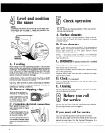
See instructions packed with the vent hood for details on
proper use and care.
When vent hood installation is finished, go to Step 4,
“Level and position range” on page 6.