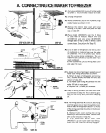
A. CONNECTING ICE MAKER TO FREEZER
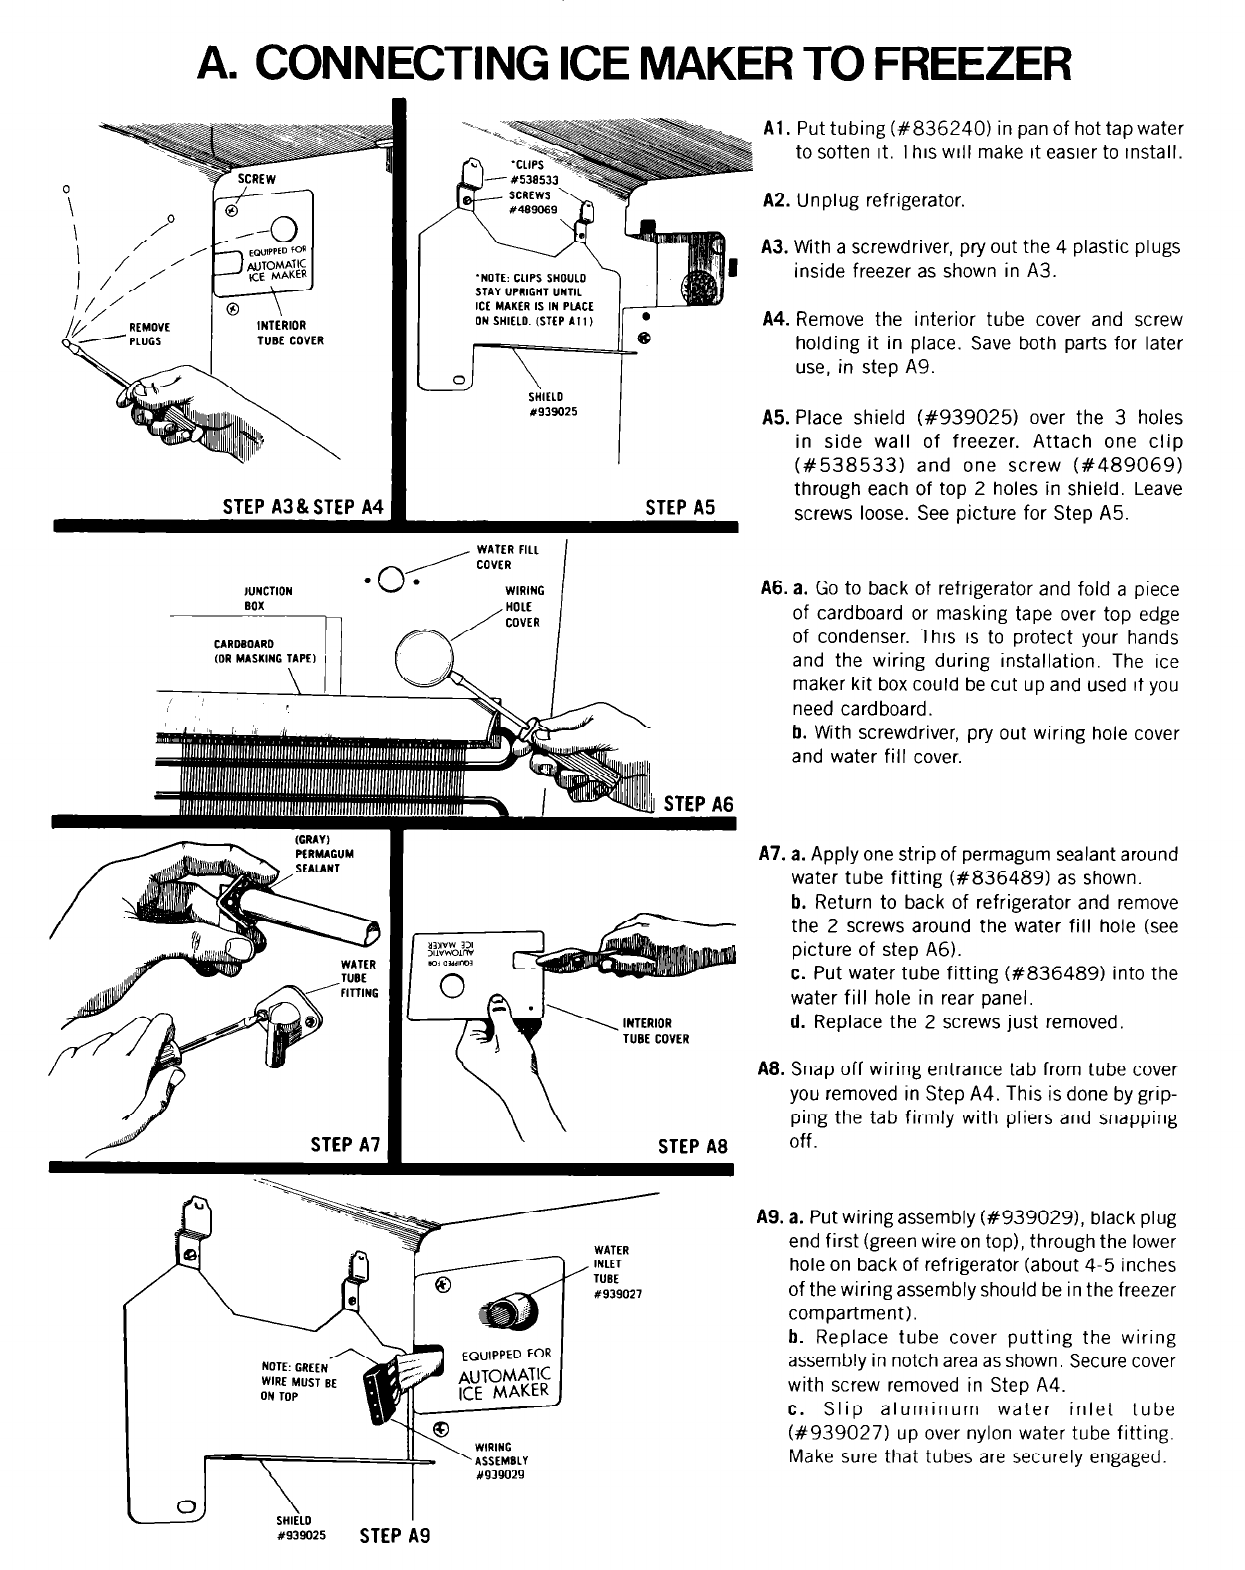
Al. Put tubing (#836240) in pan of hot tap water
to soften it. This will make it easier to install.
‘NOTE: CLIPS SHOULD
STAY UPRIGHT UNTIL
ICE MAKER IS IN PLACE
ON SHIELD. (STEP Al 1)
STEP A3&STEP A4 1
STEP A5
TUBE COVER
I
NOTE: CREEL’
EQy’TPED FoR I
WIRE MUST BE
AUlOMATIC
ON TOP
ICE MAKER
I
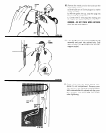
A2. Unplug refrigerator.
A3. With a screwdriver, pry out the 4 plastic plugs
inside freezer as shown in A3.
A4. Remove the interior tube cover and screw
holding it in place. Save both parts for later
use, in step A9.
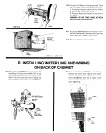
A5. Place shield (#939025) over the 3 holes
in side wall of freezer. Attach one clip
(#538533) and one screw (#489069)
through each of top 2 holes in shield. Leave
screws loose. See picture for Step A5.
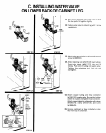
A6. a. Go to back of refrigerator and fold a piece
of cardboard or masking tape over top edge
of condenser. This is to protect your hands
and the wiring during installation. The Ice
maker kit box could be cut up and used if you
need cardboard.
b. With screwdriver, pry out wiring hole cover
and water fill cover.
A7. a. Apply one strip of permagum sealant around
water tube fitting (#836489) as shown.
b. Return to back of refrigerator and remove
the 2 screws around the water fill hole (see
picture of step A6).
c. Put water tube fitting (#836489) into the
water fill hole in rear panel.
d. Replace the 2 screws just removed.
A8. Snap off wiring entrance tab from tube cover
you removed in Step A4. This is done by grip-
ping the tab firmly with pliers and snapping
off.
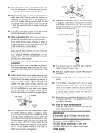
A9. a. Put wiring assembly (#939029), black plug
end first (green wire on top), through the lower
hole on back of refrigerator (about 4-5 inches
of the wiring assembly should be in the freezer
compartment).
b. Replace tube cover putting the wiring
assembly in notch area as shown. Secure cover
with screw removed in Step A4.
c. Slip aluminum water inlet tube
(#939027) up over nylon water tube fitting.
Make sure that tubes are securely engaged.
ly939025
STEP A9


