Install properly.. .
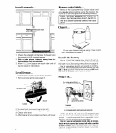
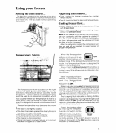
Flush against back wall
and cabinets
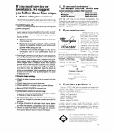
1. Check the strength of the floor. It should hold
the weight of fully loaded freezer.
2. Pick a safe place, indoors, away from in-
flammables such as gasoline.
3. Allow I/Z” (.2 cm) space on each side and at
top for ease of installation.
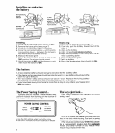
Level freezer.. .
so that door will stay open at any position.
I. Remove base grille (see page 7).
2. To raise front, turn each leg to the left.
3. To lower front, turn each leg to the right.
4. Check with level.
5. After freezer is fully loaded,recheck with level
4
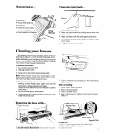
Remove sales labels.. .
Remove the Consumer Buy Guide label and
any inslde labels before using the freezer. Re-
move a.Iv left over alue with rubbing alcohol.
above the Temperature Alarm Switch or
Clean it,. .
A -p P
CI:?an your freezer before using it. See
Clean-
ing i-lstructions on page 7.
lnstal I the battery.. .
You M II find the freezer key and a 9-volt al-
kaline tlattery packed inside the freezer. Install
the battr?ry by following instructions on page 6.
The TE imperature Alarm will sound a continu-
ous ton6 if the Temperature Alarm Switch is in the
ON or Tk ST position. Move the switch to OFF until
the free !er is cold. Then move it to ON.
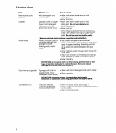
Plug il t in...
IFreezer
power cord
RECOMMENDED GROUNDING METHOD
A 115 i’olt, 60 Hz, AC only 15 or 20 ampere fused
and prc perly grounded electrical supply is re-
quired
is recommended that a separate circuit
serving I lnly this appliance be provided
Do nclt use an extension cord. Use a recep-
tacle which cannot be turned off with a switch
or pull chain.
See individual electrical require-
ments a Ed grounding instruction sheet in your Iiter-
ature pc:ckage


