5-6
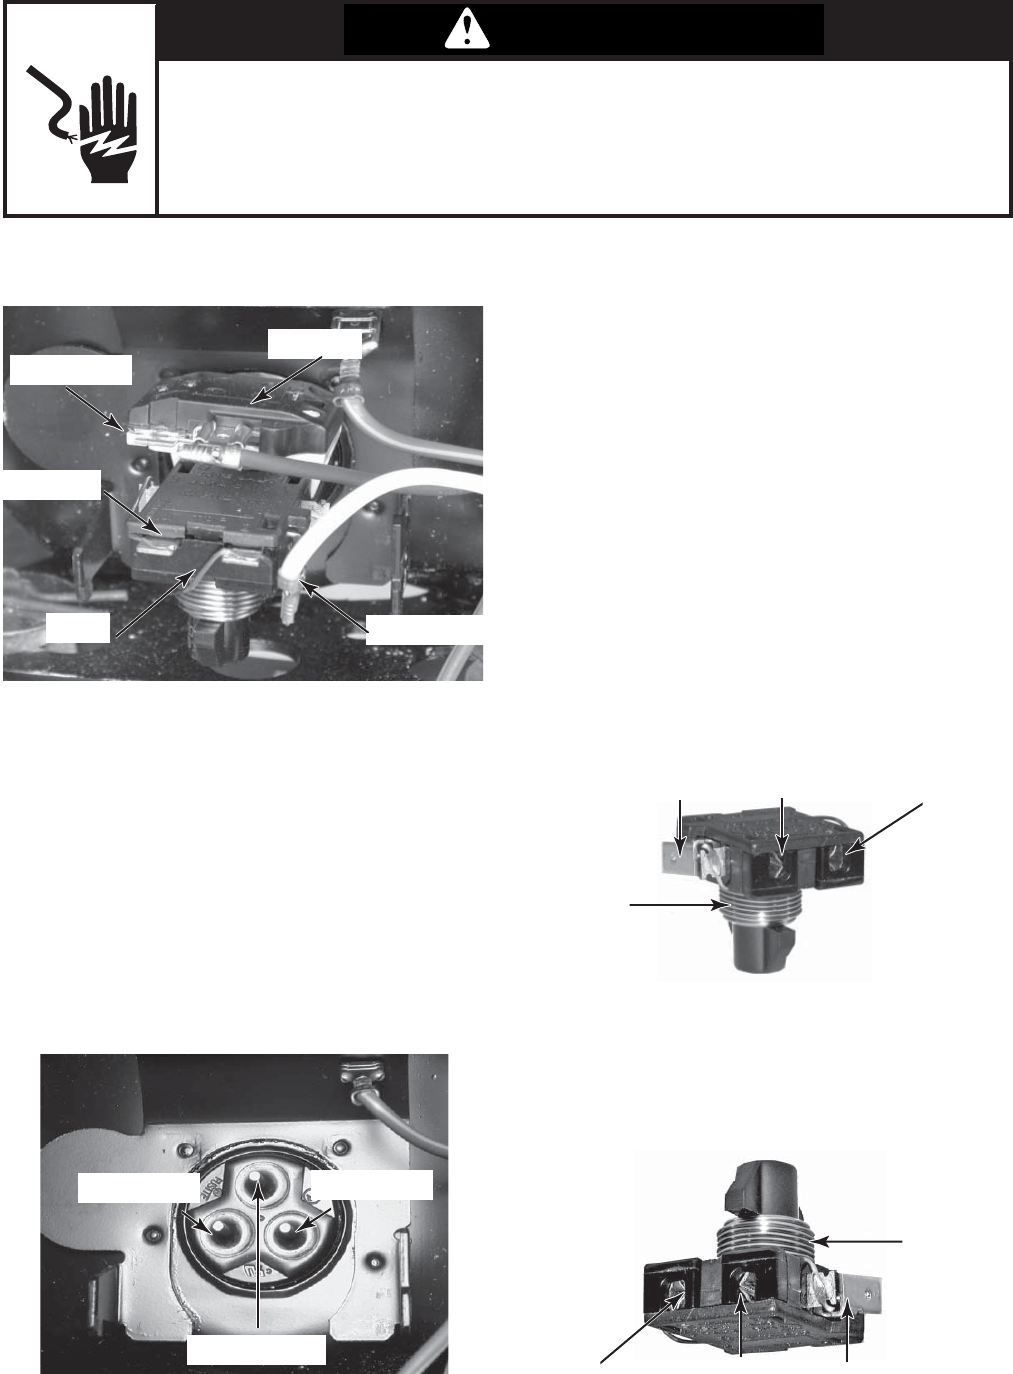
4. To test the relay:
a) Position the relay with the coil facing
down, as shown below.
b) Insert the tip on one of the ohmmeter
test leads into the Run (M) pin socket,
and touch the other ohmmeter lead to
the spade terminal. The meter should
indicate a closed circuit (0 ohms).
c) Move the tip of the ohmmeter test lead
from the spade terminal into the Start
(S) pin socket. Leave the other ohm-
meter lead at the Run (M) location. The
meter should indicate an open circuit
(infi nite).
Relay Coil
d) Turn the relay over so that the coil faces
up, as shown below.
e) With the tip of the ohmmeter test leads
at the Start (S) and Run (M) pin sock-
ets, the meter should indicate a closed
circuit (0 ohms).
Relay Coil
Spade Terminal Run (M) Start (S)
Run (M) Start (S) Spade Terminal
Start (S)
Run (M)
Common (C)
Refer to page 4-19 for the procedure for ac-
cessing the compressor.
1. Unplug ice maker or disconnect power.
2. Set the ohmmeter to the appropriate
scale.
3. To test the compressor windings:
a) Touch one of the ohmmeter test leads
to the Common (C) pin, and the other
lead to the Start (S) pin. The meter
should indicate between 8 and 11
ohms.
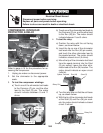
COMPRESSOR, OVERLOAD
PROTECTOR, & RELAY
Overload
Common (C)
Run (M)
Start (S)
Relay
b) Touch one of the ohmmeter test leads to
the Common (C) pin, and the other lead
to the Run (M) pin. The meter should
indicate between 2 and 3 ohms.
Electrical Shock Hazard
Disconnect power before servicing.
Replace all parts and panels before operating.
Failure to do so can result in death or electrical shock.
WARNING
WARNING


