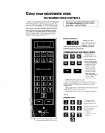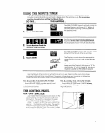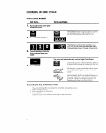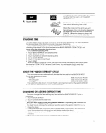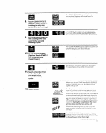
The QUICK DEFROST Srgnal Light WIII slay on
to show that the oven IS rn the QUICK
DEFROST Cycle
d
count
own
The Display counts down the trme to show
how much defrostrng lrme IS left
When the cooking time ends you WIII
hear 4 beeps. (You can stop the beeping
by opening the oven door or touching
CANCEL.] When the beeping stops, the
Display will show only the colon (:I.
STANDING TIME
For best results. allow the food to stand for a while after defrosting Thus helps equalize
the temperature of the food to provide more even defrosting
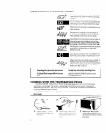
When COCK CYCLE 1 follows QUICK DEFROST, the oven automatically provides a
standing time equal to the time touched in for QUICK DEFROST COOK CYCLE 1
w~tl
begin after the automatic standing ttme.
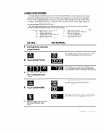
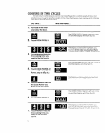
For a different standing time,
1 Touch QUICK DEFROST and desired time
2 Tcuch COOK CYCLE 2
3 Touch numbers for desired standing time
4. Touch COOK POWER
5 Touch “0” for zero Cook Power
6 Touch START.
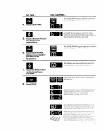
When the QUICK DEFROST is over. the oven WIII shut off The Display WIII count down
the trme for COOK CYCLE 2 at zero Cook Power You WIII hear 4 beeps when the
standing time IS over
ABOUT THE “QUICK DEFROST” CYCLE
-___--
The mrcrowave oven automattcally divides the time set for the QUICK DEFROST
Cycle into three equal parts.
- First part
80% of full Cook Power,
-Second part 50% of full Cook Power,
- Third part 20% of full Cook Power
Thus automatic step-down In Cook Power fs an important part of the QUICK DEFROST
Cycle It helps defrost food quickly and completely
CHANGING OR ADDING DEFROST TIME
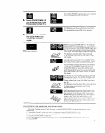
You can change the time setting any time while the QUICK DEFROST Cycle IS
operating
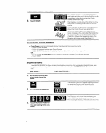
1 Touch QUICK DEFROST
2
Touch numbers for the new time
3 Touch START.
Any new tlme setting made while QUICK DEFROST is operating will continue the
detrostlng only at 20% of lull Cook Power.
The best time to change the setting IS near the end of the QUICK DEFROST Cycle
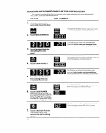
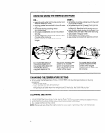
1 Open the door.
2 Check the food with long-trned fork; if center area IS hard frozen, set additional
trme Remember that standing ttme will further defrost the food
3
Close the door and touch START 10 contrnue the Cycle II no addrtronal trme IS
needed
4
Or, touch In new Instructions II addrtronal frme
IS
needed
3


