


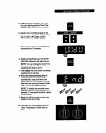

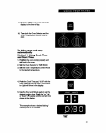


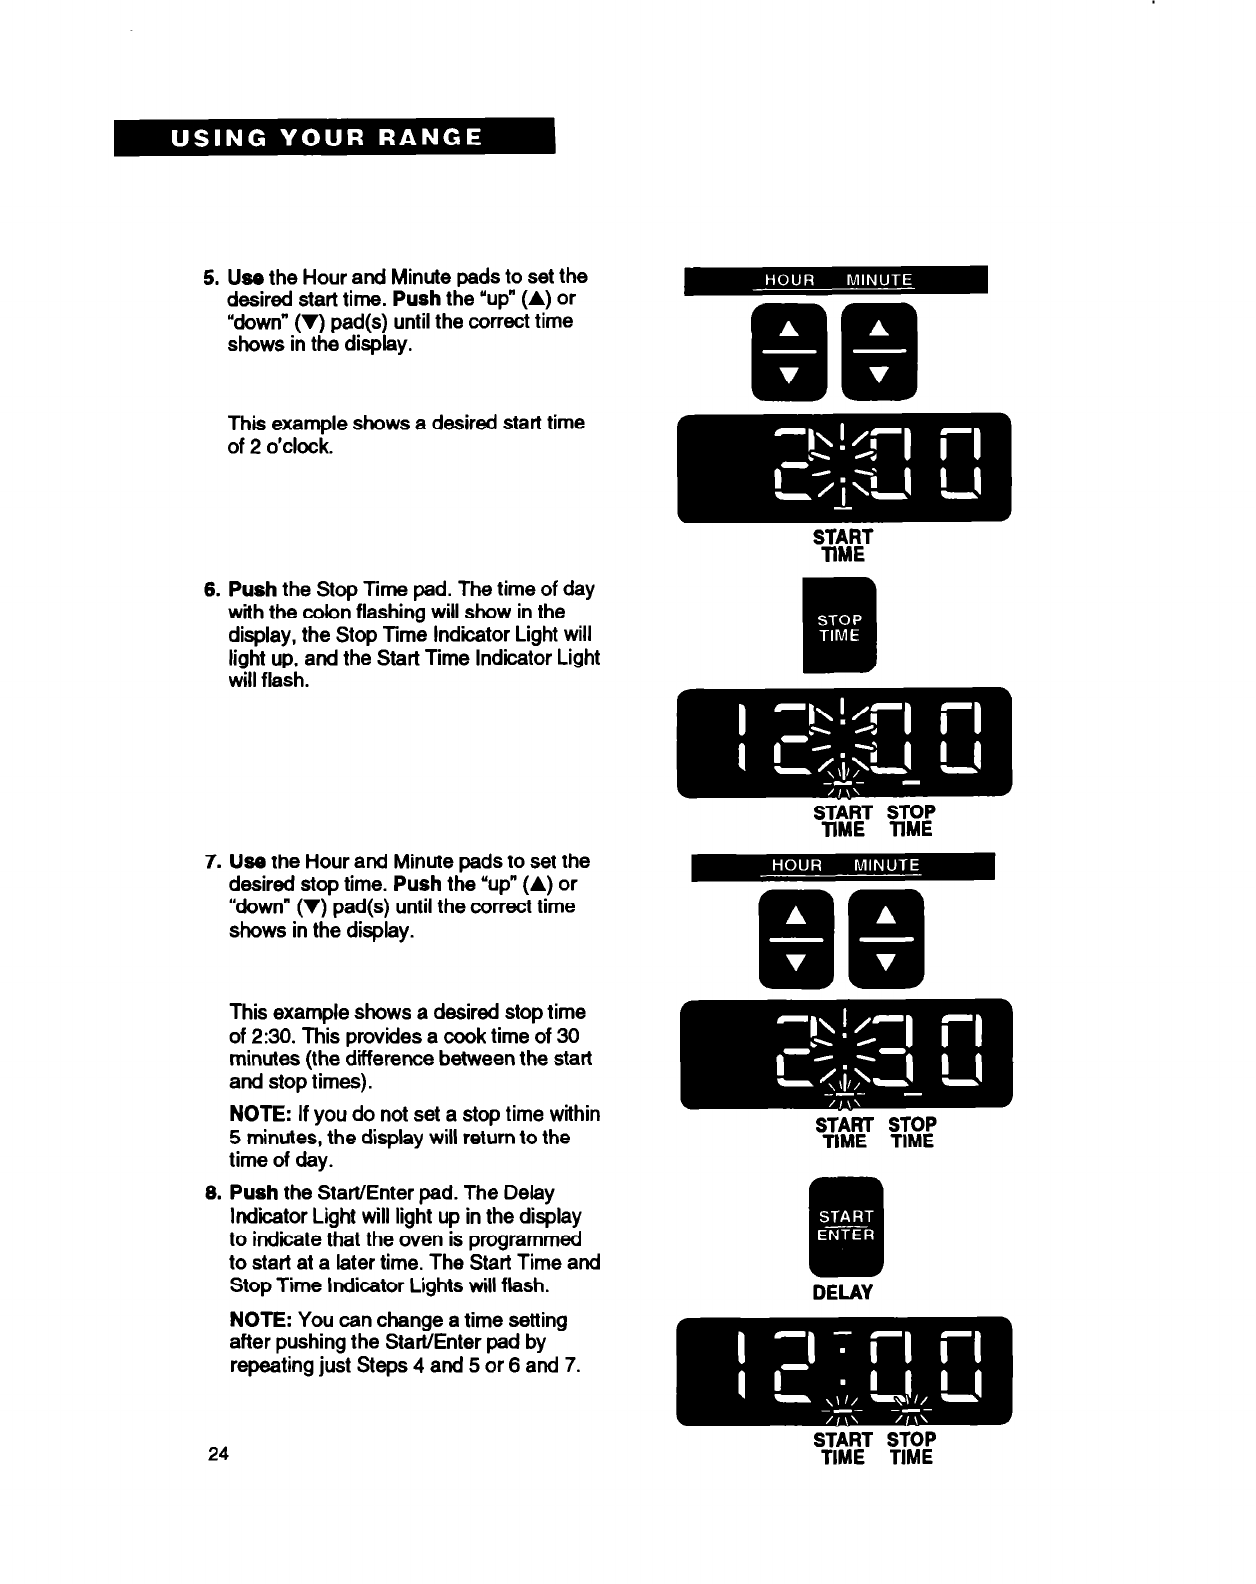
5. Use the Hour and Minute pads to set the
desired start time. Push the ‘up” (A) or
“down” (V) pad(s) until the correct time
shows in the display.
This example shows a desired start time
of 2 o’clock.
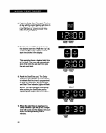
6. Push the Stop Time pad. The time of day
with the colon flashing will show in the
display, the Stop Time Indicator Light
will
light up, and the Start Time Indicator Light
will flash.
7. Use the Hour and Minute pads to set the
desired stop time. Push the “up” (A) or
“down” (V) pad(s) until the correct time
shows in the display.
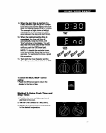
This example shows a desired stop time
of 2:30. This provides a cook time of 30
minutes (the difference between the start
and stop times).
NOTE: If you do not set a stop time within
5 minutes, the display will return to the
time of day.
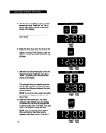
6. Push the Start/Enter pad. The Delay
Indicator Light will light up in the display
to indicate that the oven is programmed
to start at a later time. The Start Time and
Stop Time Indicator Lights will flash.
NOTE: You can change a time setting
after pushing the StarVEnter pad by
repeating just Steps 4 and 5 or 6 and 7.
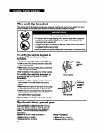
DELAY
ST-iRT STOP
TIME TIME
24