


2a
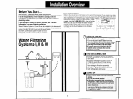
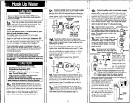
You have three installation options:
. 1 .Connect water supply from filtration system
to refrigerator’s ice and water only.
2.Connect water supply from filtration system to
optional sink faucet only.
3.Connect water supply from filtration system to
both refrigerator and optional sink faucet.
All parts are included with this kit to connect refrigera-
tor. If you choose to connect filtration system to a sink
faucet, order sink faucet, Part No. 4319154, available
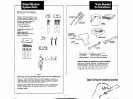
from your Whirlpool dealer. This kit includes: faucet
assembly with blue tubing attached, assembly hard-
ware, faucet spout, 2-way grey c6nnectoi with push-in
ends, and a ‘7” grey connector with push-in ends.
This ‘7” grey connector with push-in ends will allow
you to connect filtration assembly to both the faucet
and the refrigerator.
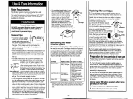
2b
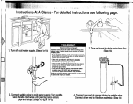
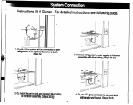
Connect system to refrigerator only.
. Remove and discard short piece of blue tub-
ing from grey connector with push-in end on the back
of filtration assembly. Insert one end of long piece of
blue tubing into this grey connector with push-in end.
Run the blue tubing from the filtration assembly to the
refrigerator.
J-z-l
rt long
tublng
2c
.
Route blue tubing to rear of refrigerator. Cut
blue tubing to shortest possible length. Inset-f
free end of blue tubing into the’2-way greyconnector
with push-in ends as far as it will go. Turn off refriger-
ator water supply and ice maker. Press refrigerator
water dispenser to empty water into a container.
Disconnect main water supply from refrigerator’s
water line. Seal main water line hole because it will
no longer be connected to refrigerator. Make sure the
refrigerator water line has a square cut. Then insert
refrigerator water line into other end of the 2-way grey
connector with push-in ends. Proceed to step 3.
zv
4
4
t
I
refrigerator
water line
I
2-MY PY
connector
Ion ‘blue
tu Ing BI
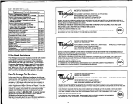
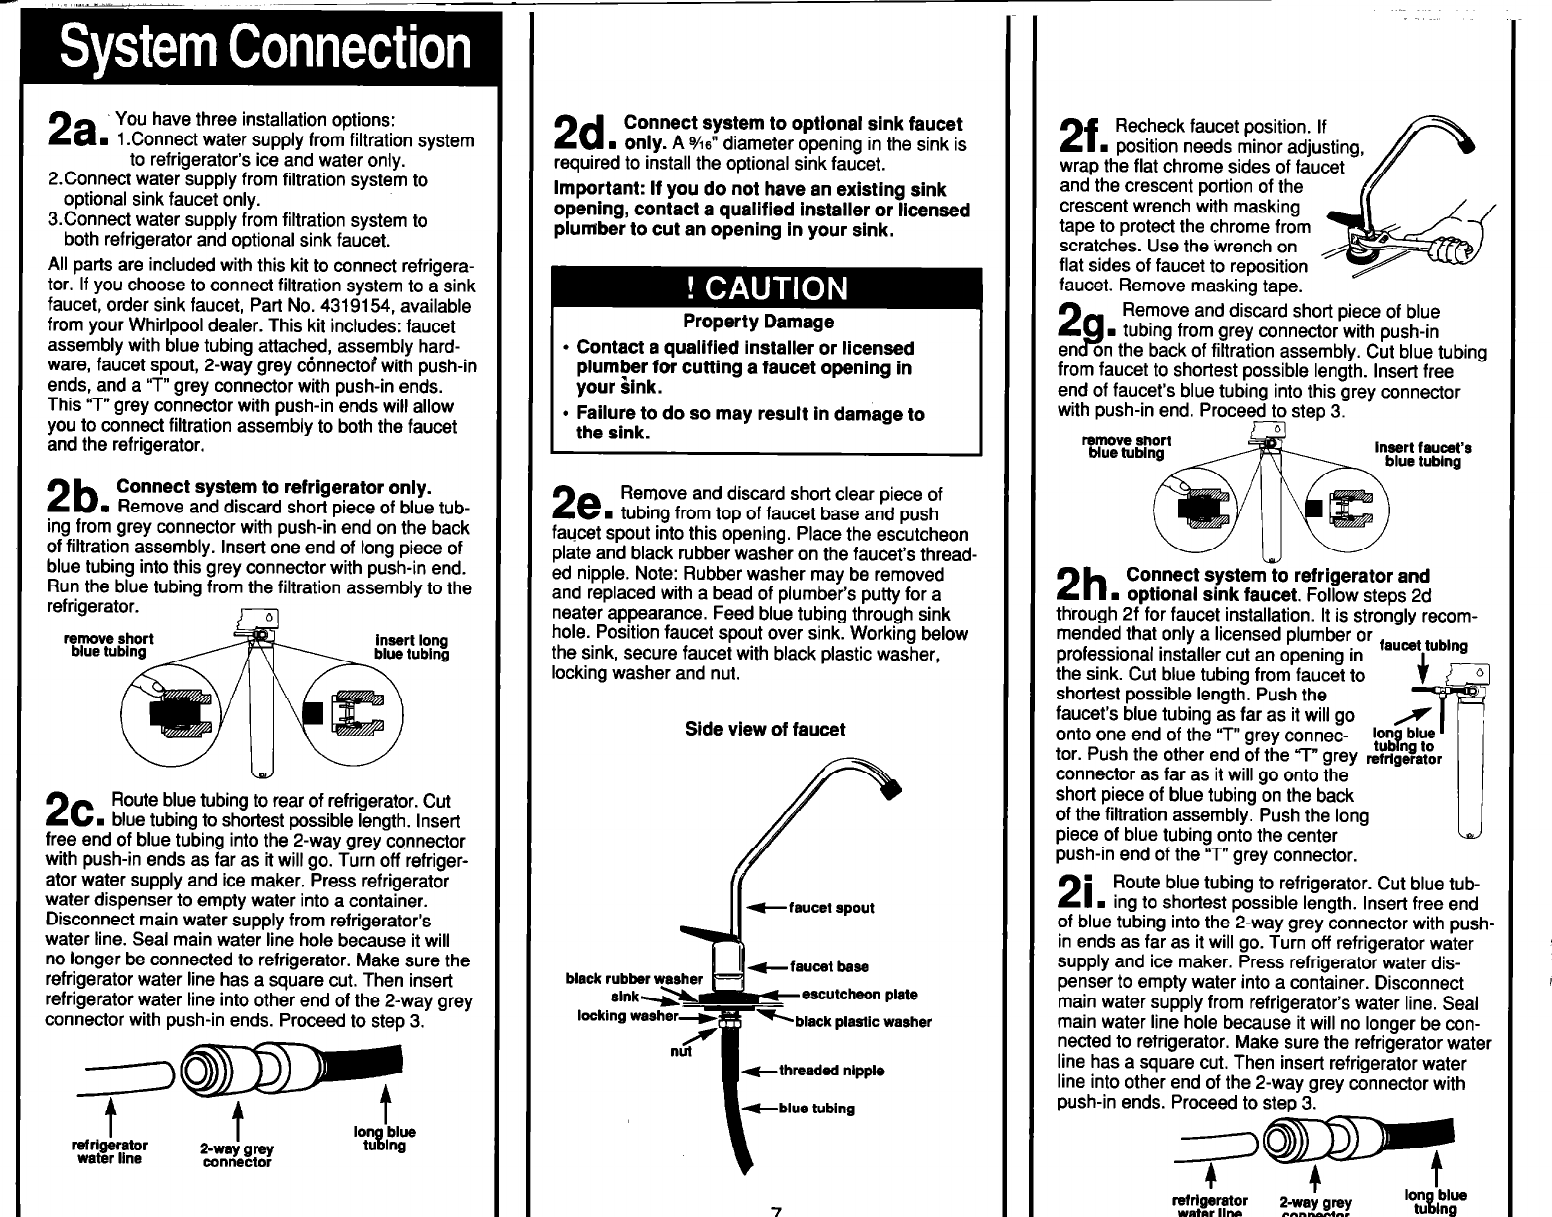
2d
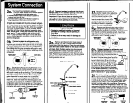
Connect system to optlonal sink faucet
.
only.
A S/16” diameter opening in the sink is
required to install the optional sink faucet.
Important: If you do not have an existing sink
opening, contact a qualified installer or licensed
plumber to cut an opening in your sink.
Property Damage
l
Contact a qualified installer or licensed
plumber for cutting a faucet opening in
your &ink.
l
Failure to do so may result in damage to
the sink.
2e
Remove and discard short clear piece of
. tubing from top of faucet base and push
faucet spout into this opening. Place the escutcheon
plate and black rubber washer on the faucet’s thread-
ed nipple. Note: Rubber washer may be removed
and replaced with a bead of plumber’s putty for a
neater appearance. Feed blue tubing through sink
hole. Position faucet spout over sink. Working below
the sink, secure faucet with black plastic washer,
locking washer and nut.
Side view of faucet
-faucet spout
escutcheon plate
-threaded nlpple
2f
Recheck faucet position. If
. position needs minor adjusting
wrap the flat chrome sides of faucet
and the crescent portion of the
crescent wrench with masking
tape to protect the chrome from
scratches. Use the \Nrench on
flat sides of faucet to reposition
faucet. Remove masking tape.
2P
Remove and discard short piece of blue
. tubing from grey connector with push-in
en
on the back of filtration assembly. Cut blue tubing
from faucet to shortest possible length. Insert free
end of faucet’s blue tubing into this grey connector
with push-in end. Proceeg step 3.
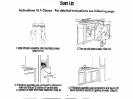
2h
Connect systemTo refrigerator and
. optional sink faucet.
Follow steps 2d
through 2f for faucet installation. It is strongly recom-
mended that only a licensed plumber or
professional installer cut an opening in
the sink. Cut blue tubing from faucet to
shortest possible length. Push the
faucet’s blue tubing as far as it will go
onto one end of the ‘7” grey connec-
tor. Push the other end of the ‘T” grey
connector
as
far as it will go onto the
short piece of blue tubing on the back
of the filtration assembly. Push the long
piece of blue tubing onto the center
push-in end of the ‘7” grey connector.
.
21
Route blue tubing to refrigerator. Cut blue tub-
. ing to shortest possible length. Insert free end
of blue tubing into the 2-way grey connector with push-
in ends as far as it will go. Turn off refrigerator water
supply and ice maker. Press refrigerator water dis-
penser to empty water into a container. Disconnect
main water supply from refrigerator’s water line. Seal
main water line hole because it will no longer be con-
nected to refrigerator. Make sure the refrigerator water
line has
a
square cut. Then inset-l refrigerator water
line into other end of the 2-way grey connector with
push-in ends. Proceed to step 3.
Ion ‘blue
tu Ing %